Google sign up in Ionic with capacitor-firebase-auth
Hello dear students! :)
In this post I will show you how to implement Firebase Authentication with Google provider for Ionic apps with a help of Capacitor plugin for Firebase Authentication capacitor-firebase-auth. I am going to fully configure app for web browsers and android OS. If you want me to update post for iOS feel free to reach out.
In next post I will continue to work on same project (that will be the final result of this post) and update it with Facebook provider for authentication.
Grab a cup of coffee and enjoy! If you have any comment and suggestion you can contact me at jelica.stanojevic@fon.bg.ac.rs.
Requirements: Installed Node, Ionic CLI and Android Studio.
Project code can be found here.
Table of Contents
- Create Ionic project
- Create Firebase project
- Firebase Google Auth provider setup
- Web App setup
- Android setup
Create Ionic project
First of all we are going to create a blank ionic-angular project with a following command:
ionic start ionic-firebase-auth blank
Open the project and generate a new page (you could also use the home page which is generated by default).
ionic generate page sign-in
Change route redirection to the sign-in page to ease our development flow.
src/app/app-routing.module.ts
const routes: Routes = [
 {
   path: 'home',
   loadChildren: () => import('./home/home.module').then( m => m.HomePageModule)
 },
 {
   path: 'sign-in',
   loadChildren: () => import('./sign-in/sign-in.module').then( m => m.SignInPageModule)
 },
 {
   path: '',
   redirectTo: 'sign-in',
   pathMatch: 'full'
 },
];
Add button for google sign in.
sign-in/sign-in.page.html
<ion-header>
 <ion-toolbar>
   <ion-title>sign-in</ion-title>
 </ion-toolbar>
</ion-header>

<ion-content>
 <ion-buttons class="ion-justify-content-center ion-margin-top">
   <ion-button color="danger" fill="solid">
     Google sign in
   </ion-button>
 </ion-buttons>
</ion-content>
Add capacitor-firebase-auth package and install a specific 8.3.0 version of the firebase package which is compatible with capacitor-firebase-auth package.
npm install --save capacitor-firebase-auth firebase@8.3.0
Now we have simple Ionic app with one button and needed packages.
Create Firebase project
Go to Firebase console and add a new project. Give it a name (I named it ionic-firebase-auth).
Firebase Google Auth provider setup
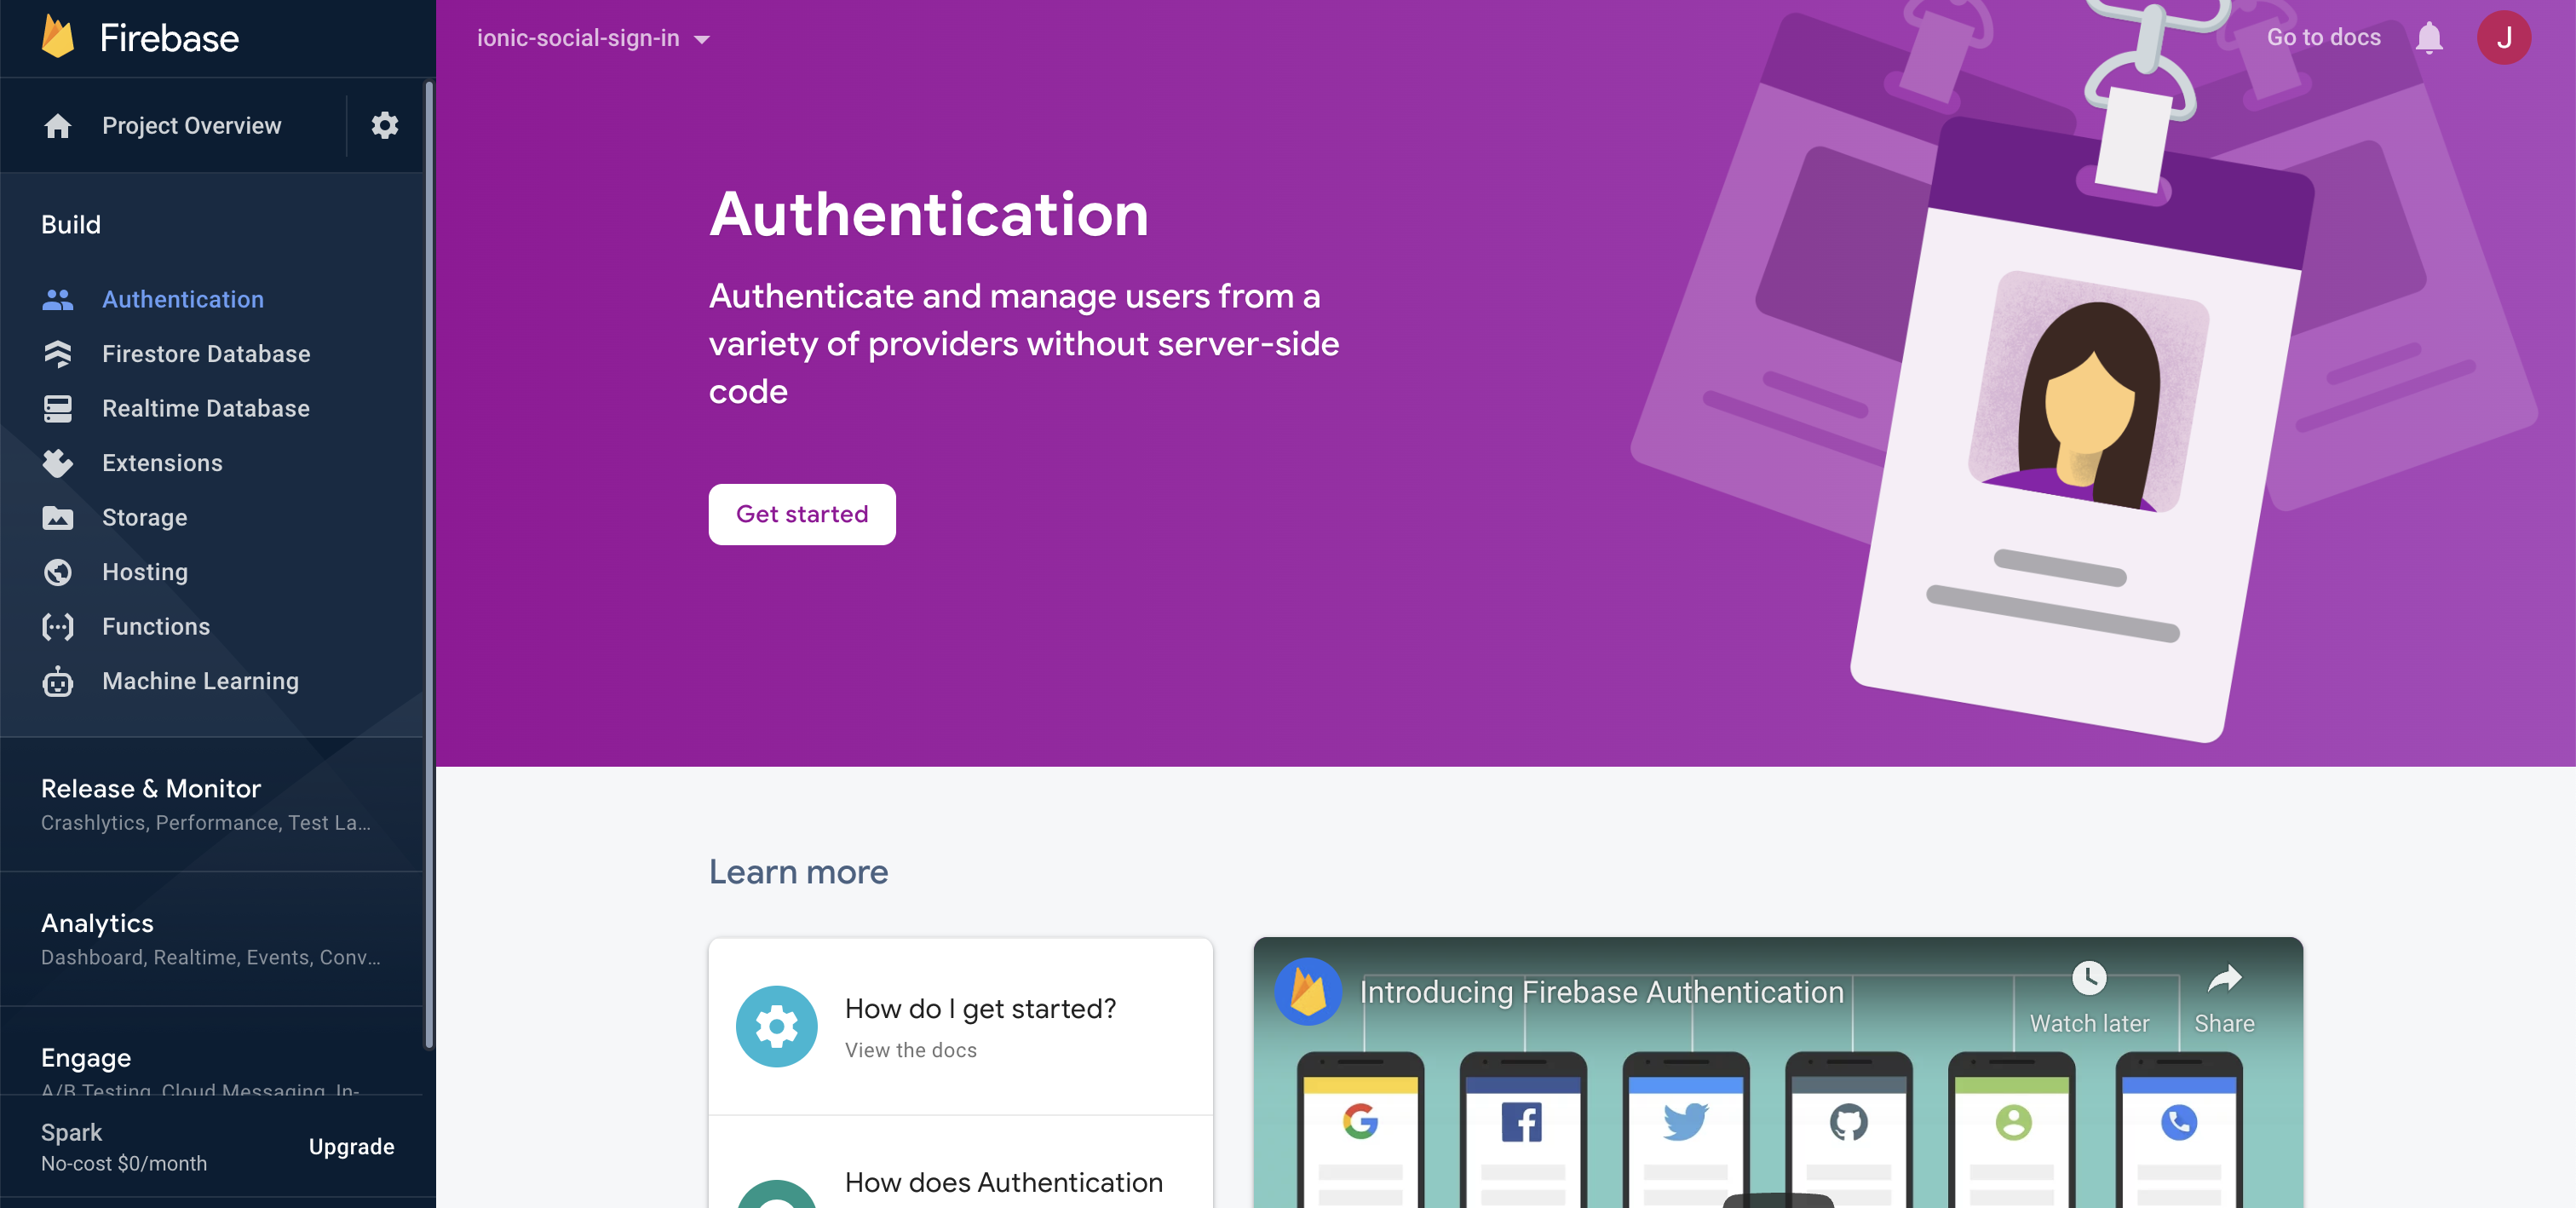
In side menu on the left go to Authentication and click on Get Started button.
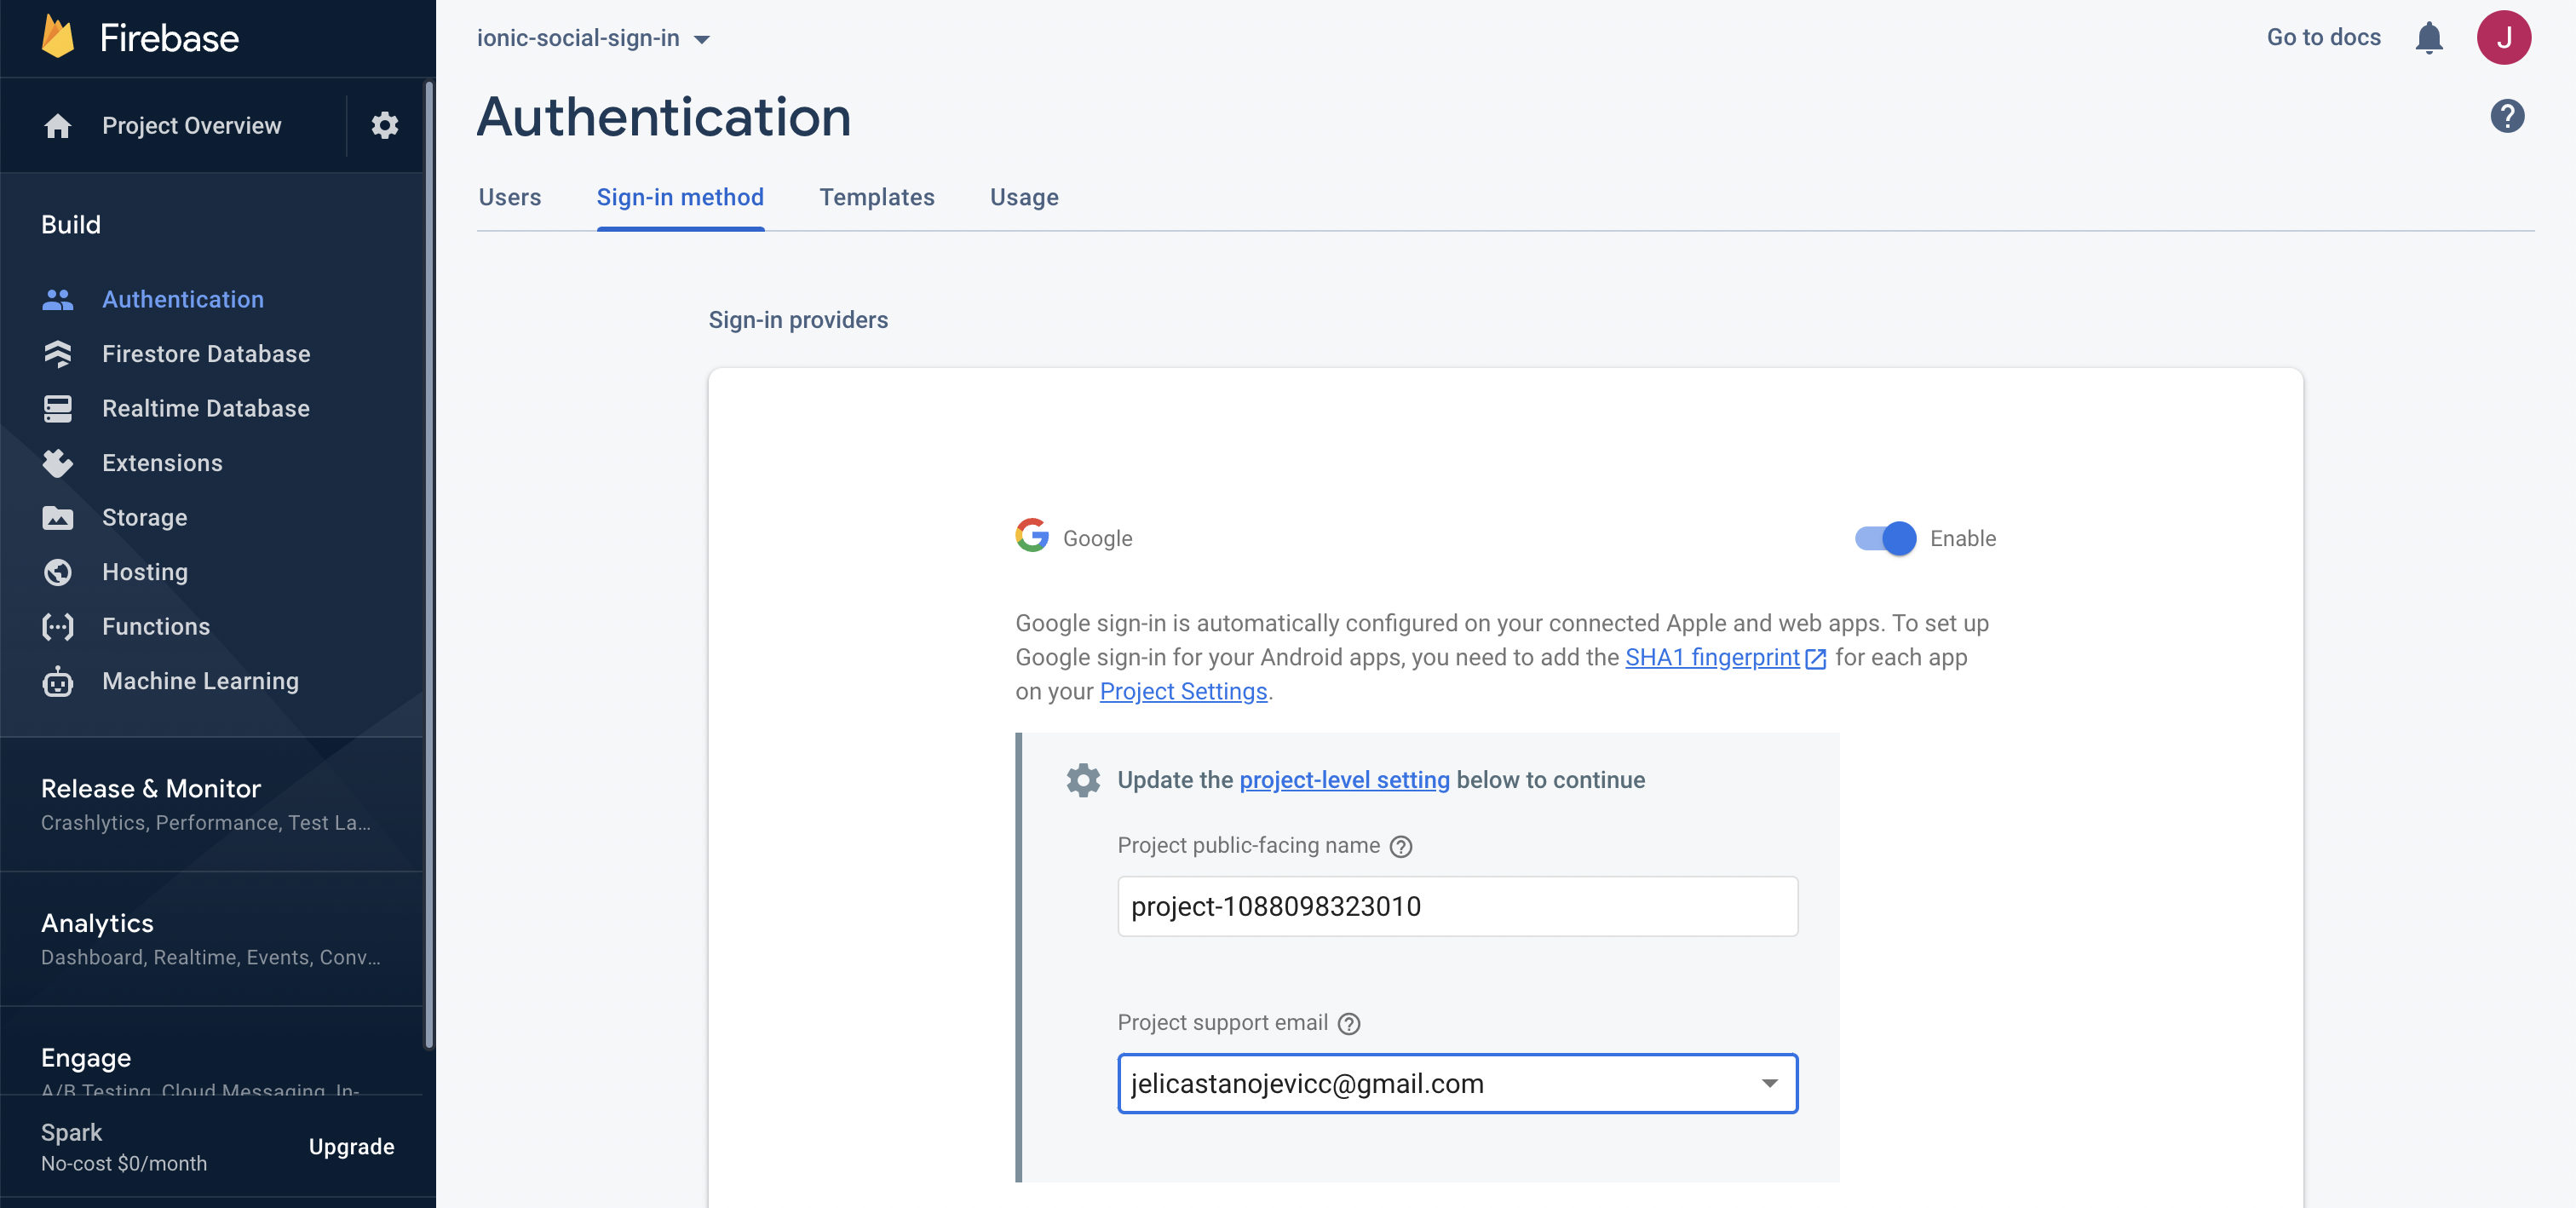
Go to Sign-in method and choose Google provider. Enable it with a toggle button, then change Project public-facing name and select support mail. Click the save button.
Web App setup
Firebase setup
On the Project overview page you can get started by choosing to add Firebase to web app or go to Project settings and register the web app.
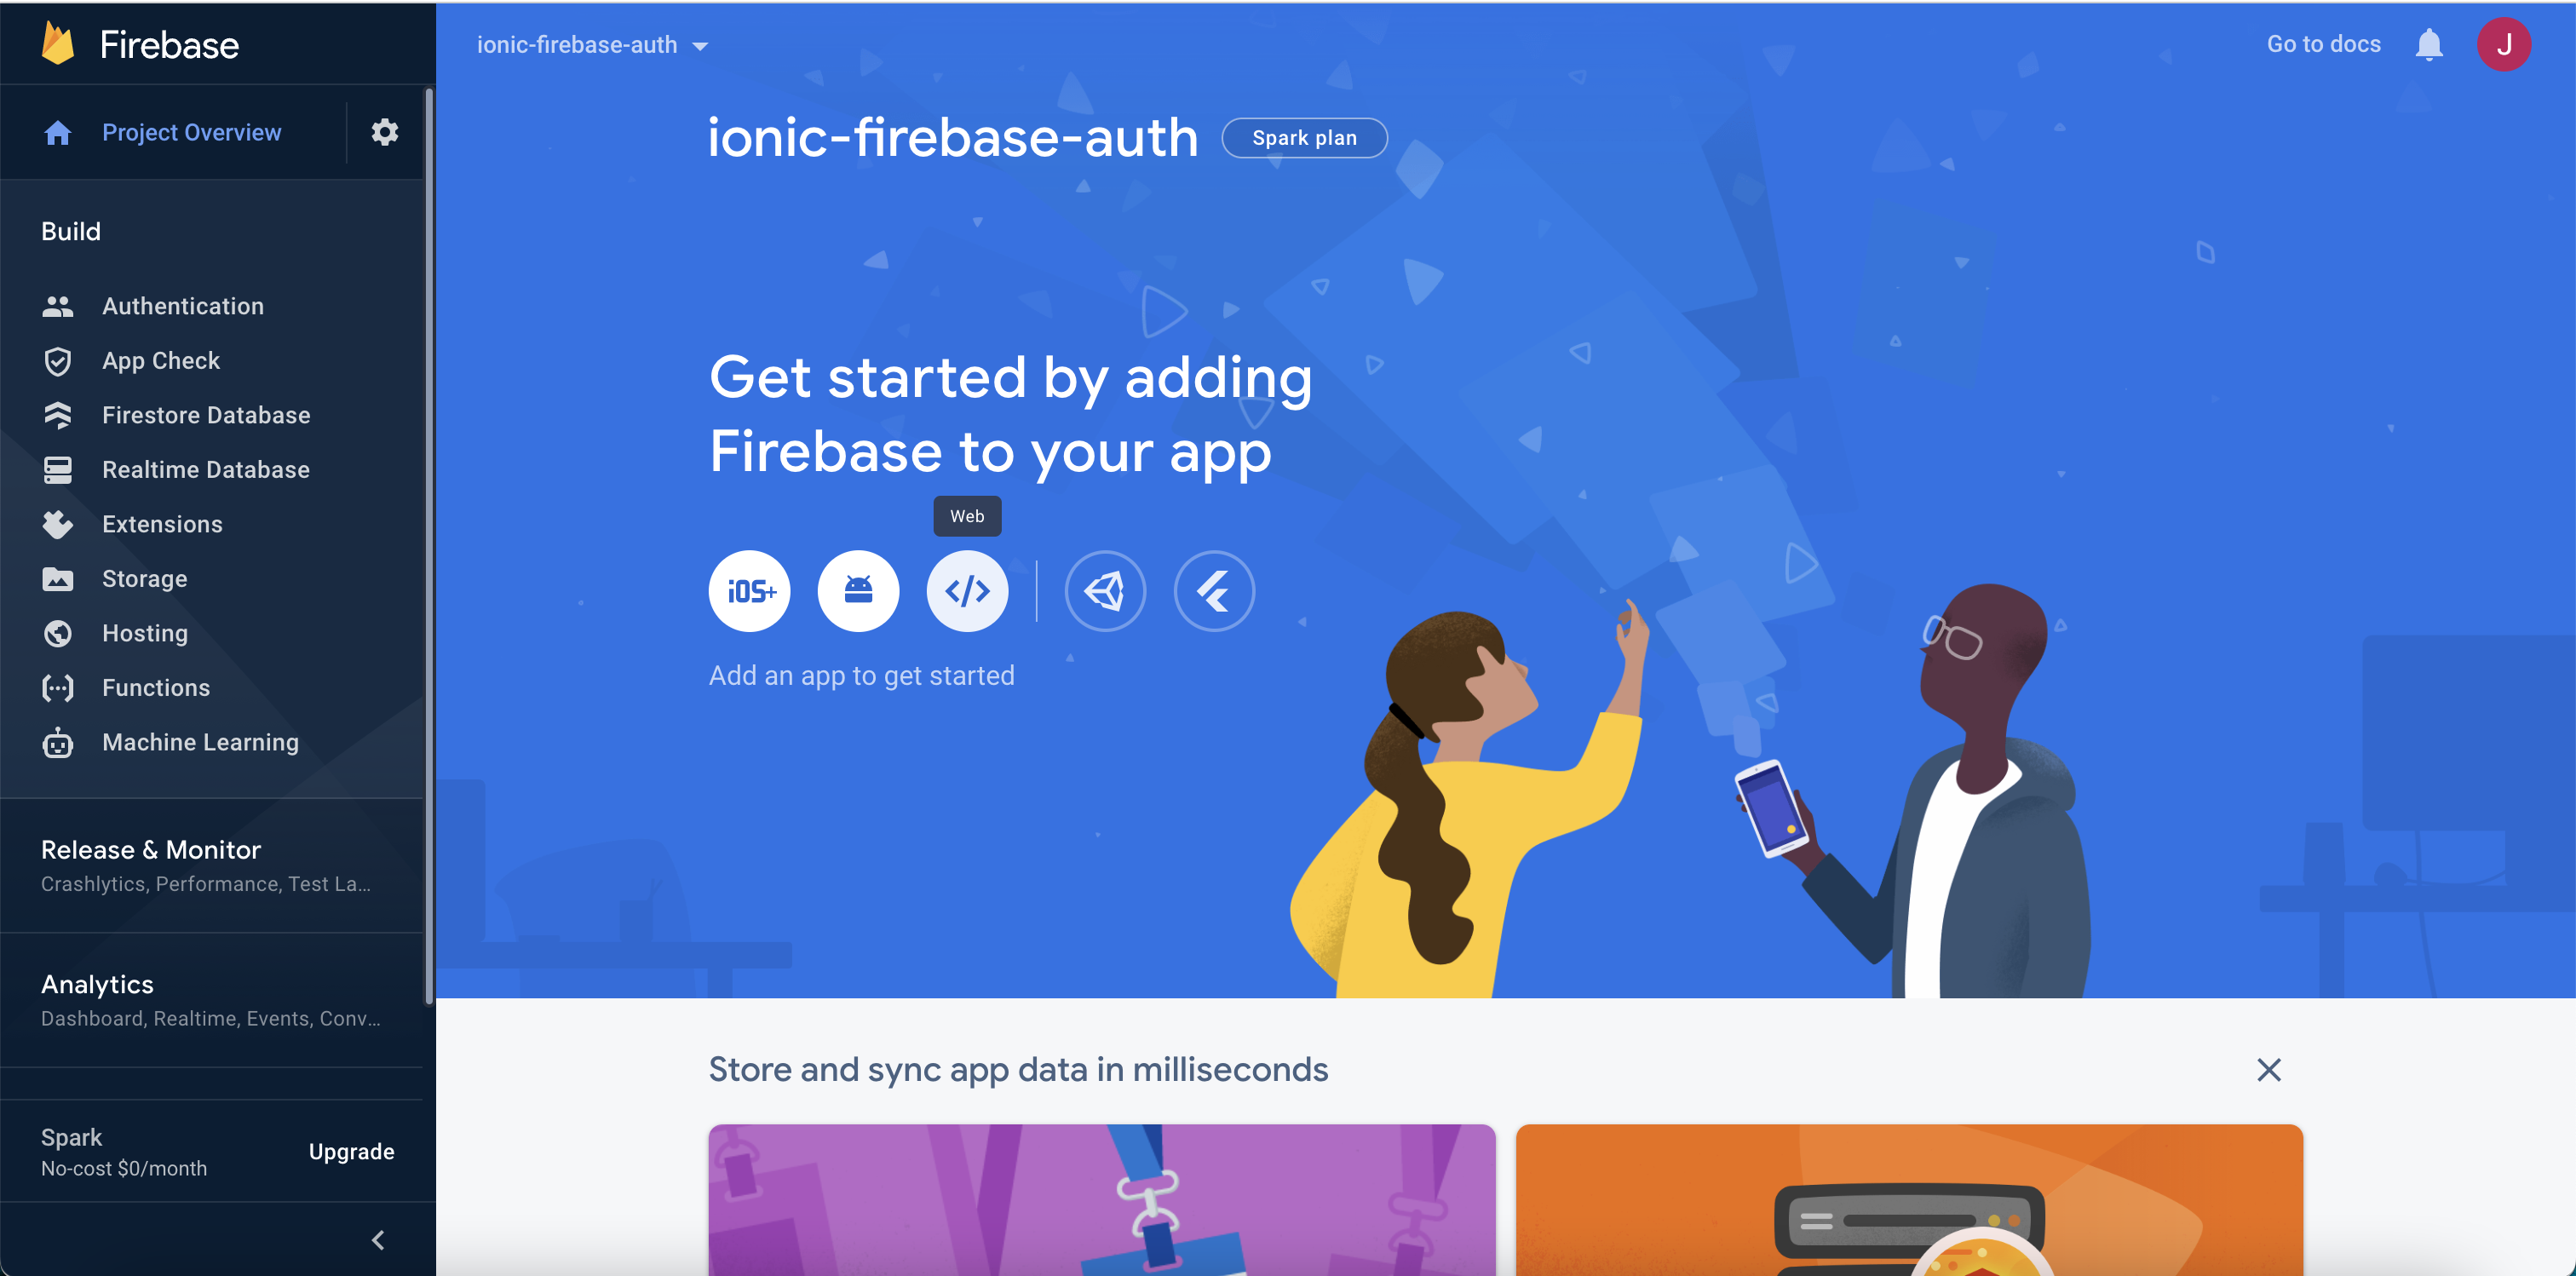
Choose a nickname for your app and then copy firebase config to src/app/environments/environment.ts as shown below, but leave values.
export const environment = {
    production: false,
    firebase: {
        apiKey: "",
        authDomain: "",
        projectId: "",
        storageBucket: "",
        messagingSenderId: "",
        appId: ""
    }
}
Ionic App setup
Initialize firebase in your project.
src/app/app.module.ts
import firebase from 'firebase/app';
import { environment } from 'src/environments/environment';

export class AppModule {

 constructor(){
    firebase.initializeApp(environment.firebase);
 }
}
Add method signInWithGoogle().
src/app/sign-in/sign-in.page.ts
import { Component, OnInit } from '@angular/core';
import { cfaSignInGoogle } from 'capacitor-firebase-auth';
import firebase from 'firebase/app';

@Component({
 selector: 'app-sign-in',
 templateUrl: './sign-in.page.html',
 styleUrls: ['./sign-in.page.scss'],
})
export class SignInPage implements OnInit {

 constructor() { }

 ngOnInit() {
 }

 signInWithGoogle() {
   cfaSignInGoogle().subscribe(
     (user: firebase.User) => console.log(user)
   )
 }
Call signInWithGoogle method when button is clicked.
app/src/sign-in/sign-in.page.html
<ion-button color="danger" fill="solid" (click)="signInWithGoogle()">
     Google sign in
</ion-button>
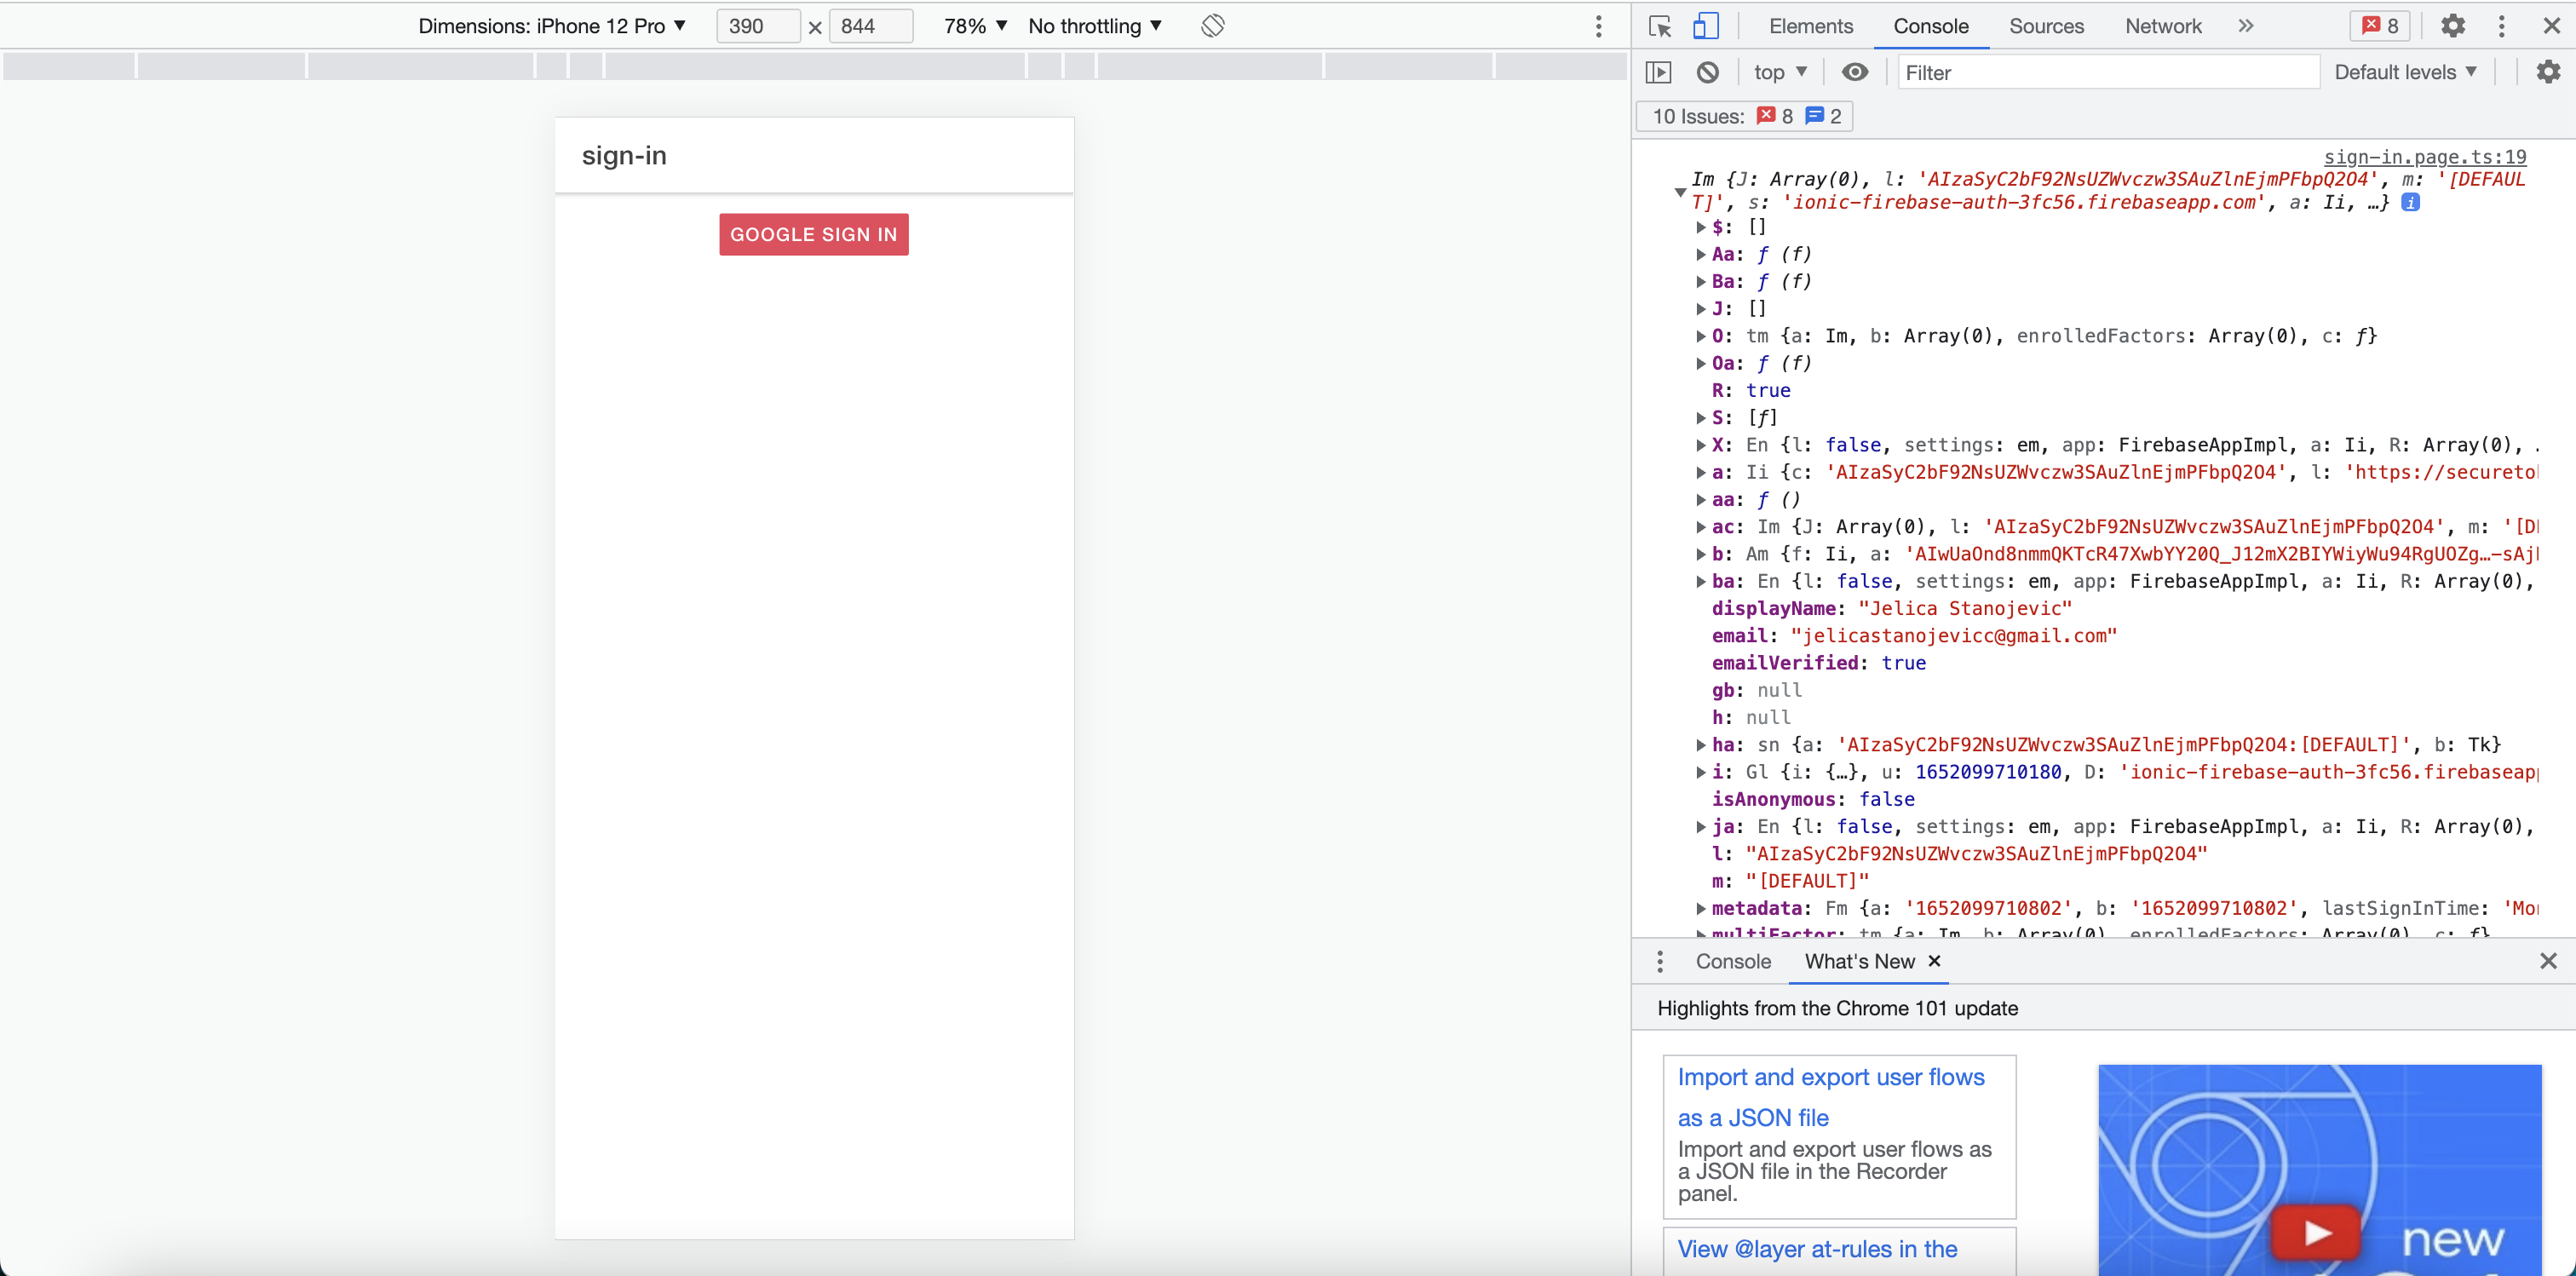
Now, when a user clicks on google sign in button, a popup will be shown for signing in with google.
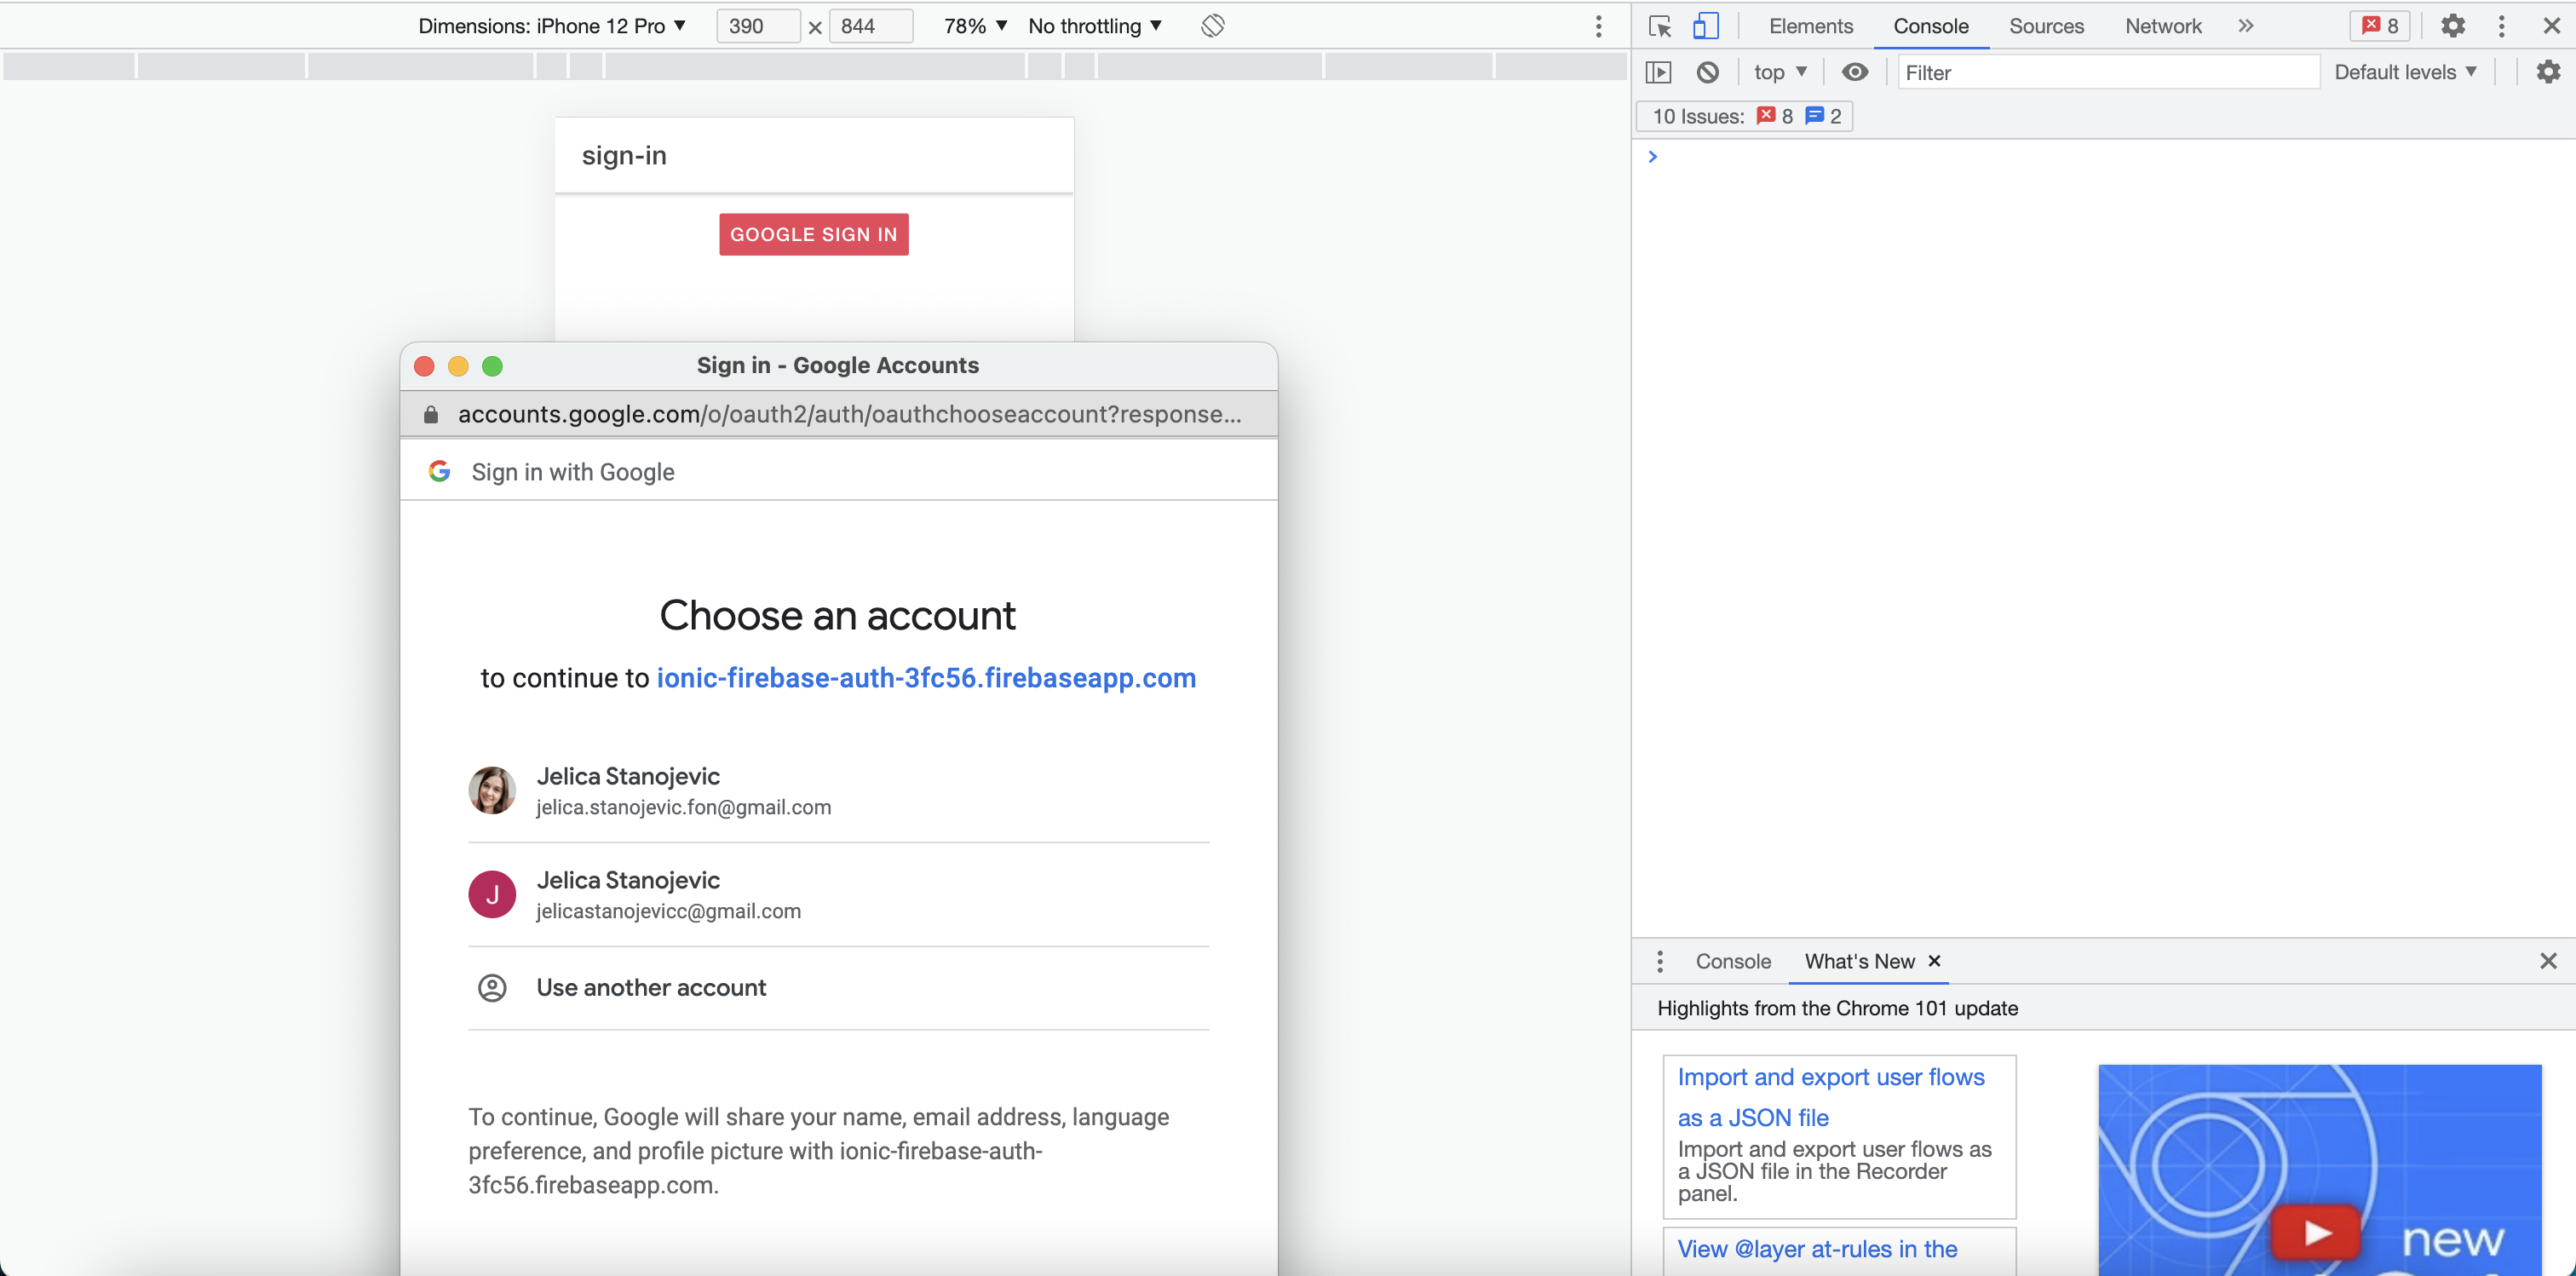
If signing in is successful in devtools for Chrome in console logs you should see user data for registered user.
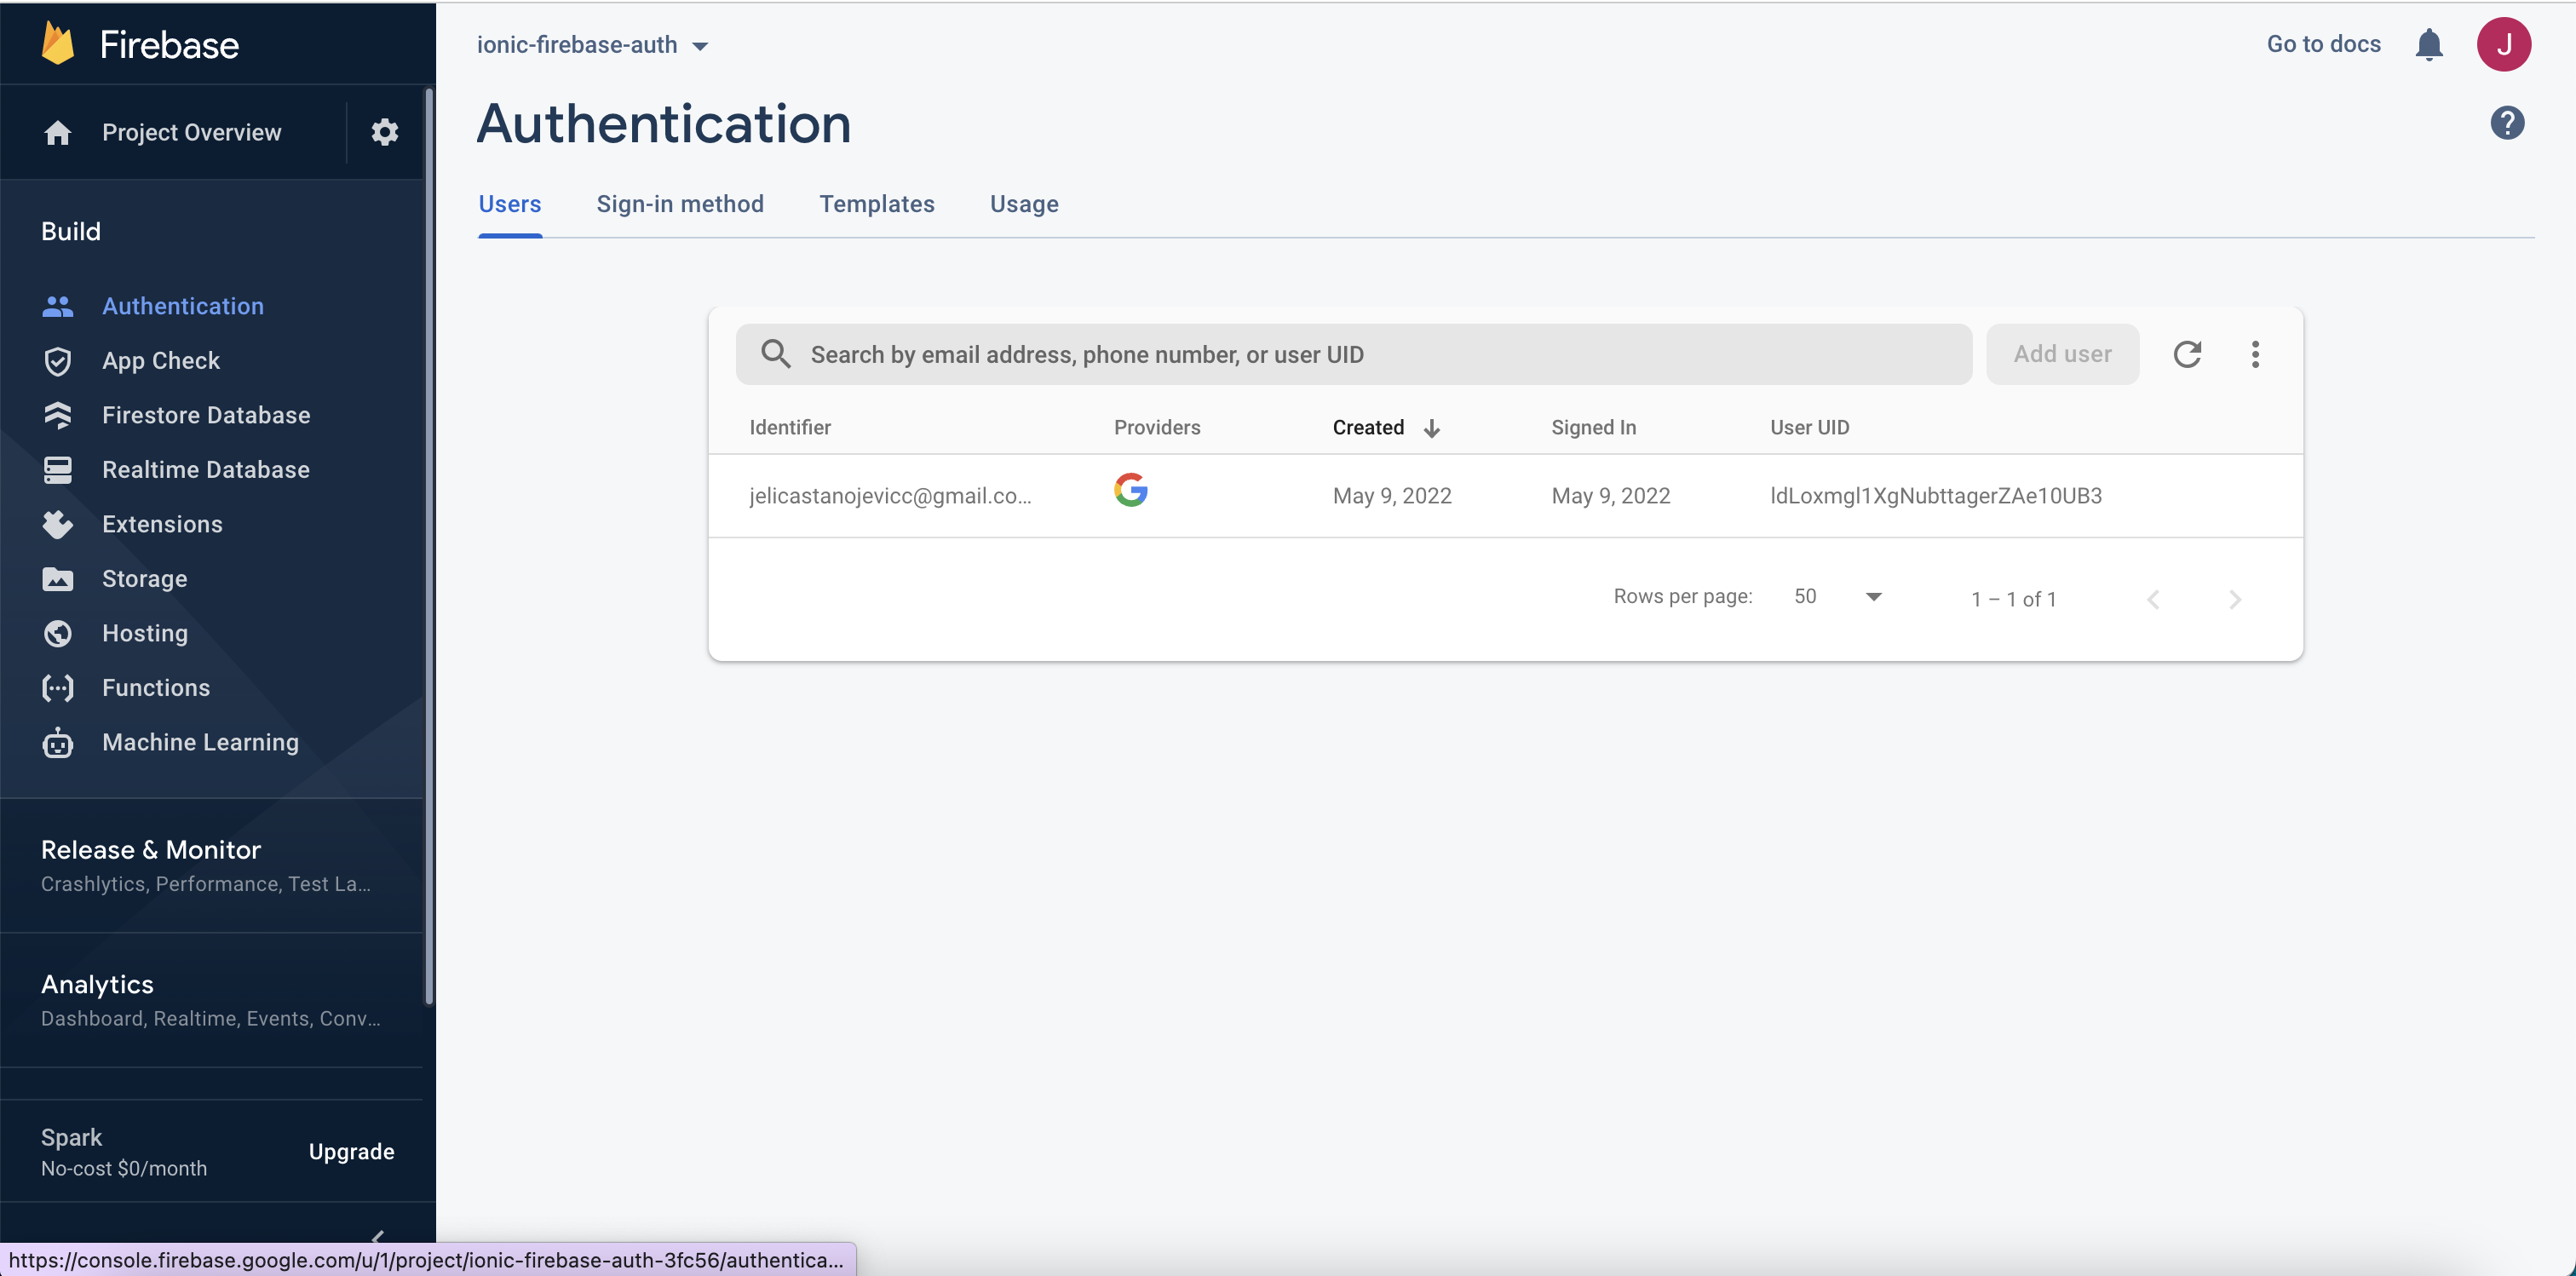
Check Authentication section in Firebase project and you should see the registered user.
Now, when everything works fine in web app, we are going to setup android app.
Android setup
Add Android to Ionic Project
Update capacitor.config.ts file as follows.
import { CapacitorConfig } from '@capacitor/cli';

const config: CapacitorConfig = {
 appId: 'com.ionicfirebaseauth.mobile',
 appName: 'ionic-firebase-auth',
 webDir: 'www',
 bundledWebRuntime: false,
 plugins: {
   CapacitorFirebaseAuth: {
     providers: ['google.com'],
     languageCode: 'en',
     nativeAuth: true,
   },
   permissions: {
     google: ['profile'],
   },
 },
};

export default config;
Build Ionic project with following command:
ionic build
Add android to project:
ionic capacitor add android
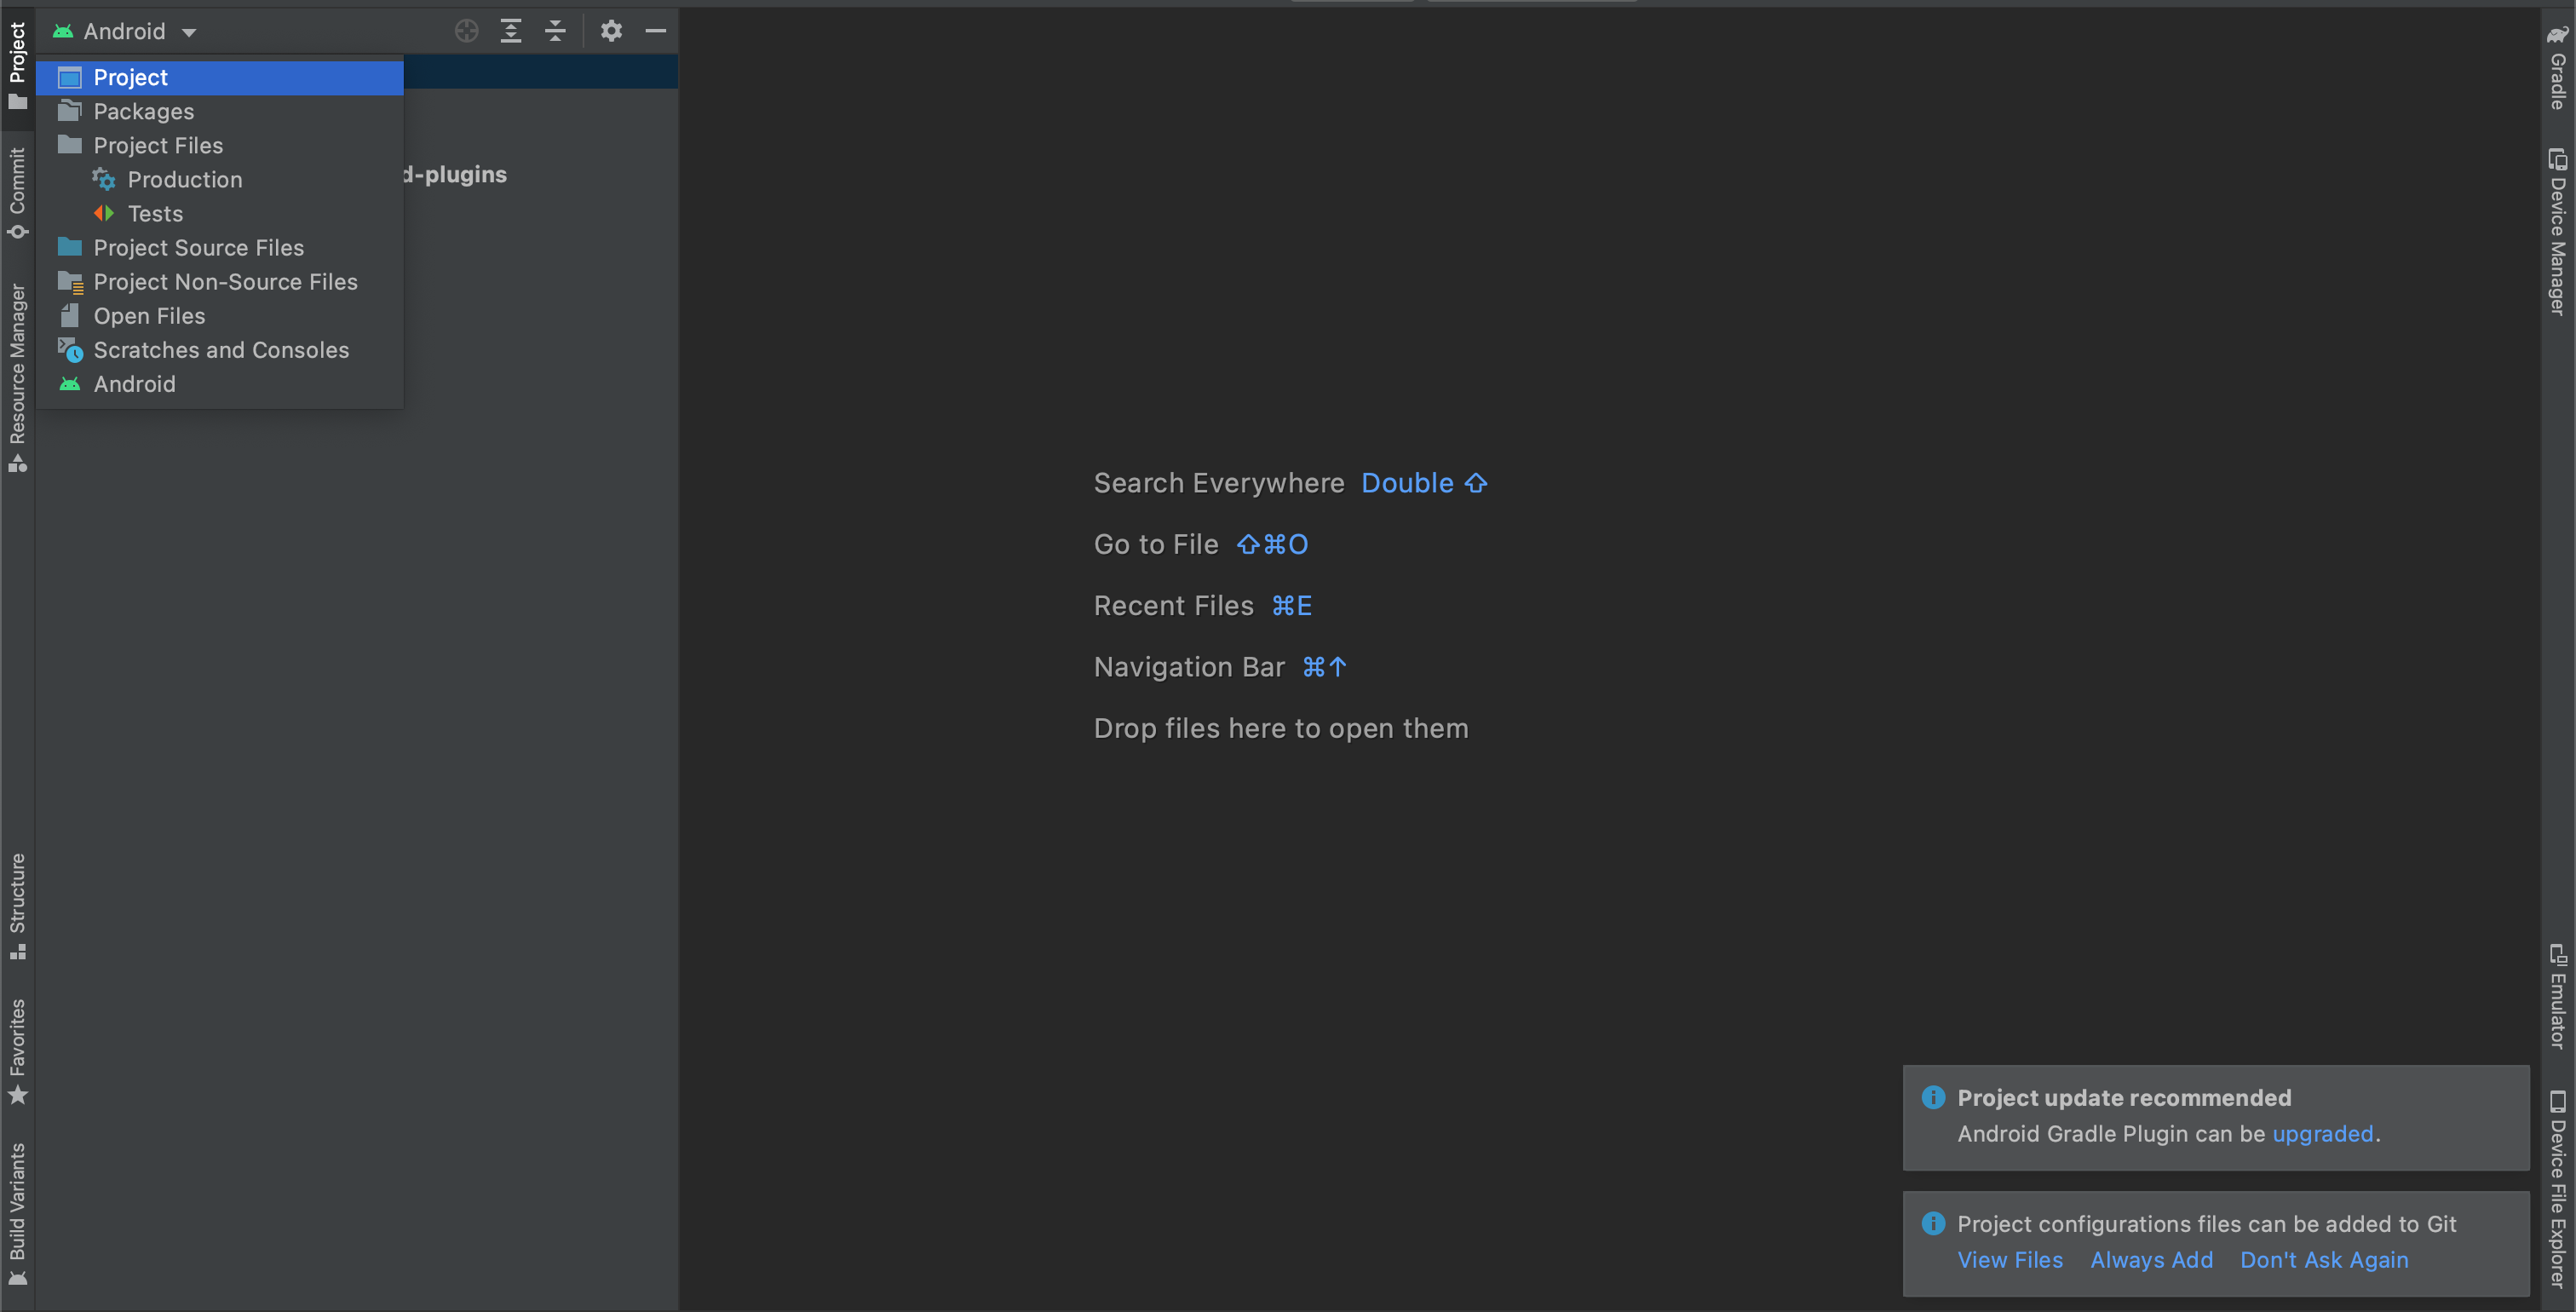
Open generated android folder (/ionic-firebase-auth/android) in Android Studio and change to Project View.
Firebase Google provider setup for Android App
As mentioned in Firebase: Google sign-in is automatically configured on your connected Apple and web apps. To set up Google sign-in for your Android apps, you need to add the SHA1 fingerprint for each app on your Project Settings. For Linux and MacOS run this command in terminal:
keytool -list -v -alias androiddebugkey -keystore ~/.android/debug.keystore
Password is android.
In Firebase go to Project settings.
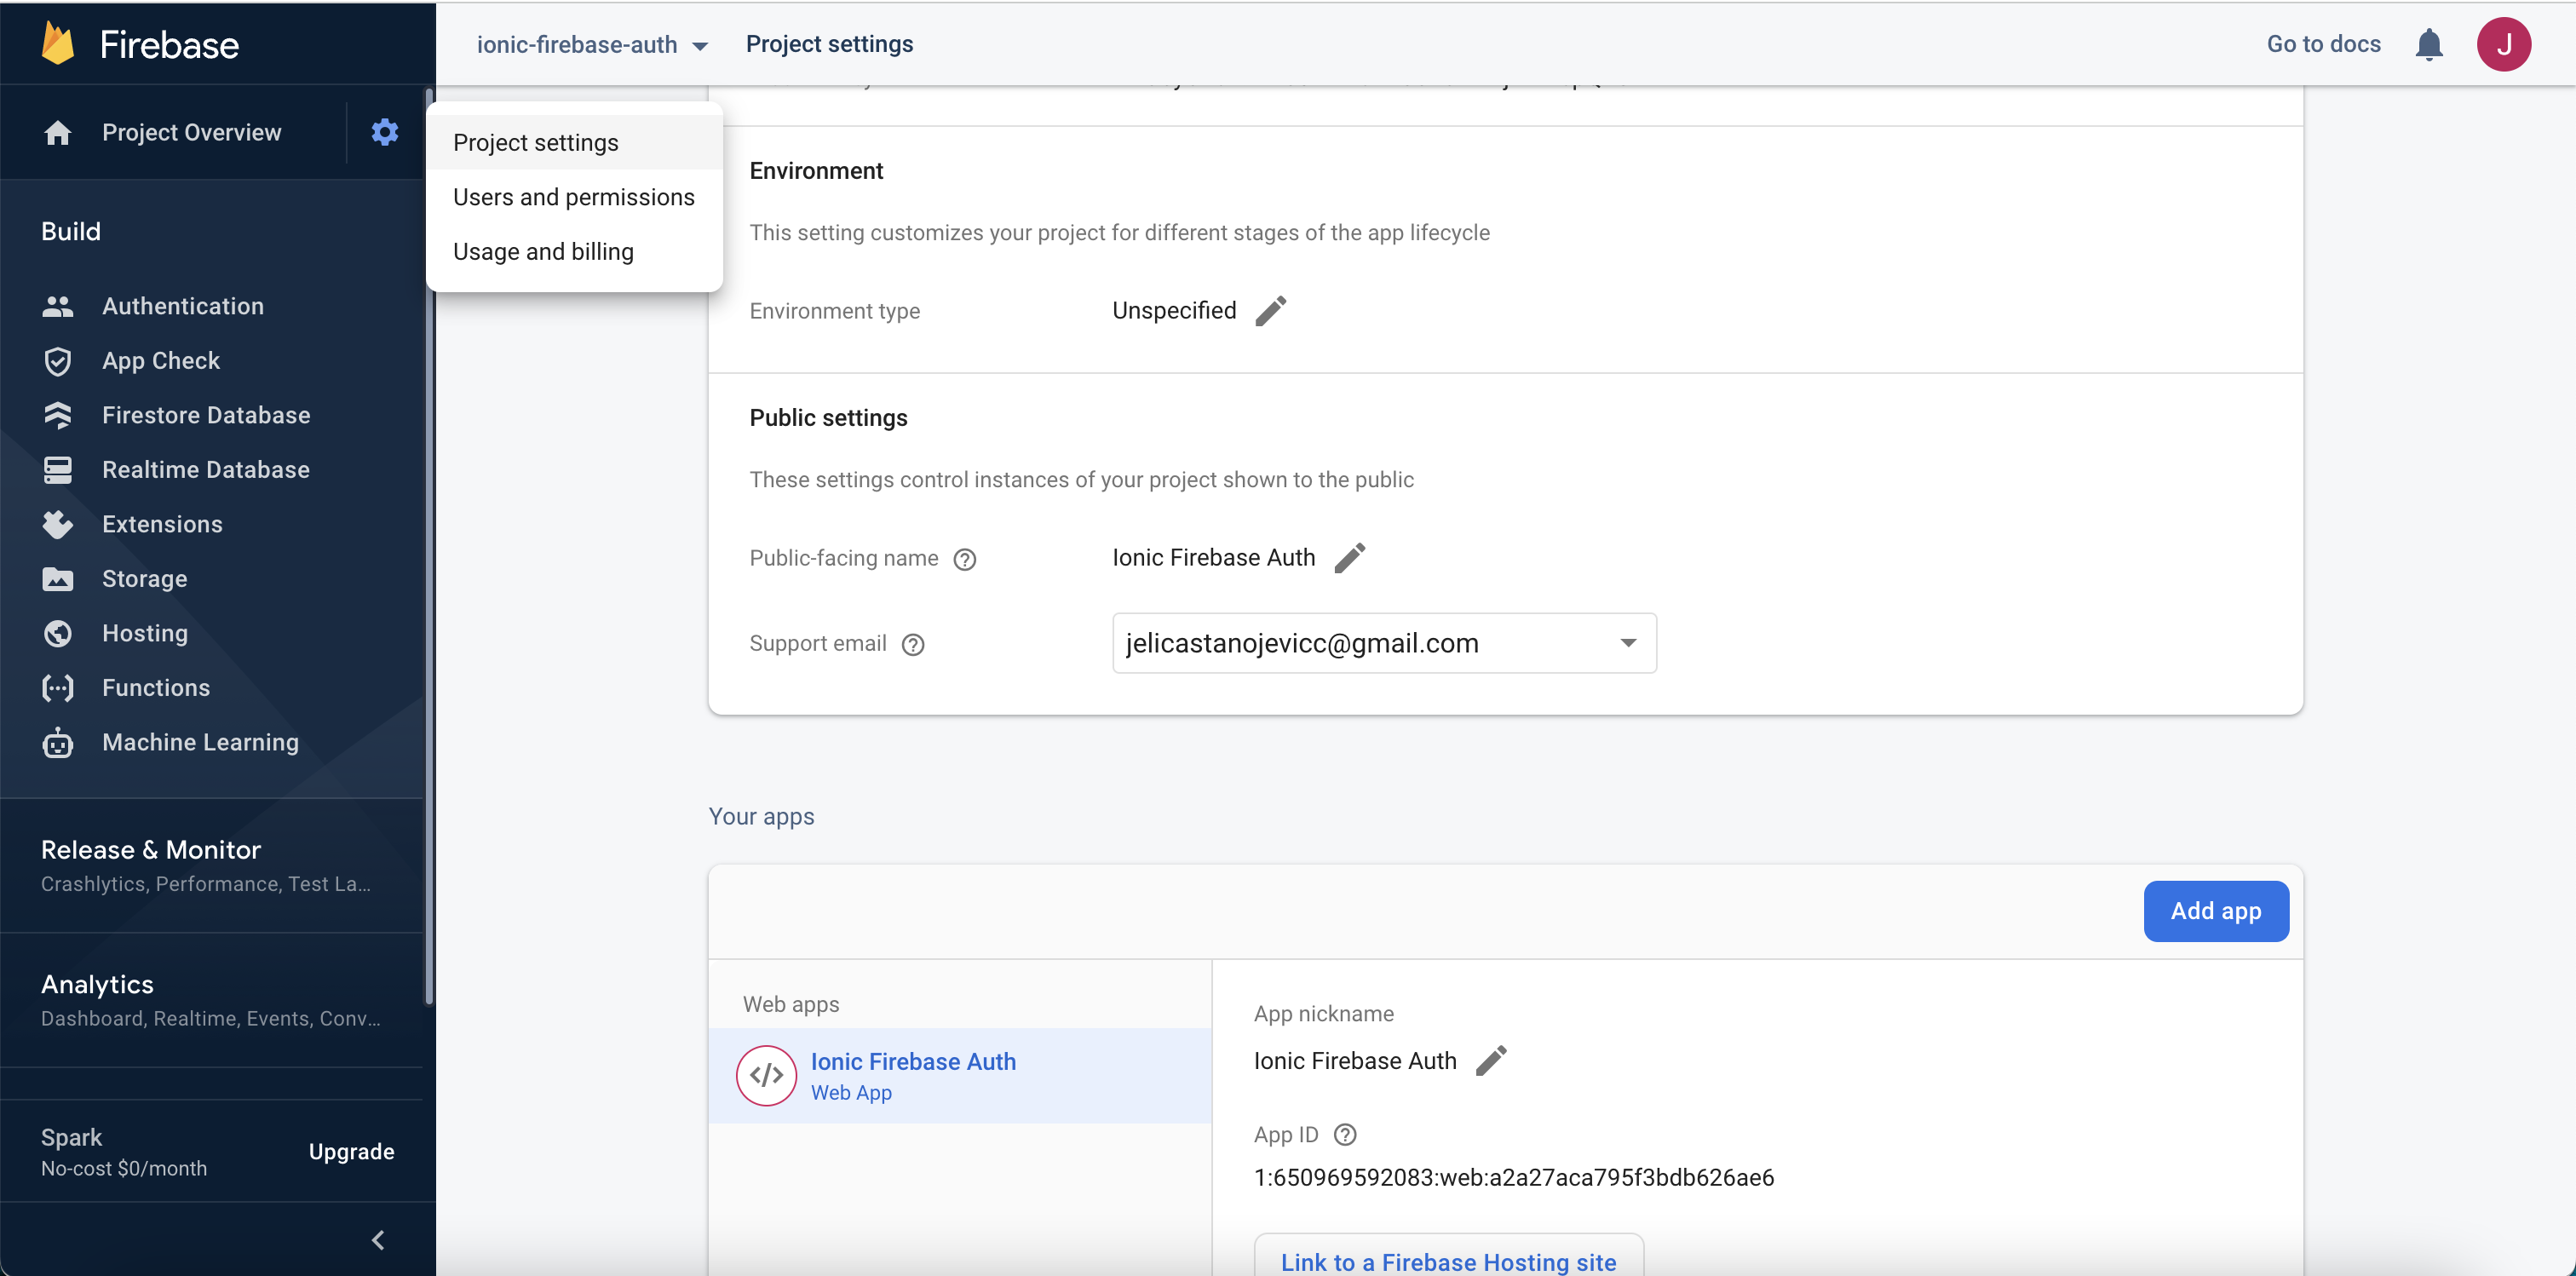
Click Add app button and choose android.
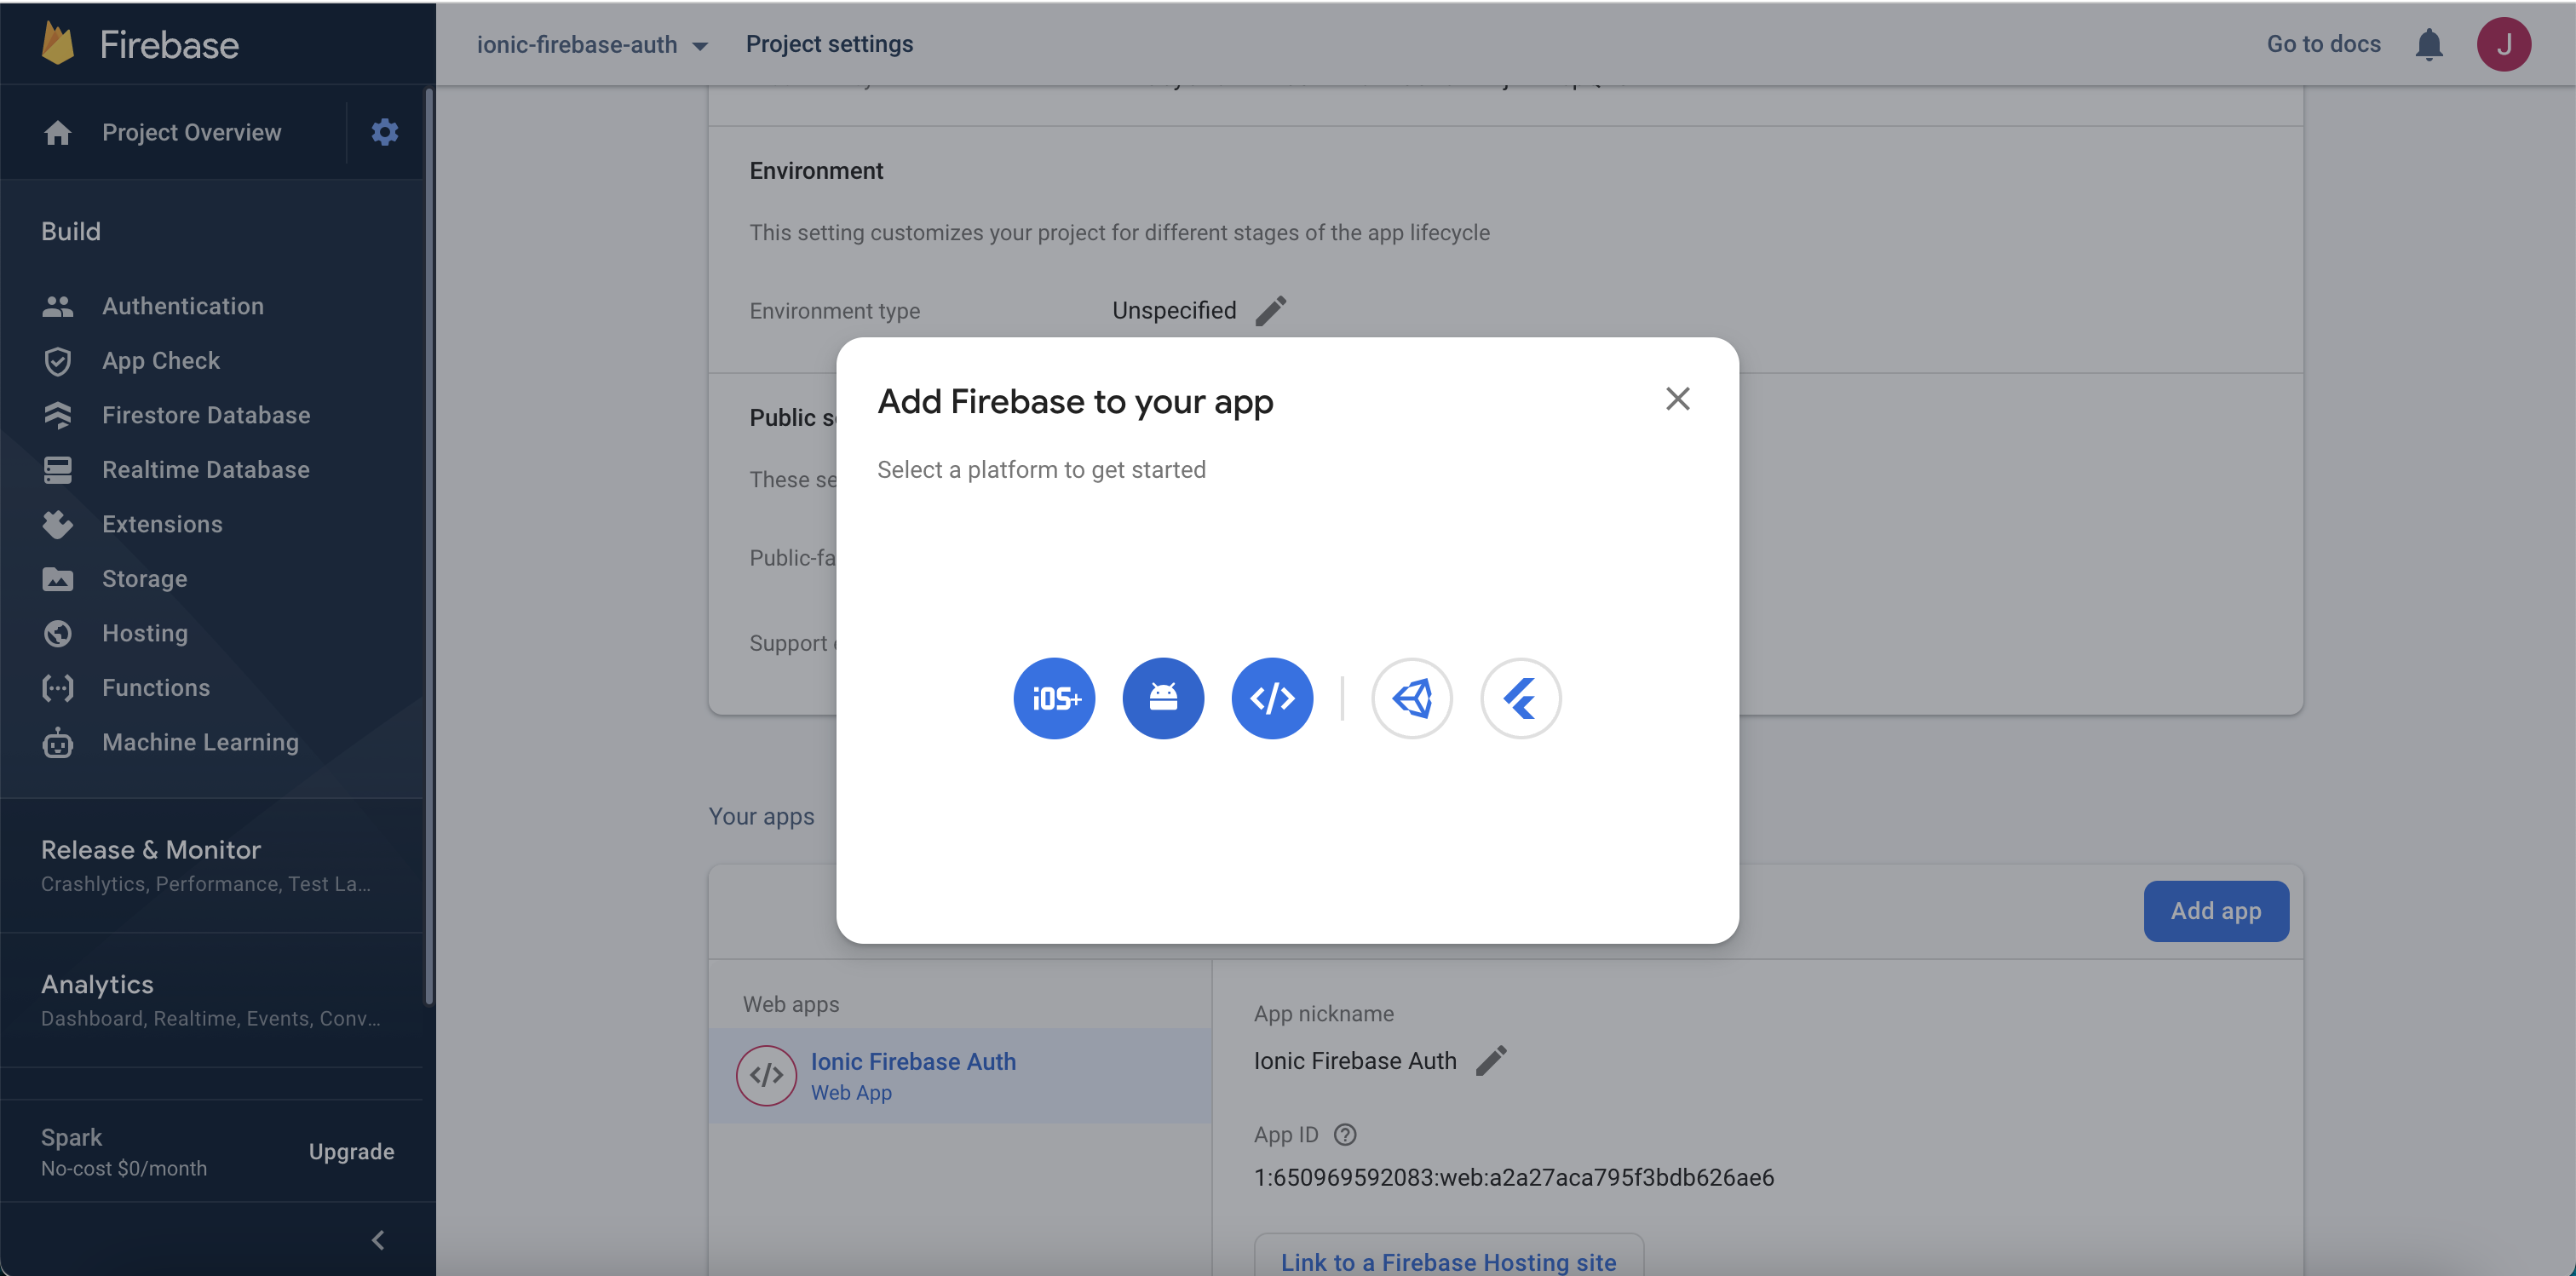
I named it com.ionicfirebaseauth.mobile (remember that appId in capcitor.config.ts file that I already updated has the same name). Copy previously generated SHA1 value from terminal. Click Register app.
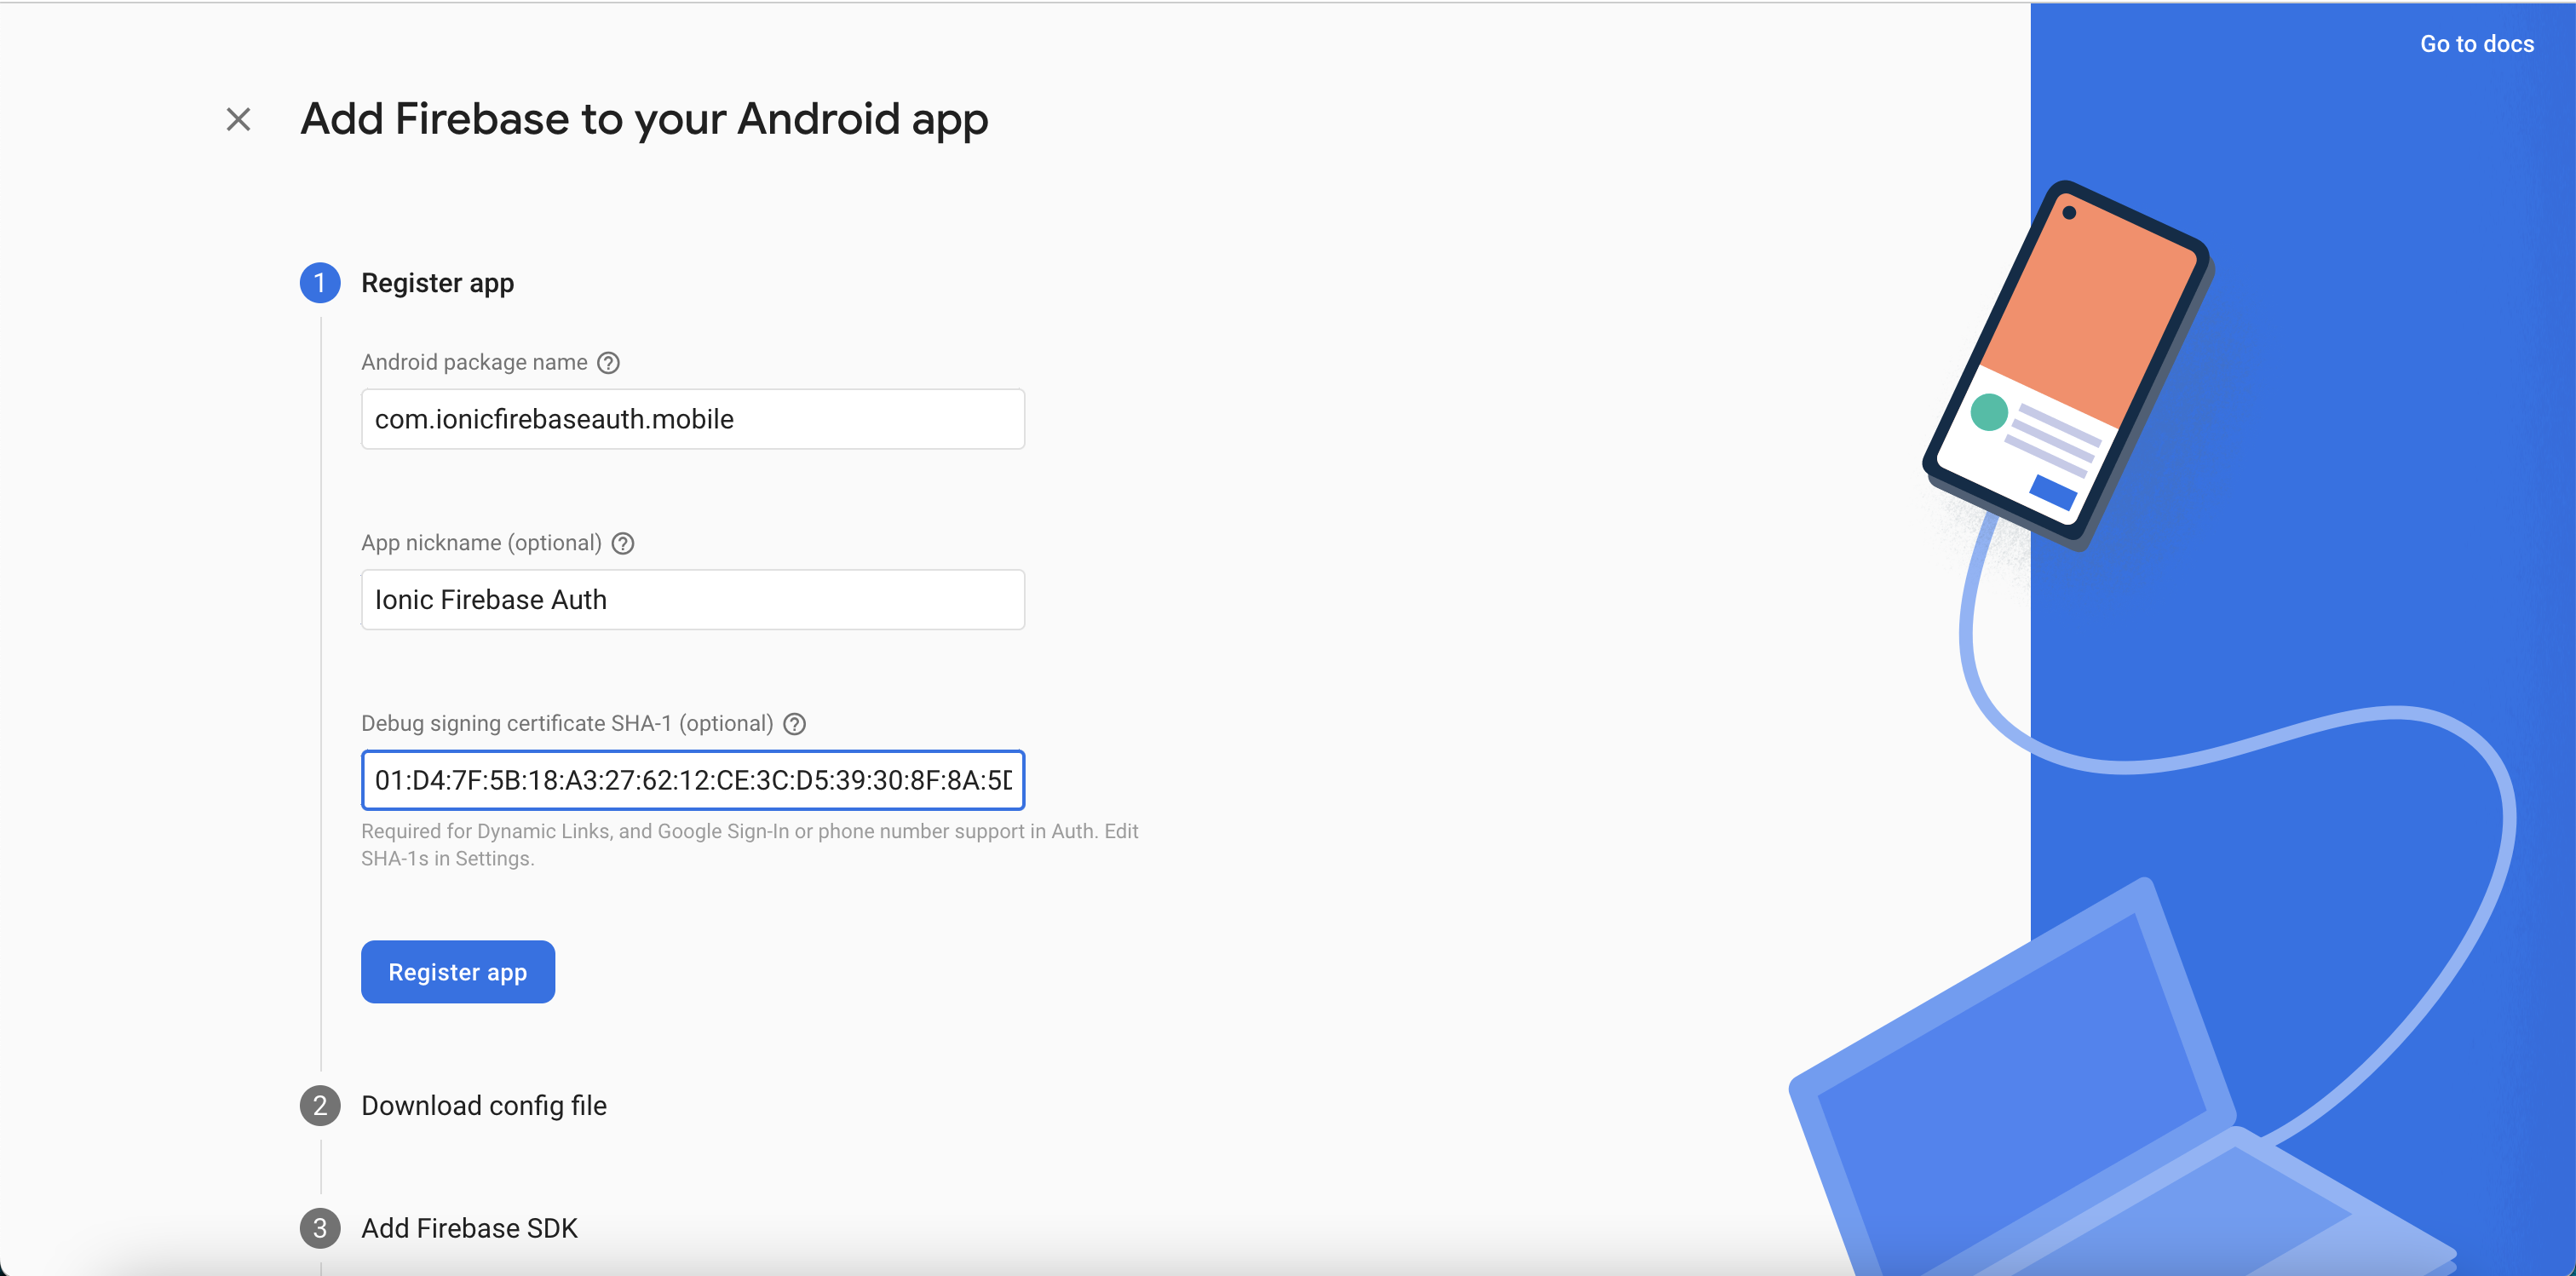
Download google-services.json file. Get back to Android studio. Copy google.services.json to android/app folder.

Then, open AndroidManifest file and make sure package name is appropriate
android/app/src/main/AndroidManifest
<manifest xmlns:android="http://schemas.android.com/apk/res/android" package="com.ionicfirebaseauth.mobile">
Follow instructions from Firebase for adding firebase SDK in the project.
In Project-level build.gradle if not there add following line.
android/build.gradle
dependencies {
        ...
   // Add this line
    classpath 'com.google.gms:google-services:4.3.10'
}
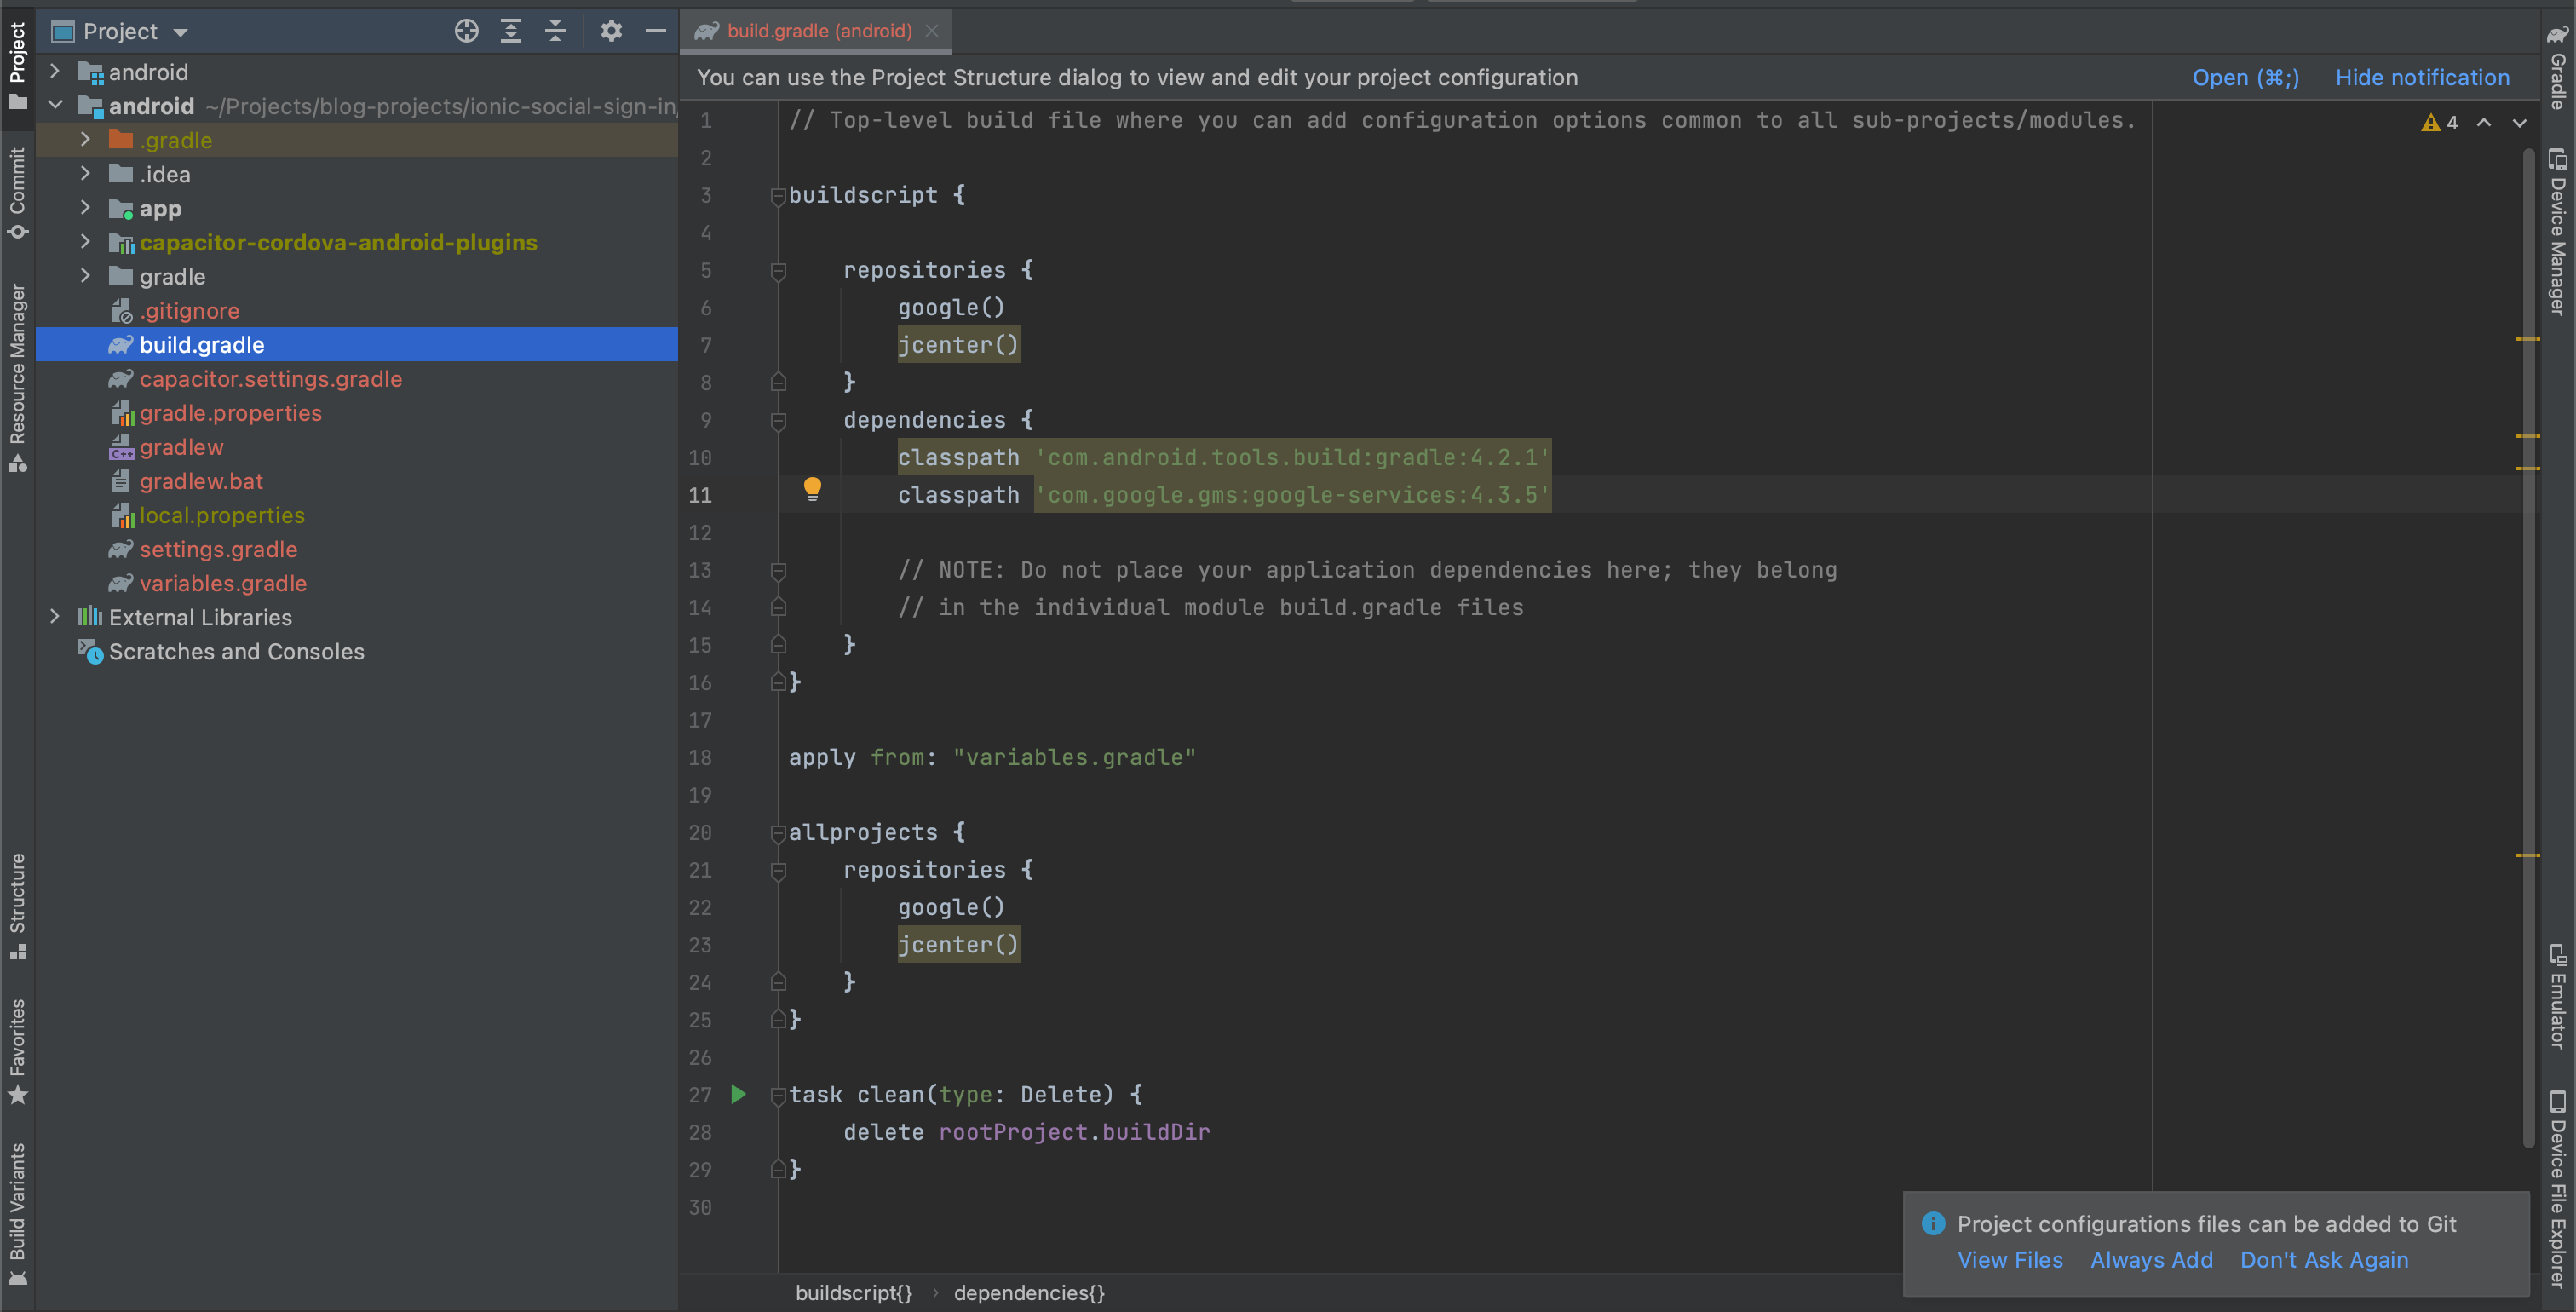
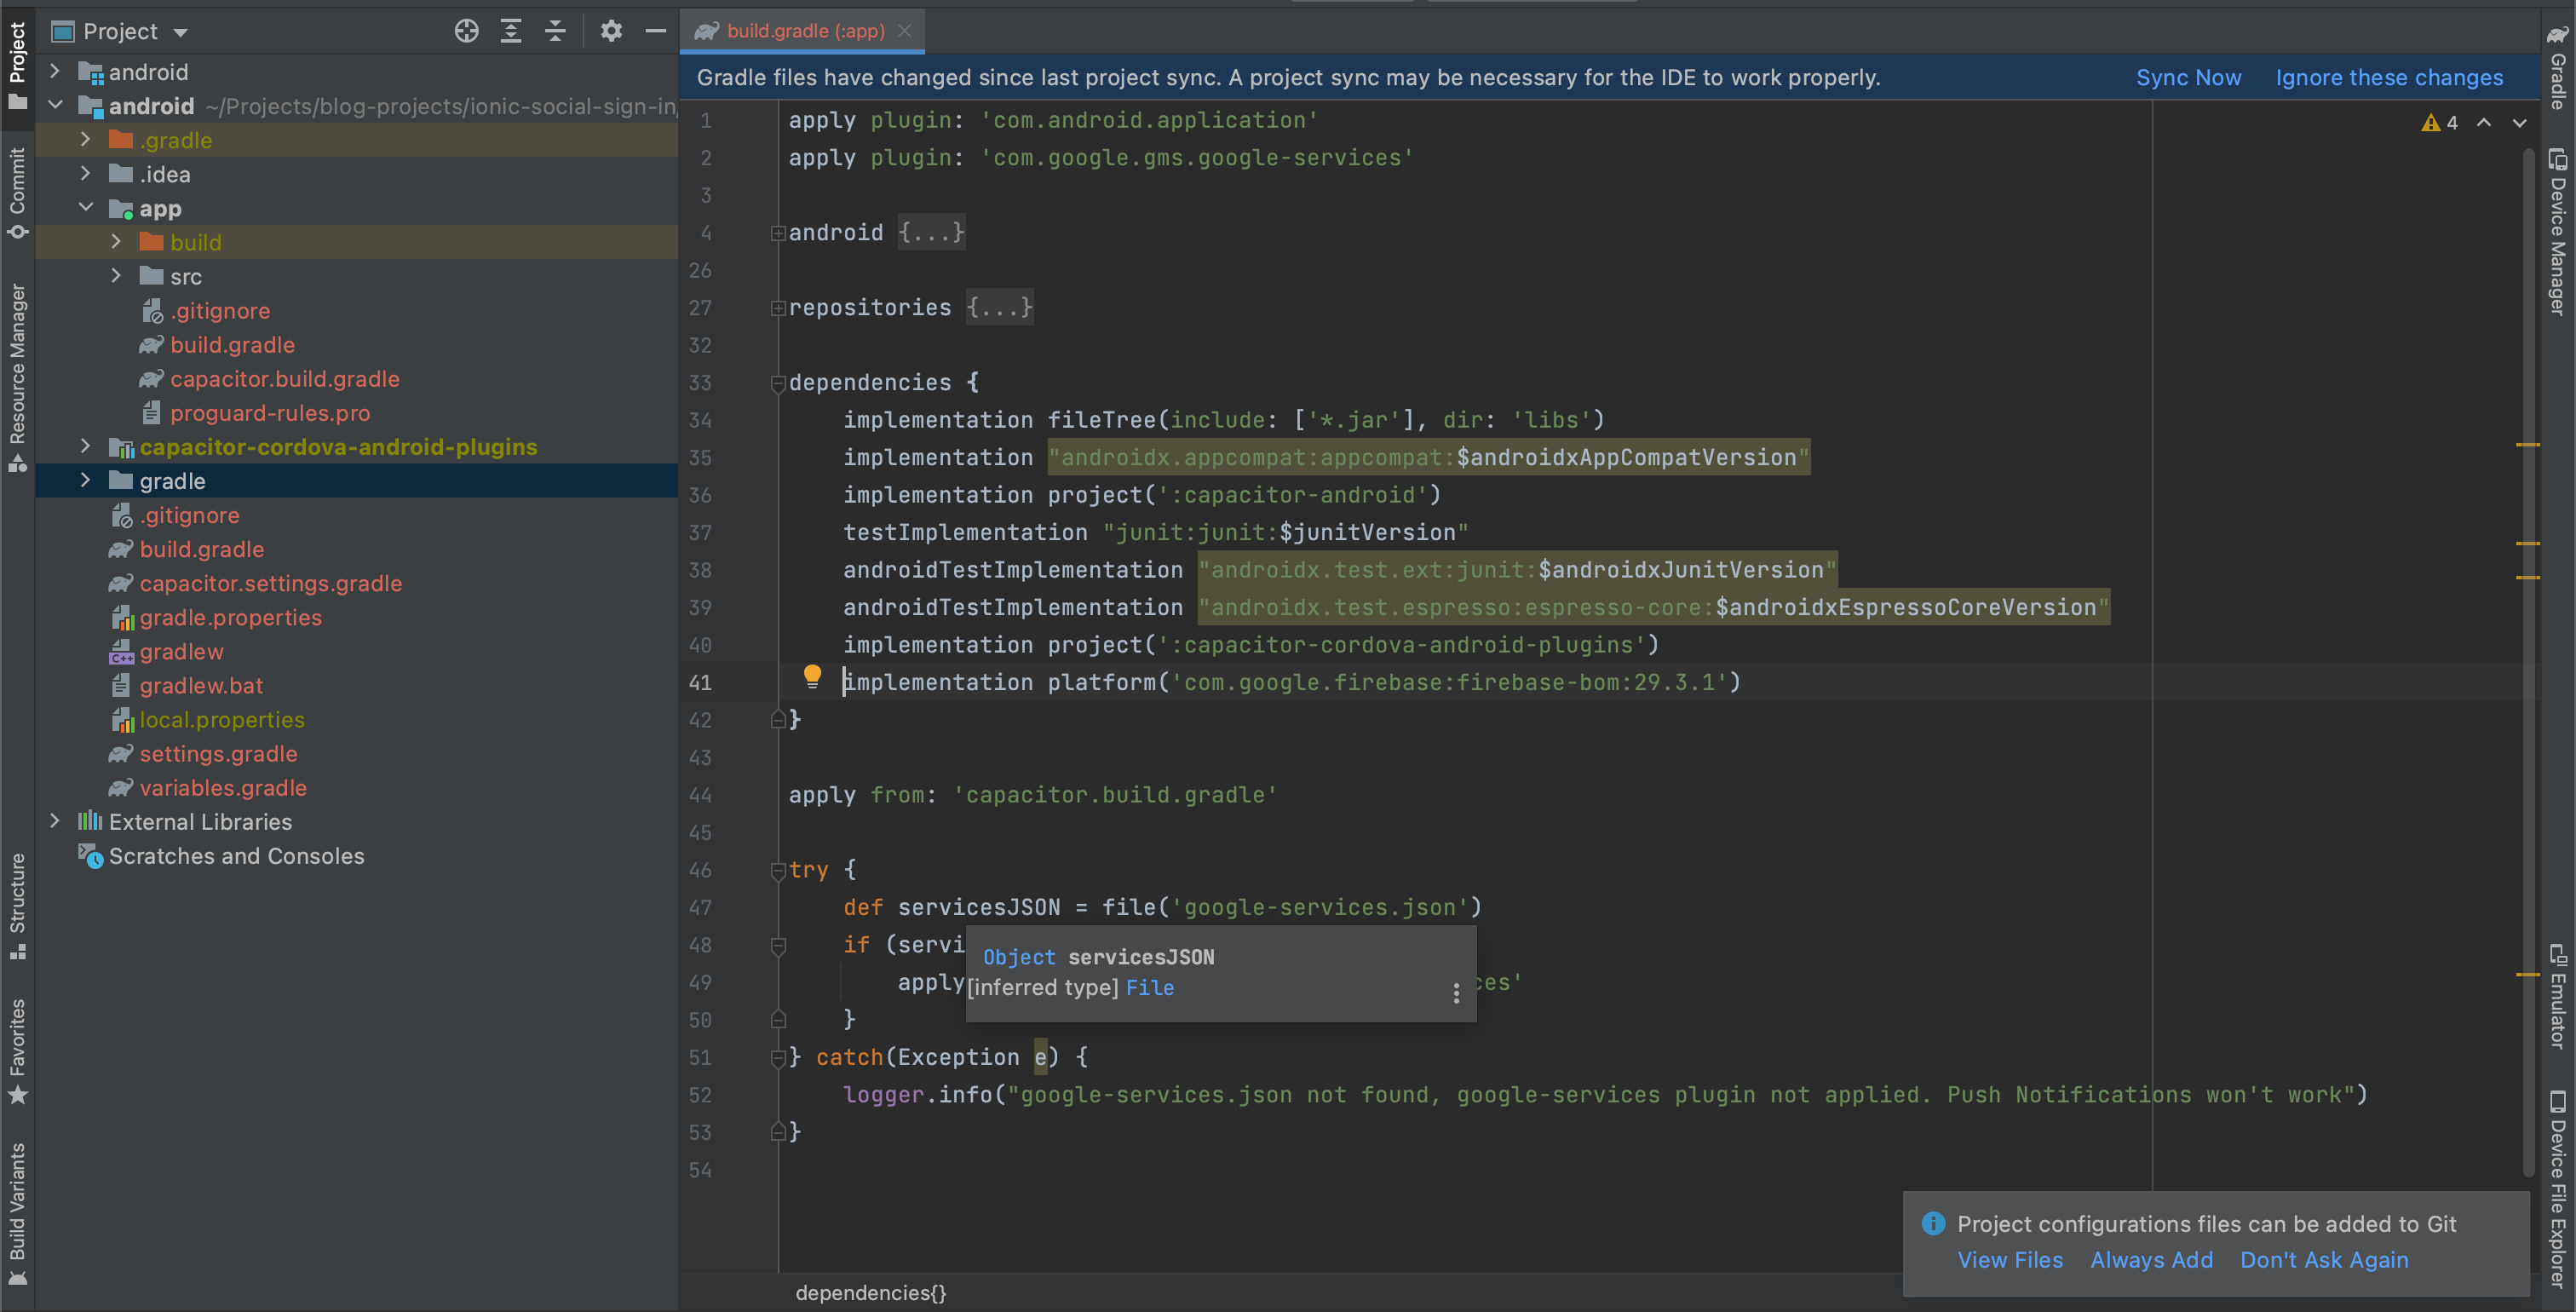
In app-level build.gradle add following lines.
android/app/build.gradle
apply plugin: 'com.google.gms.google-services'
...
dependencies {
...
// Import the Firebase BoM
implementation platform('com.google.firebase:firebase-bom:29.3.1')
}
Update MainActivity.java file as follows.
app/src/main/java/../MainActivity.java
package com.ionicfirebaseauth.mobile;

import android.os.Bundle;

import com.getcapacitor.BridgeActivity;
import com.baumblatt.capacitor.firebase.auth.CapacitorFirebaseAuth;
import com.getcapacitor.Plugin;

import java.util.ArrayList;

public class MainActivity extends BridgeActivity {

    @Override
    public void onCreate(Bundle savedInstanceState) {
        super.onCreate(savedInstanceState);

        this.init(savedInstanceState, new ArrayList<Class<? extends Plugin>>() { {
            add(CapacitorFirebaseAuth.class)
        } });
    }
}
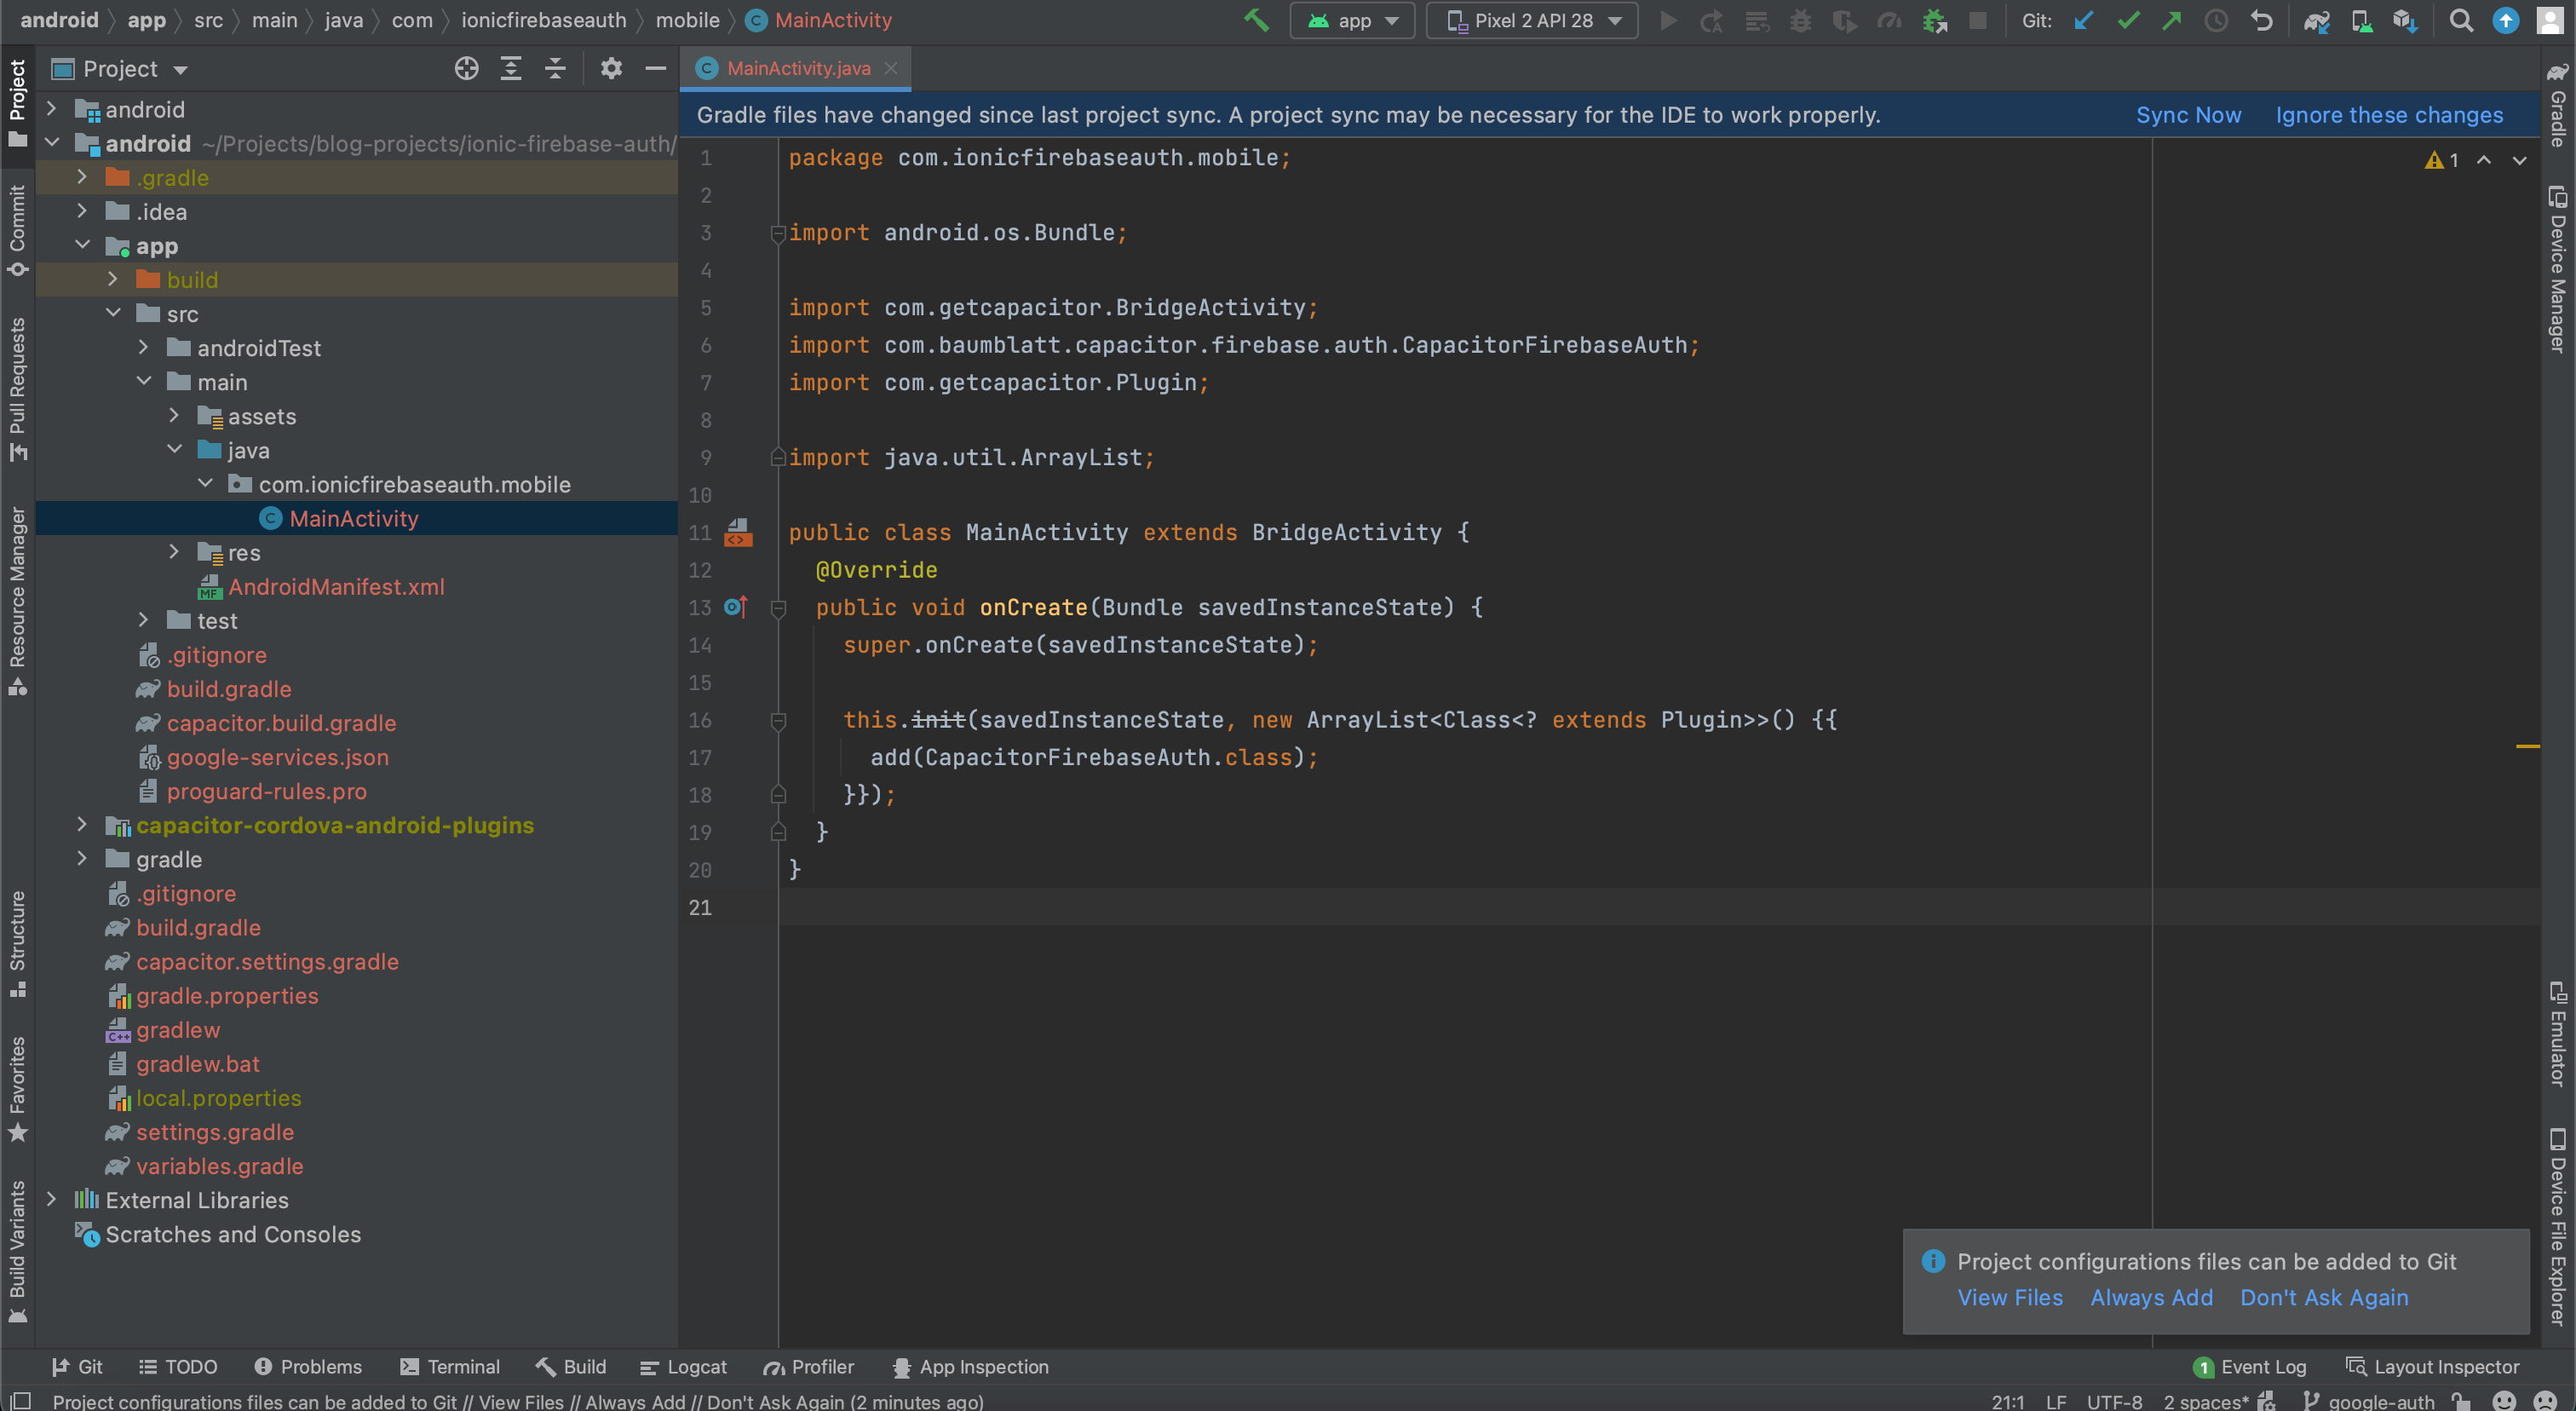
Sync project with gradle files. (File/Sync Project with Gradle Files)
Make a project and run it on an AVD emulator (I used Pixel 2 API 28).
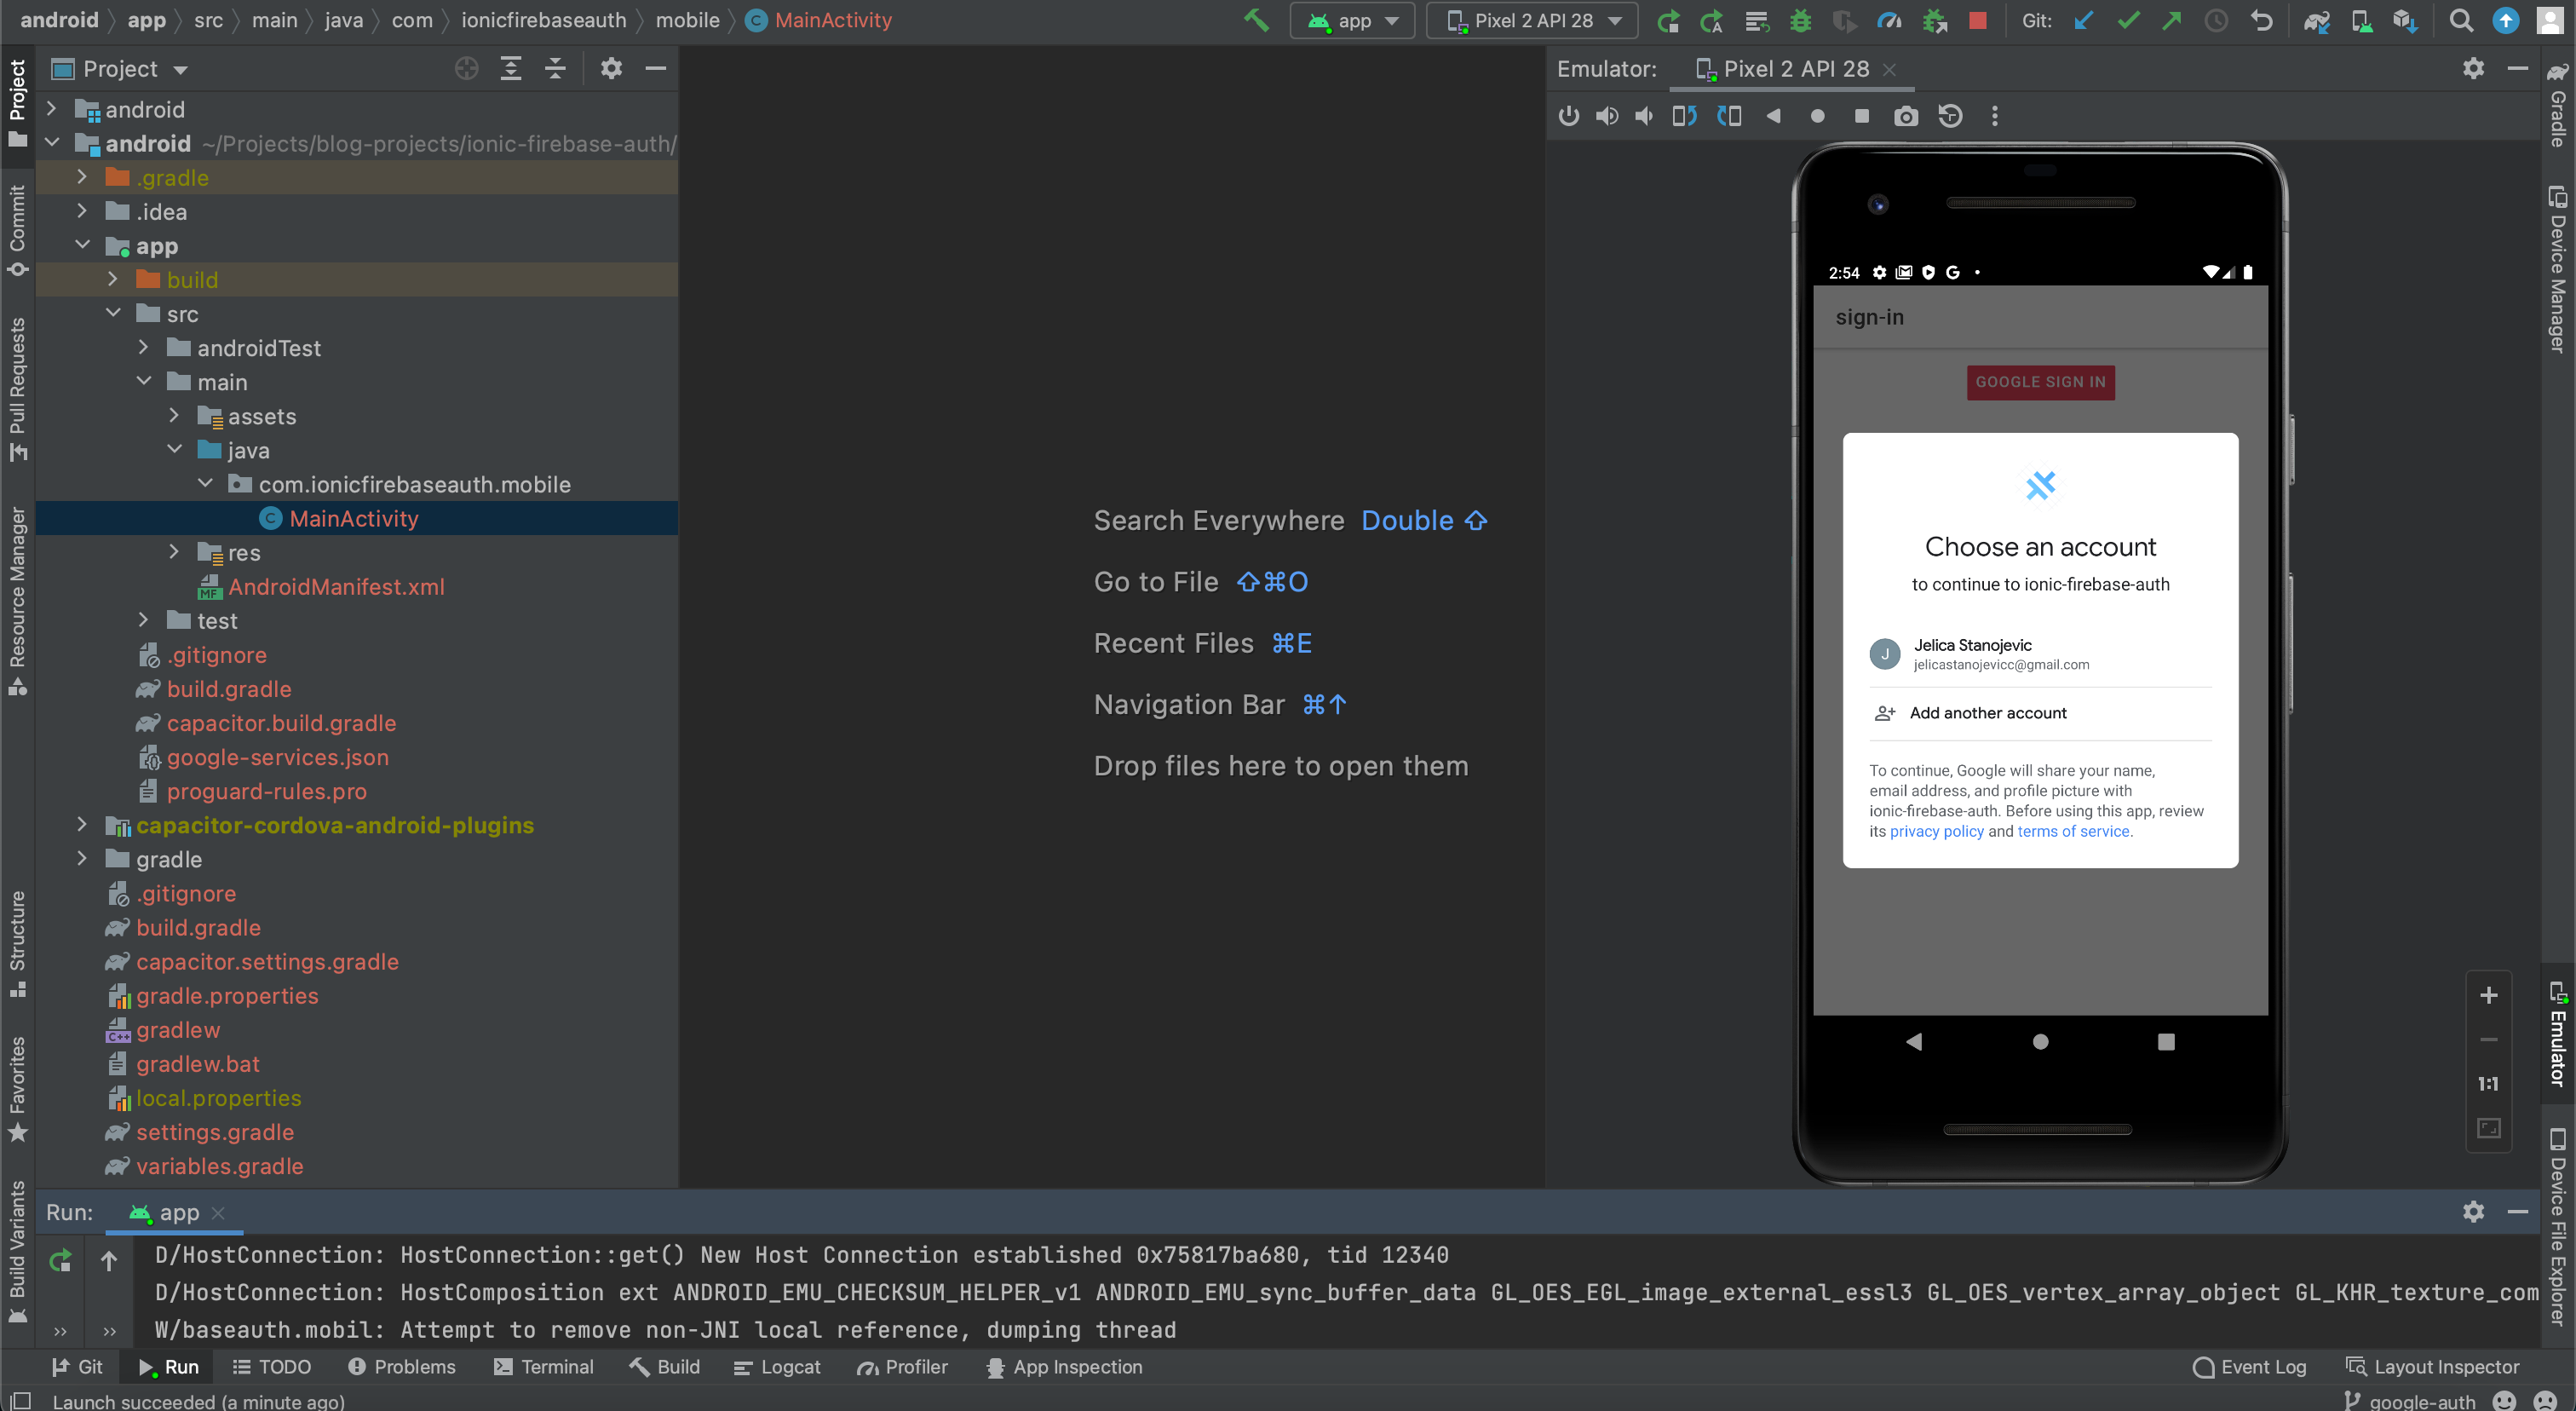
Now you can further develop your application with Google provider enabled.