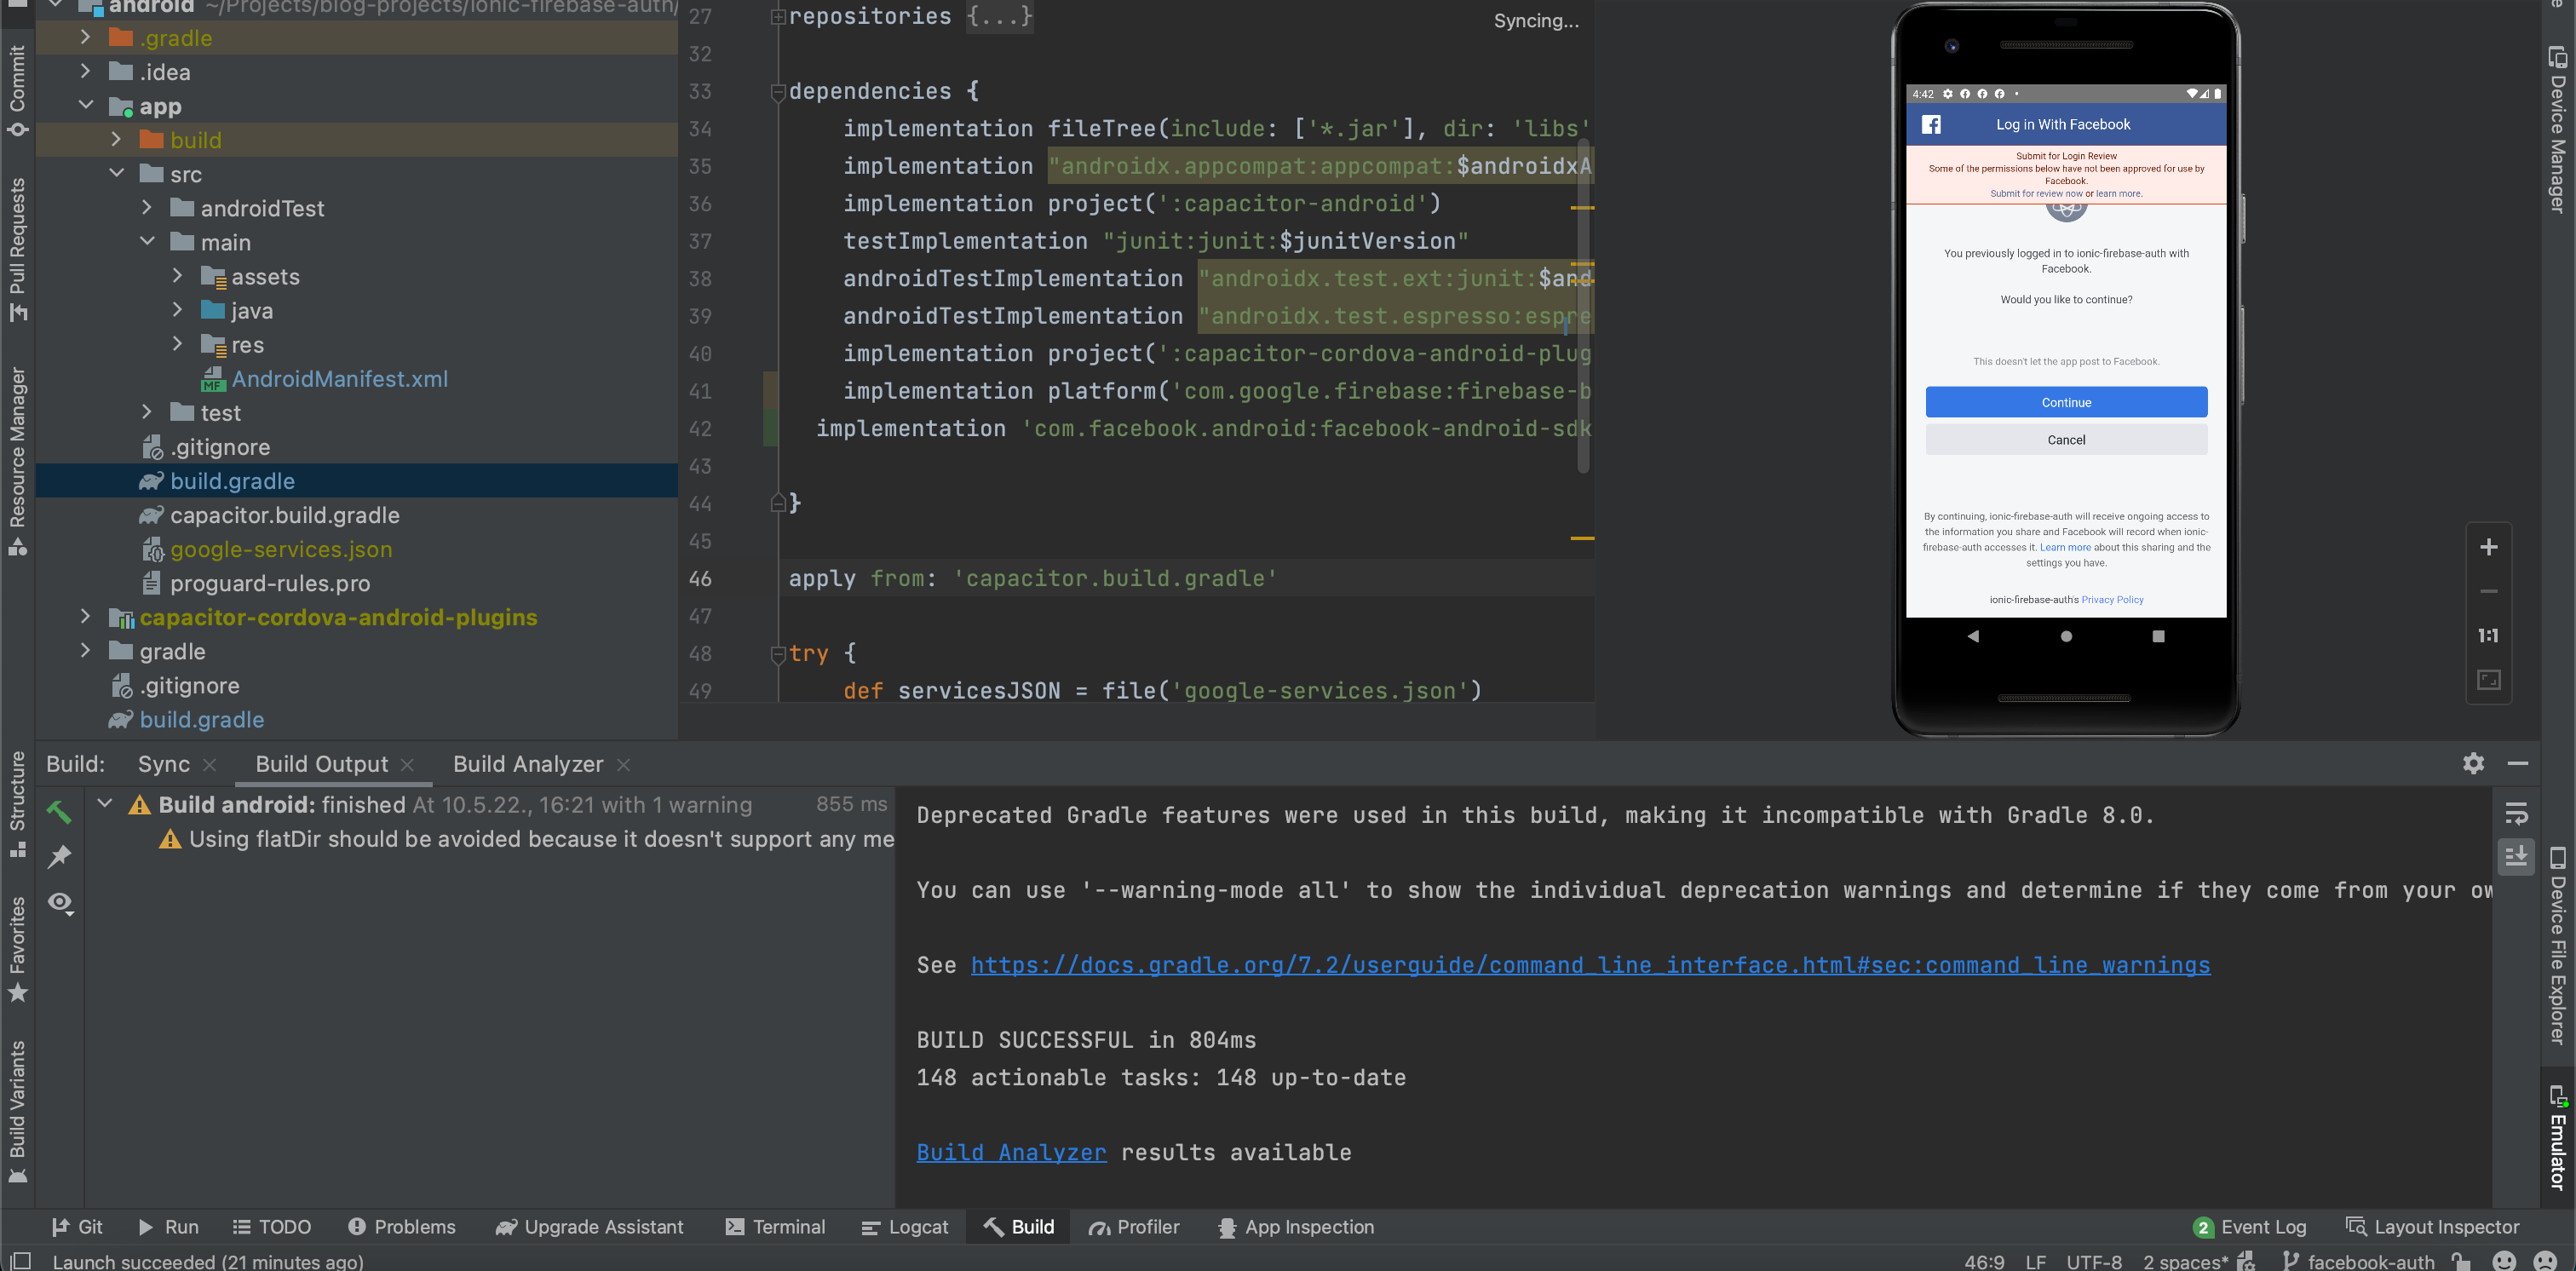
Facebook sign up in Ionic with capacitor-firebase-auth
In this post I am going to show you how to implement Firebase Authentication with Facebook provider for Ionic apps with a help of Capacitor plugin for Firebase Authentication capacitor-firebase-auth. I am going to fully configure app for web browsers and android OS. If you want me to update post for iOS feel free to reach out.
This post is second in a series of Ionic Firebase Authentication with external providers. First one is here.
Requirements: Installed Node, Ionic CLI, Android Studio and followed first part of Ionic Firebase Authentication tutorial in which Ionic app and Firebase project is created.
Project code can be found here.
Table of Contents
Update Ionic project
We are going to update already existing and configured project for Google sign in. Creating project from scratch is shown in previous post.
Update sign-in page with a button for testing facebook sign in like shown.
sign-in/sign-in.page.html
<ion-header>
 <ion-toolbar>
   <ion-title>sign-in</ion-title>
 </ion-toolbar>
</ion-header>

<ion-content>
 <ion-buttons class="ion-justify-content-center ion-margin-top">
   <ion-button color="danger" fill="solid" (click)="signInWithGoogle()>
     Google sign in
   </ion-button>
   <ion-button color="primary" fill="solid">
     Facebook sign in
   </ion-button>
 </ion-buttons>
</ion-content>
Meta for developers setup
In order to enable Facebook sign up in our application, we most create and configure new app on Meta for developers platform.
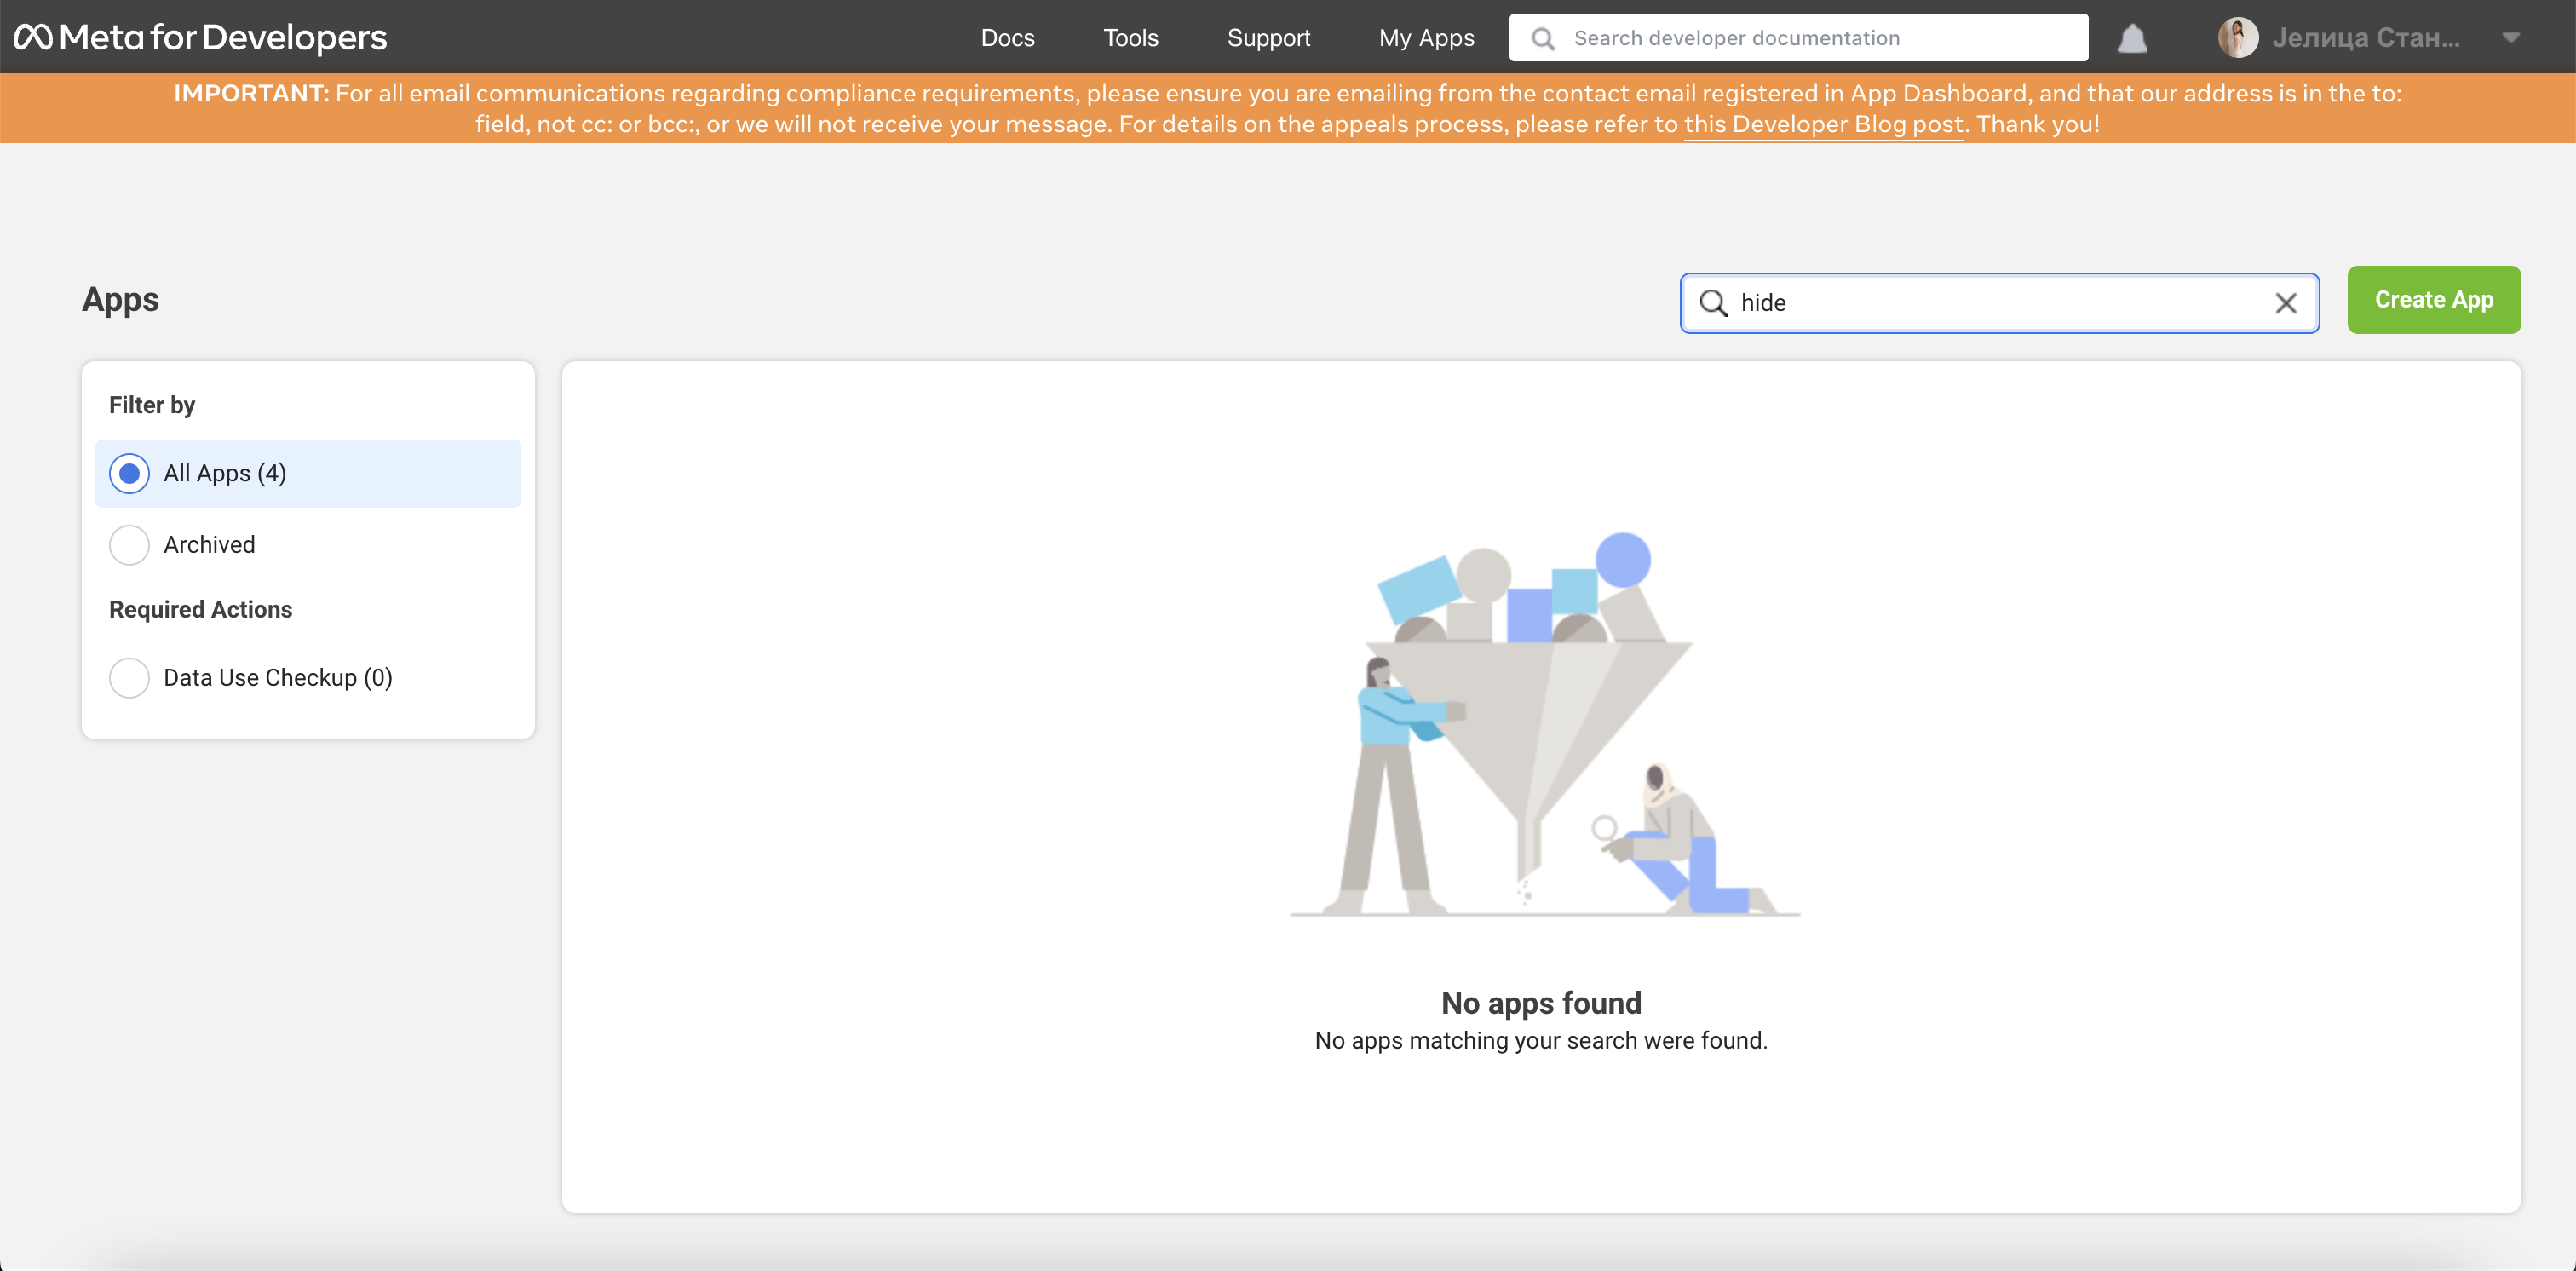
Go to Meta for developers and create new app.
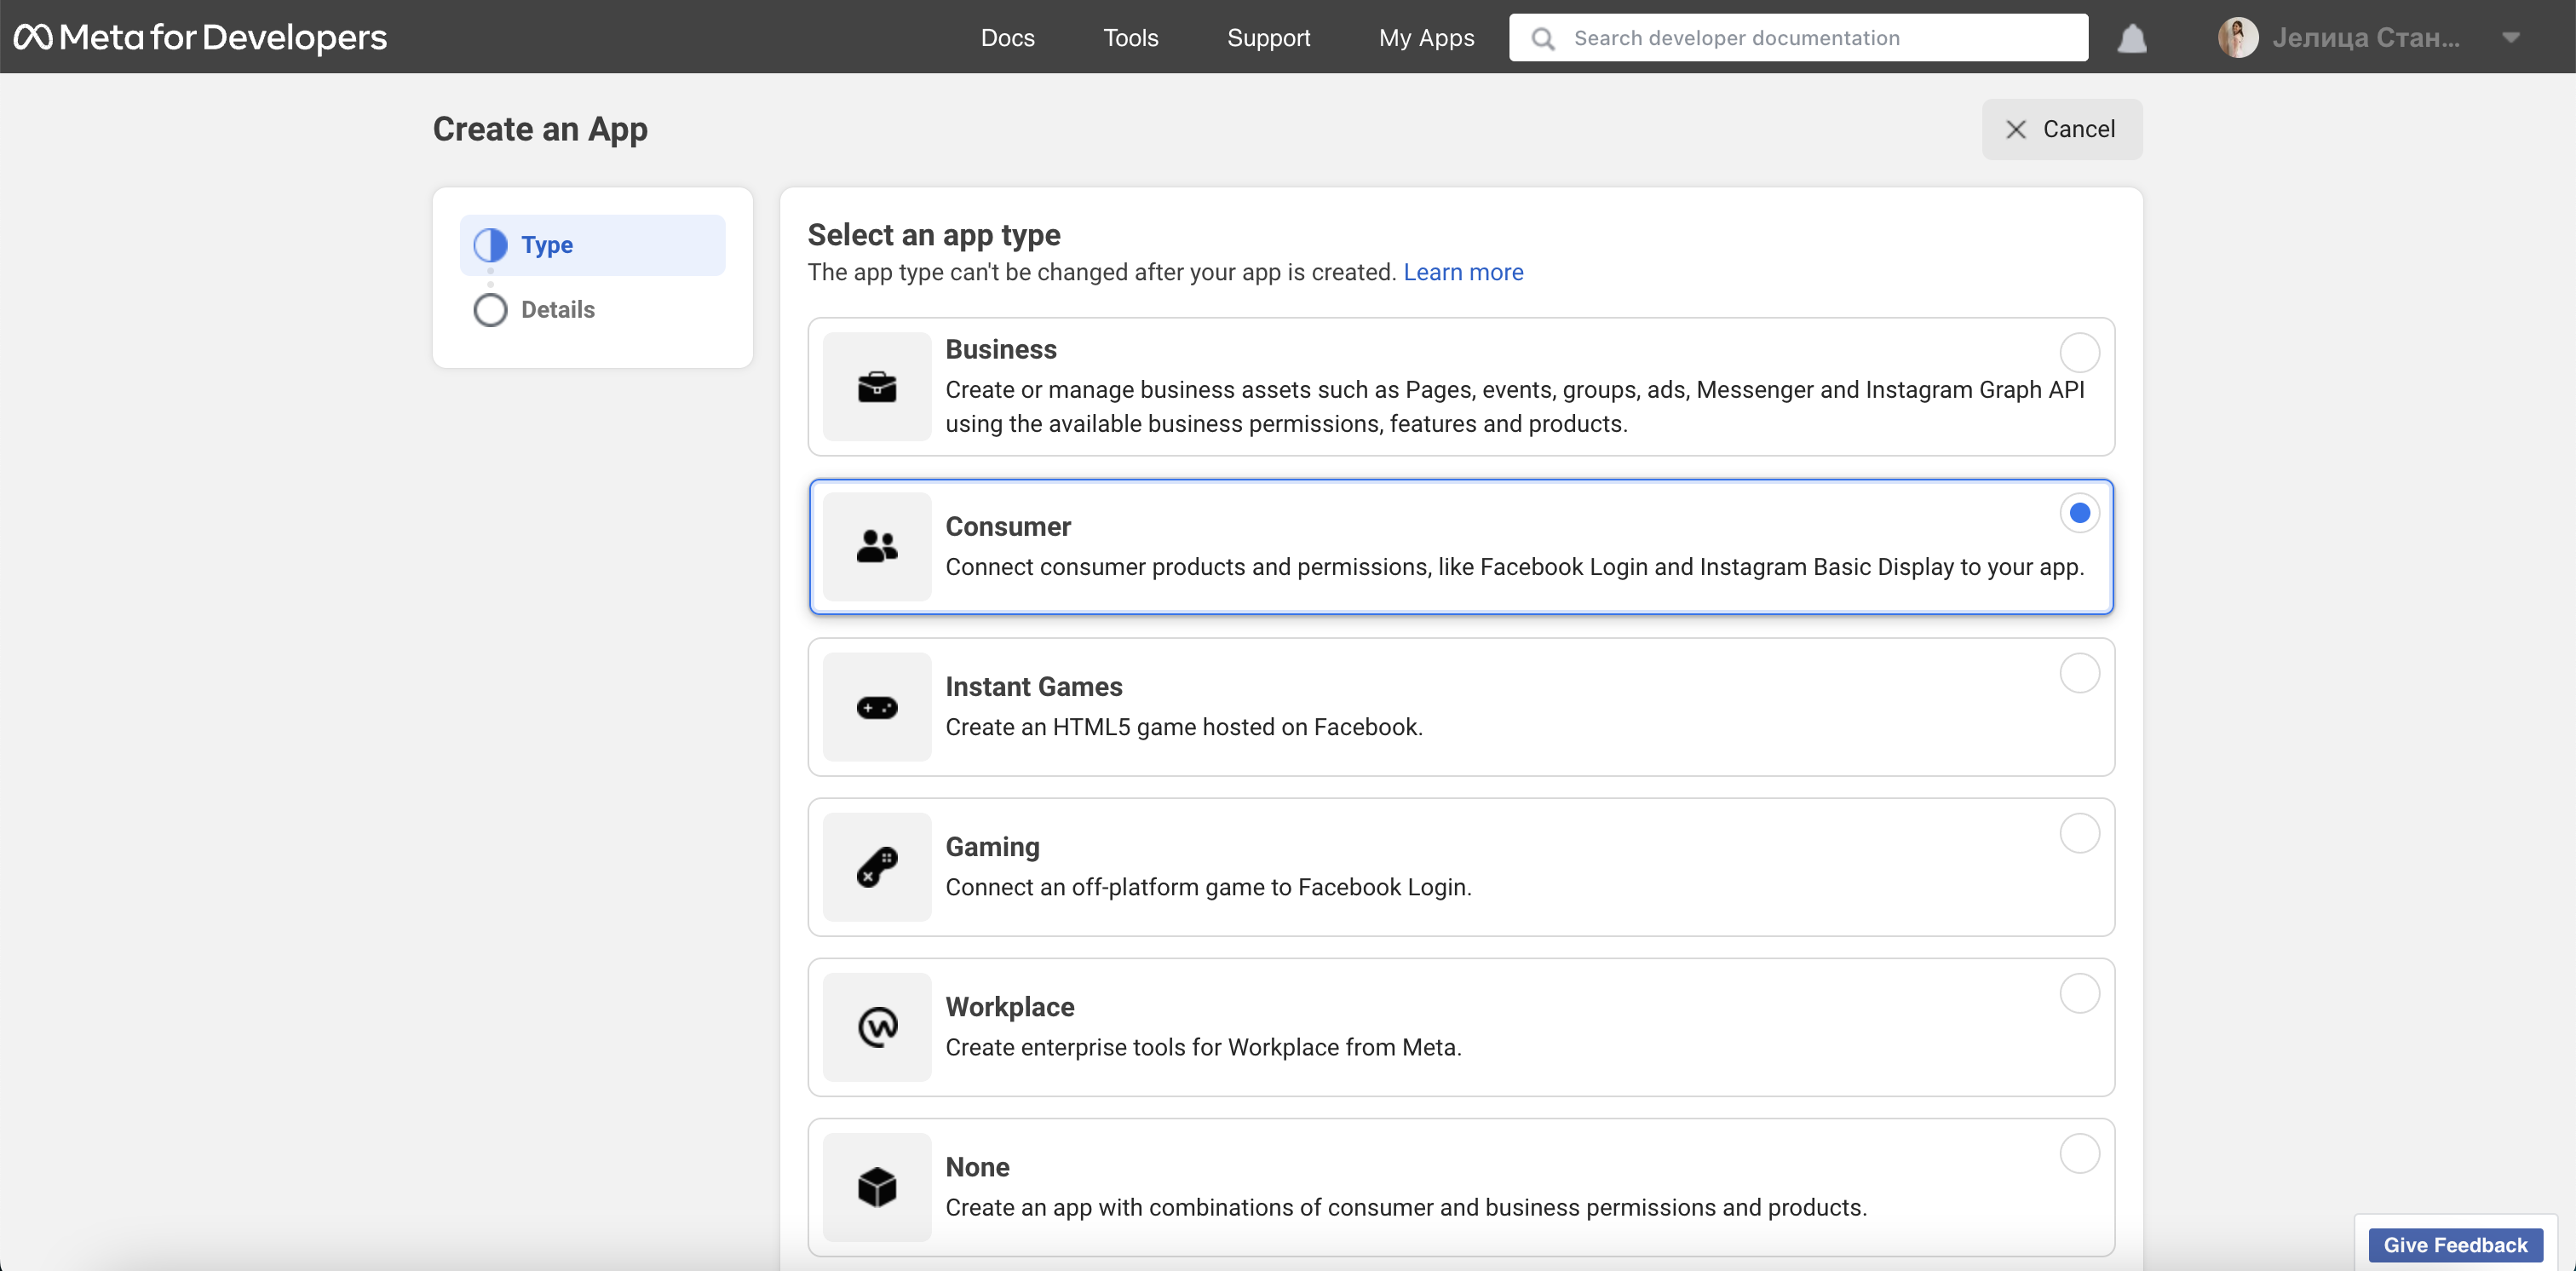
When prompted, select Consumer type of app and click Next button.
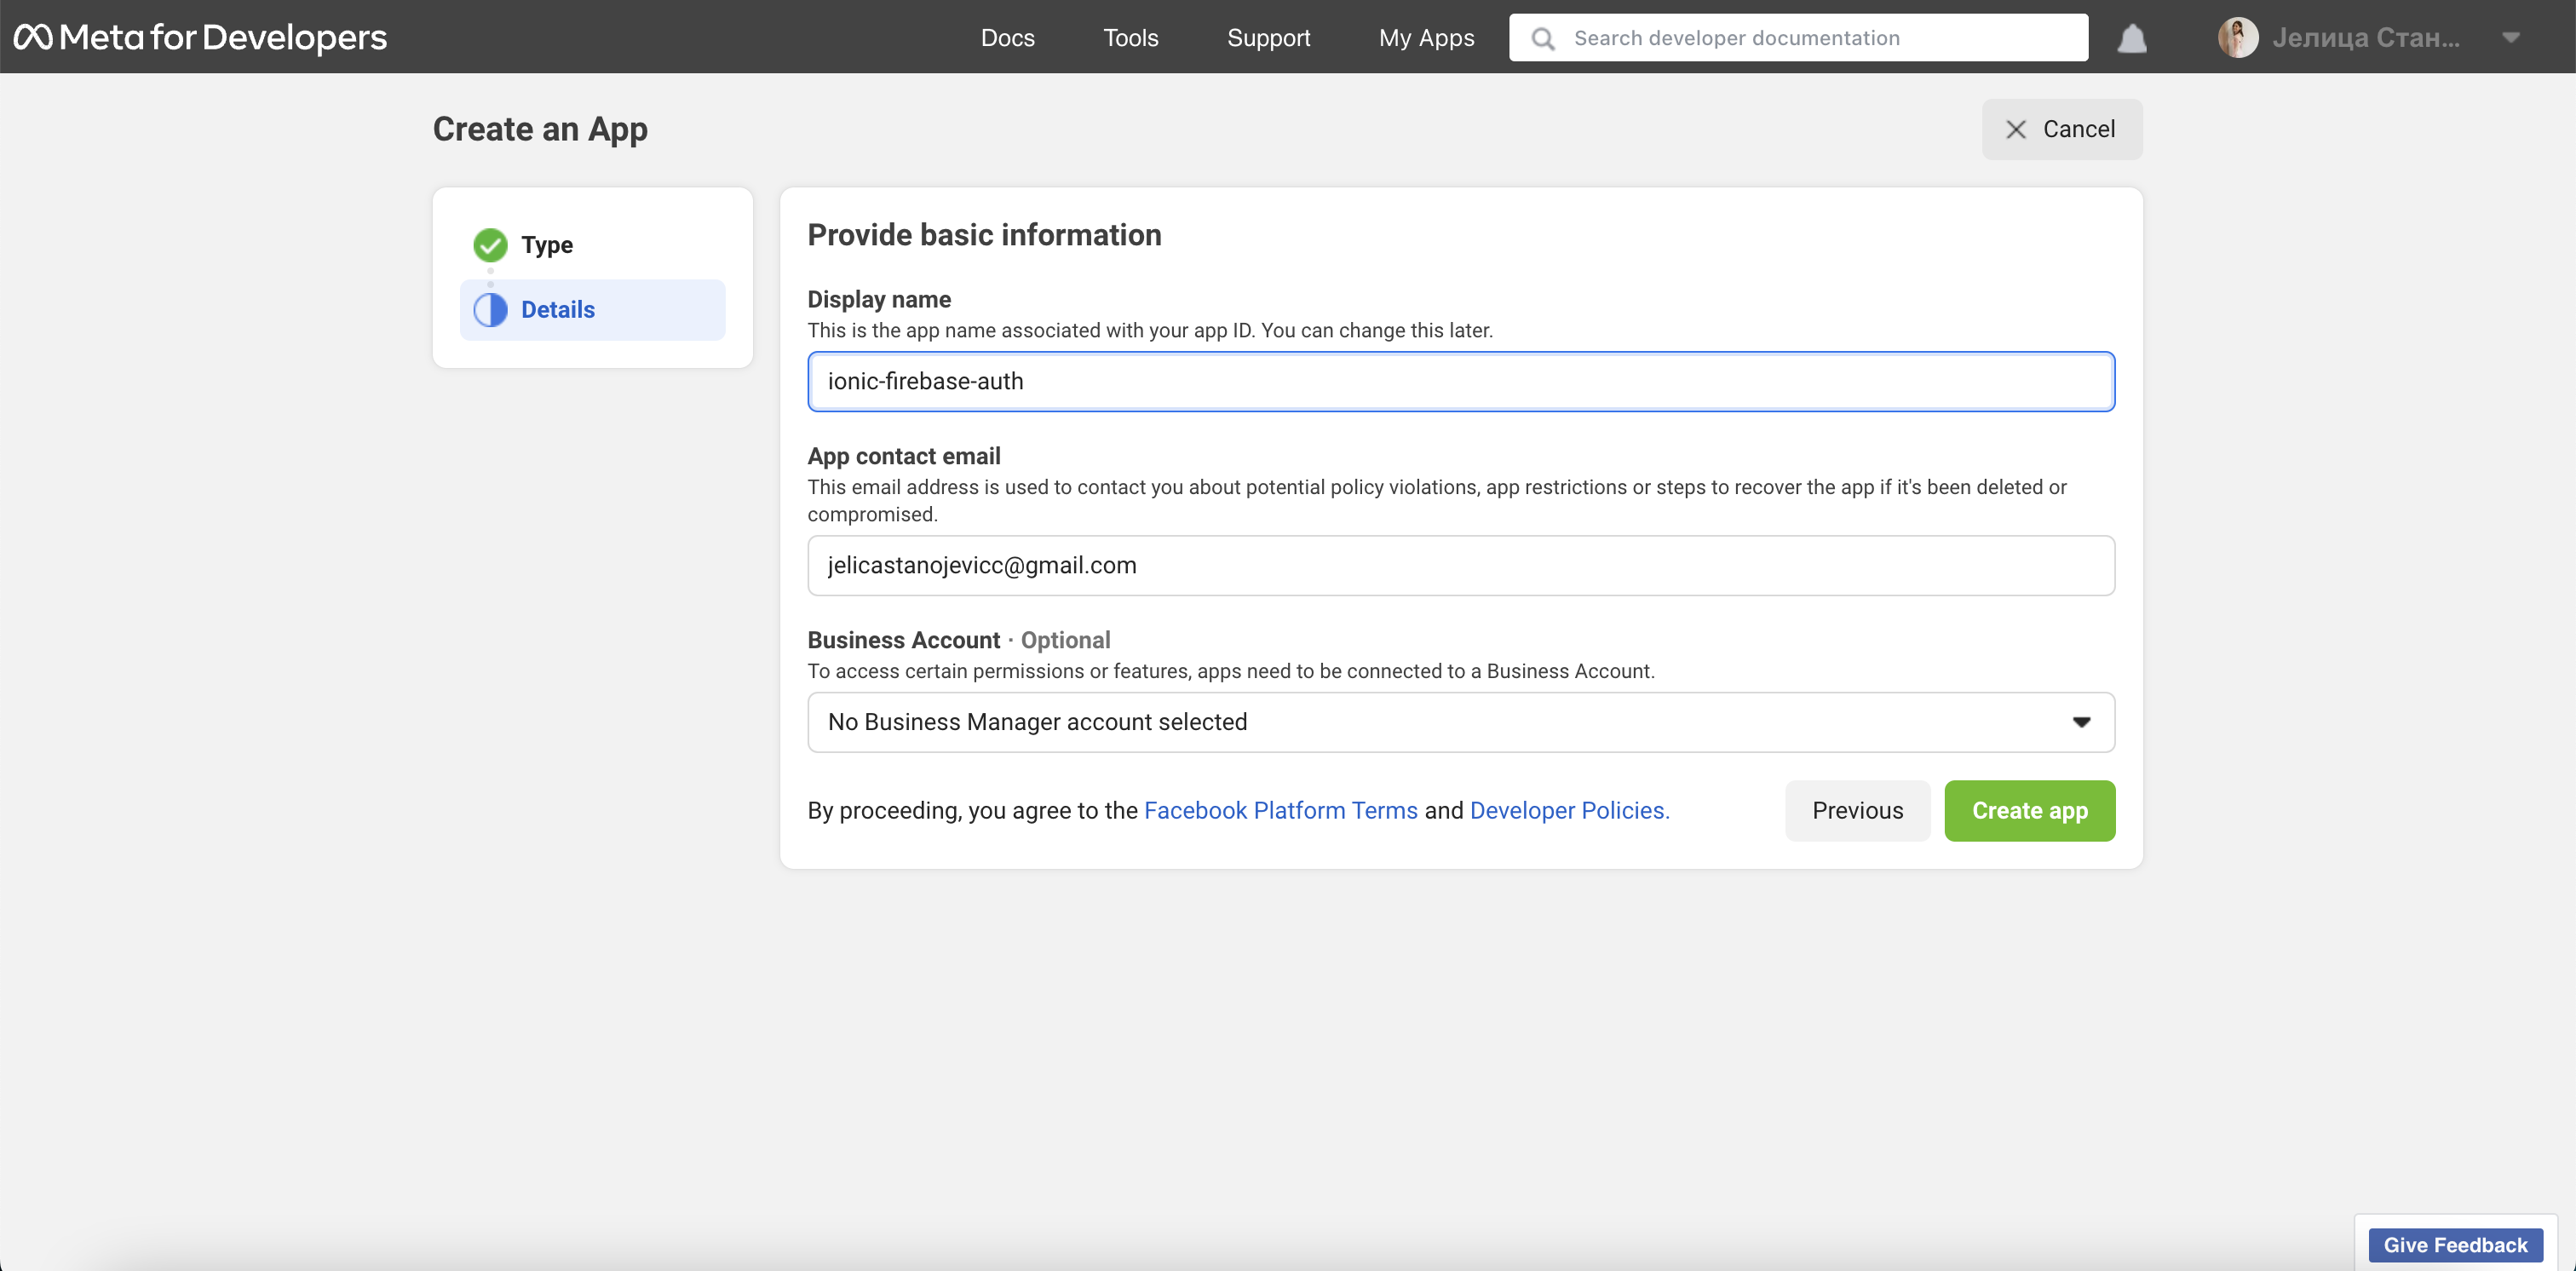
Insert display name and click Create app button.
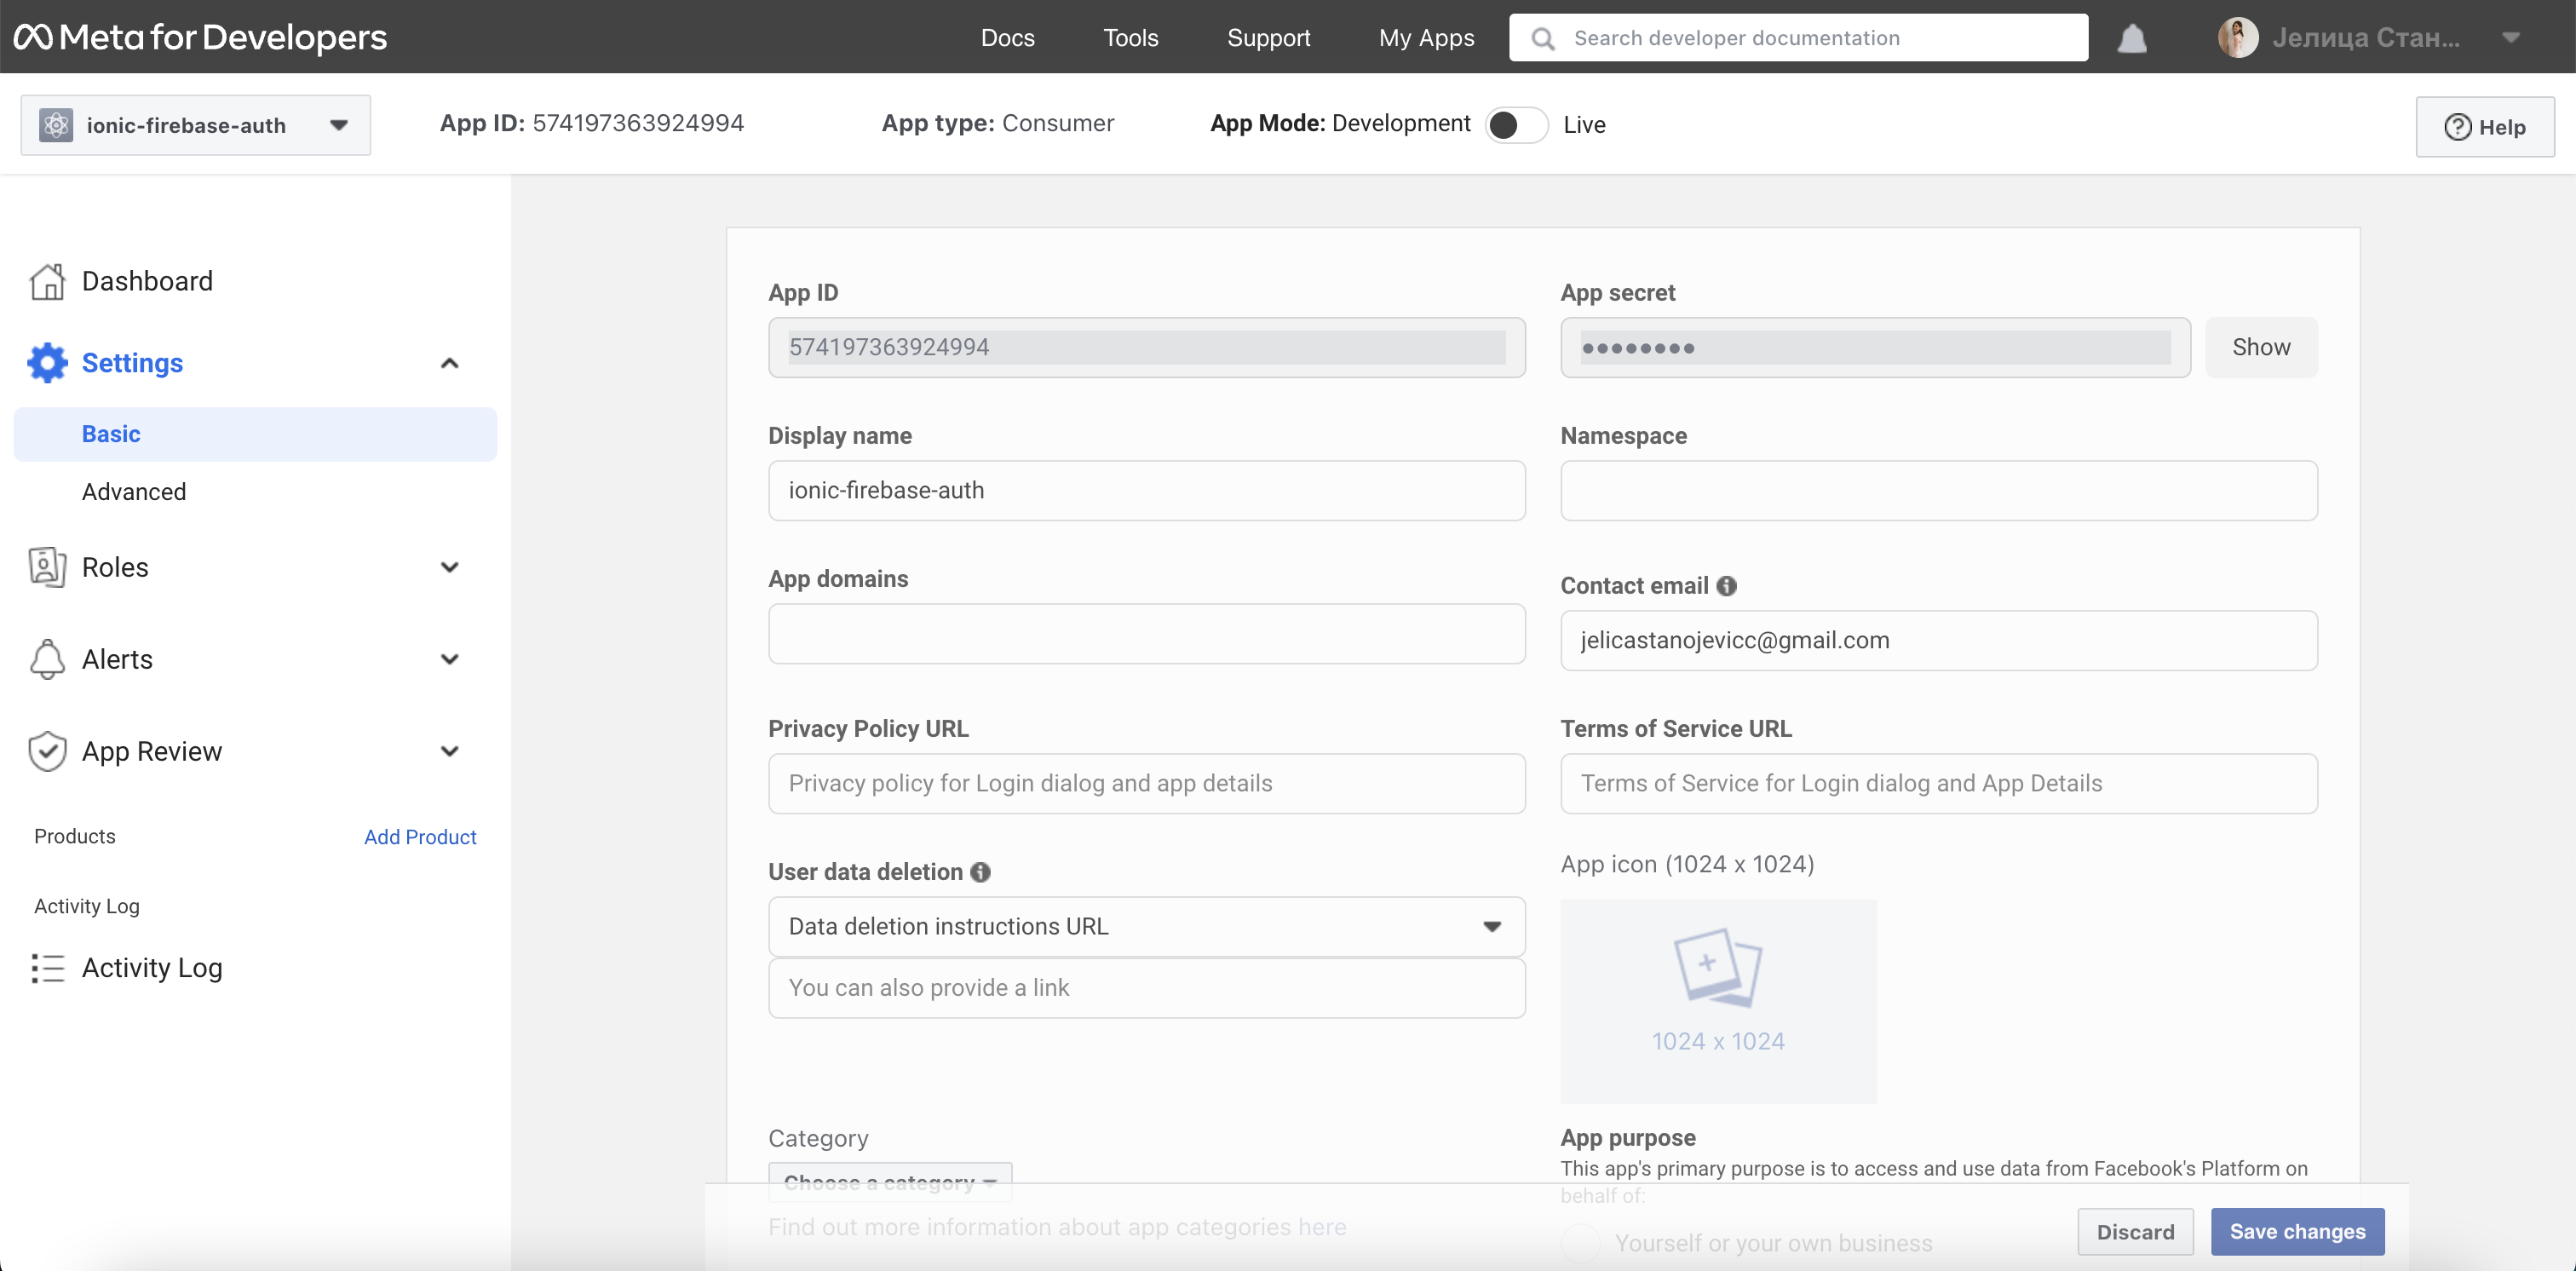
When app is created click Settings (option is on side menu on left). Choose Basic. Here you should see App ID and Secret which you will need shortly.
Firebase Facebook Auth provider setup
Go to Firebase console and select previously created project ionic-firebase-auth.
In side menu on the left go to Build->Authentication.
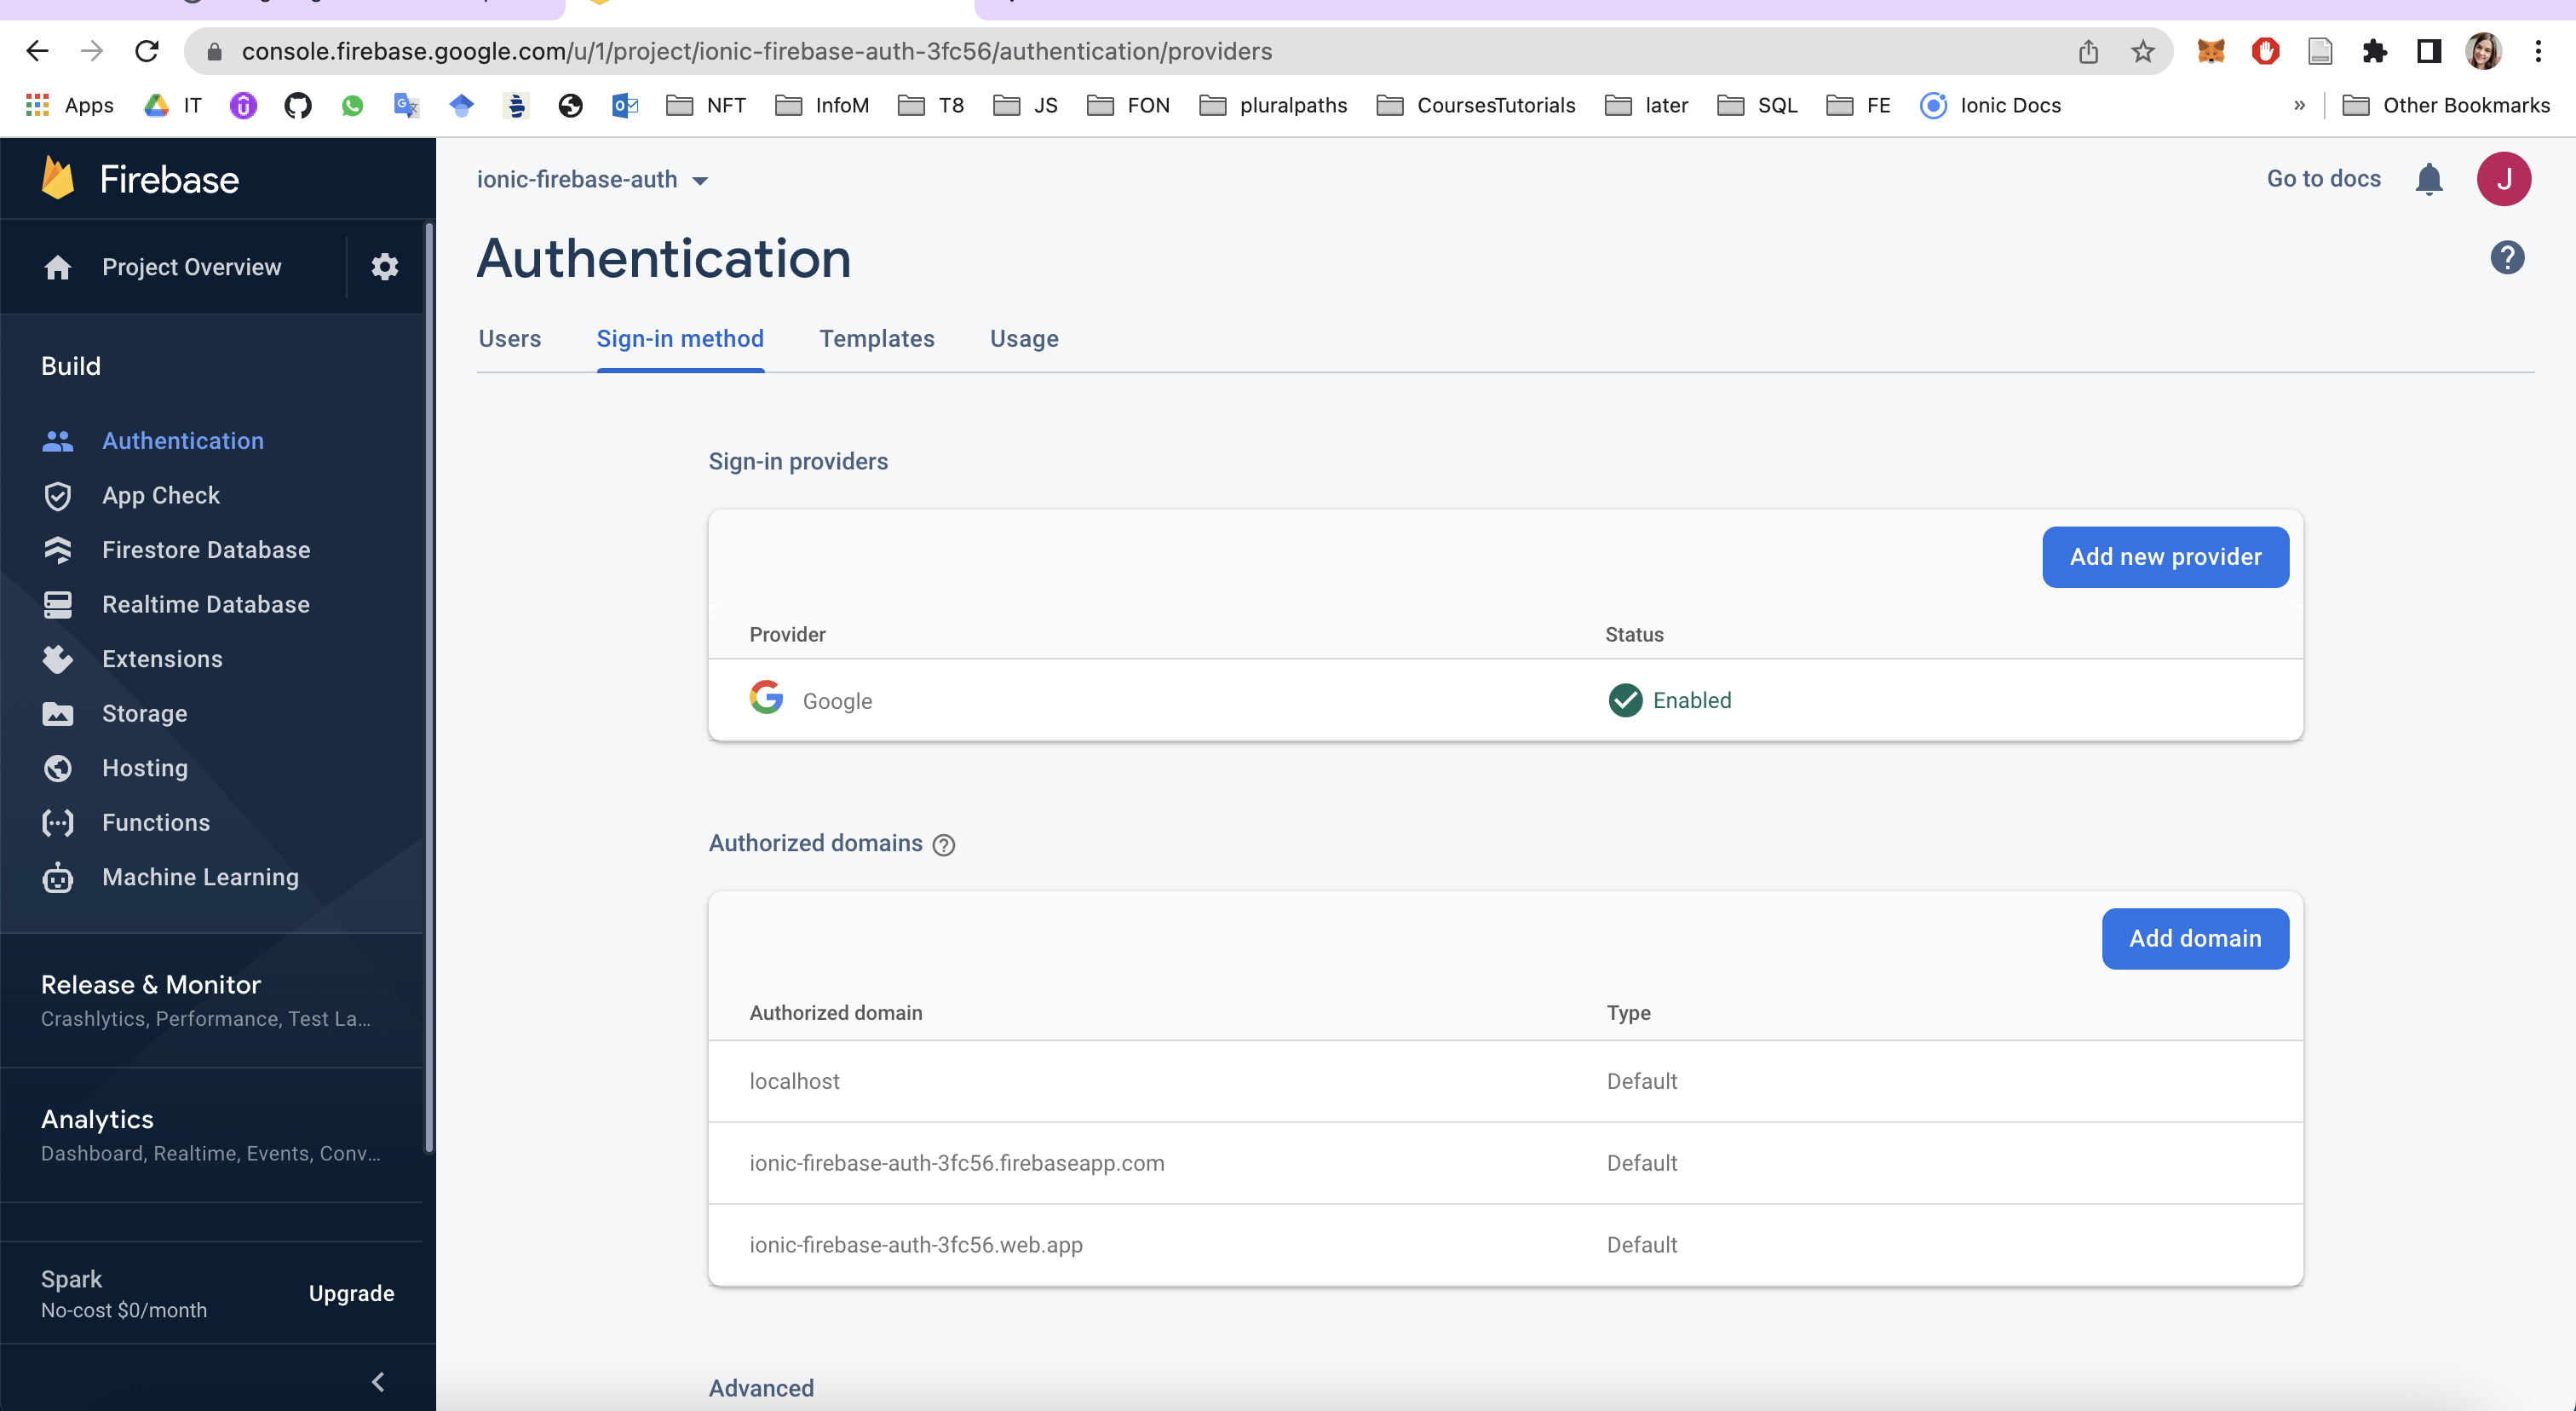
Go to Sign-in method and choose Facebook provider. Enable it with a toggle button, then copy App Id and Secret from prevoiously created Facebook app on Meta for developers.
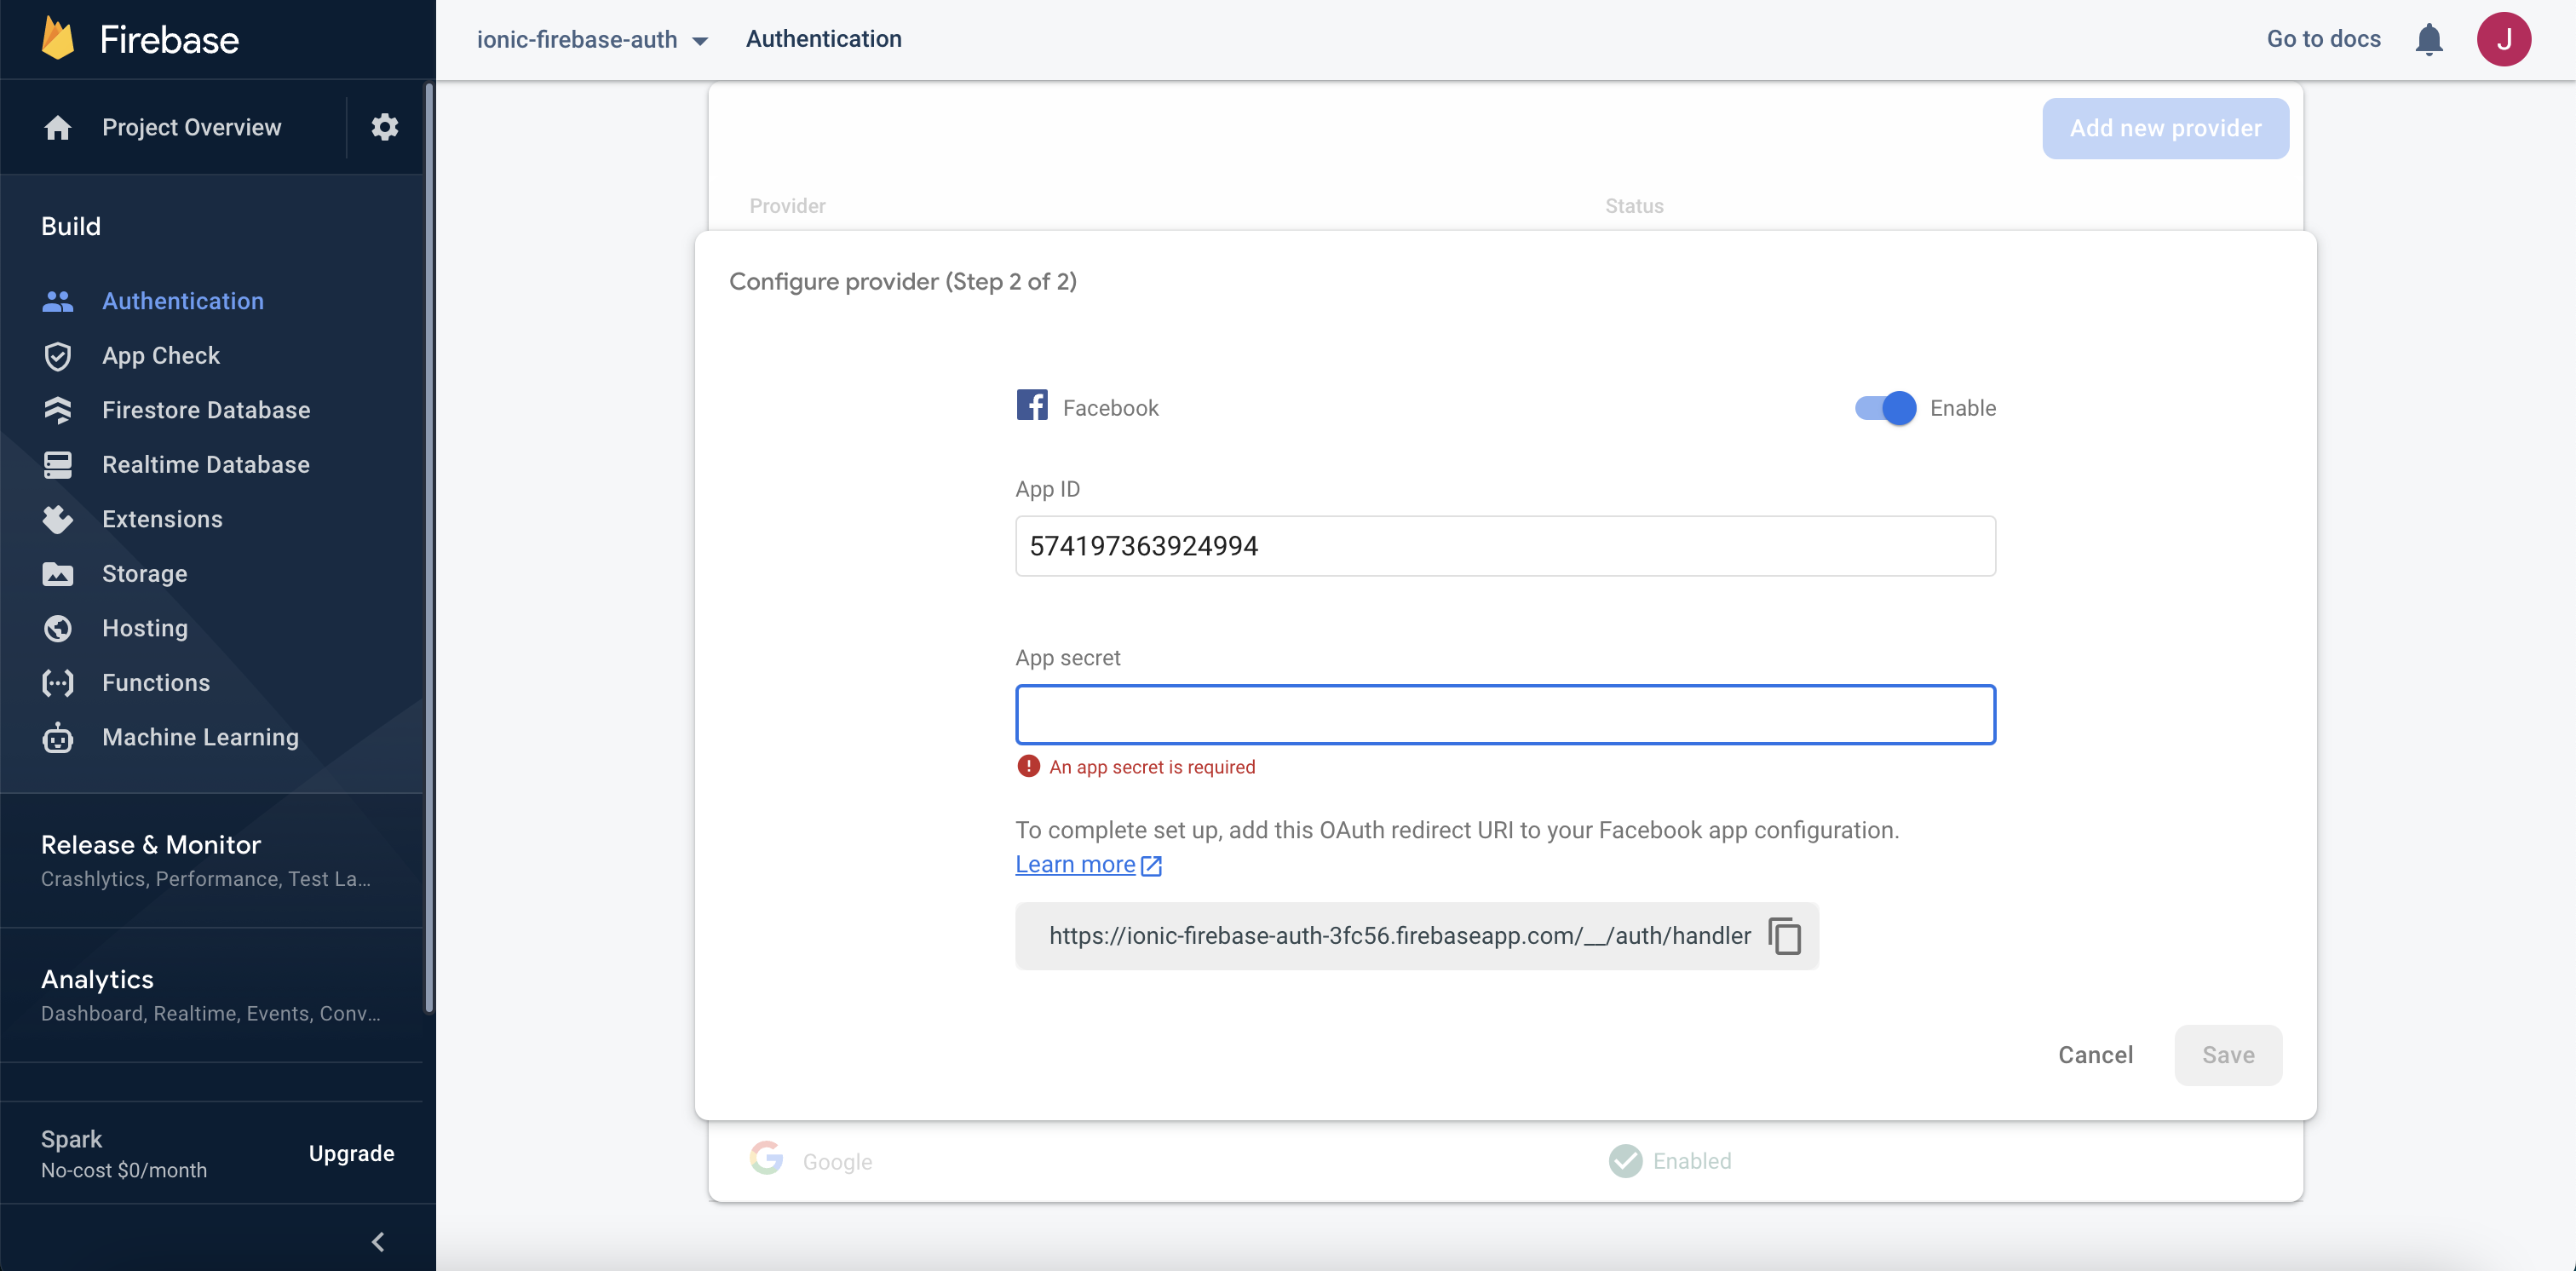
To complete set up, copy this OAuth redirect URI to your Facebook app configuration.
Copy URI from Firebase and go to Meta Dashboard and select Facebook Login to set up.
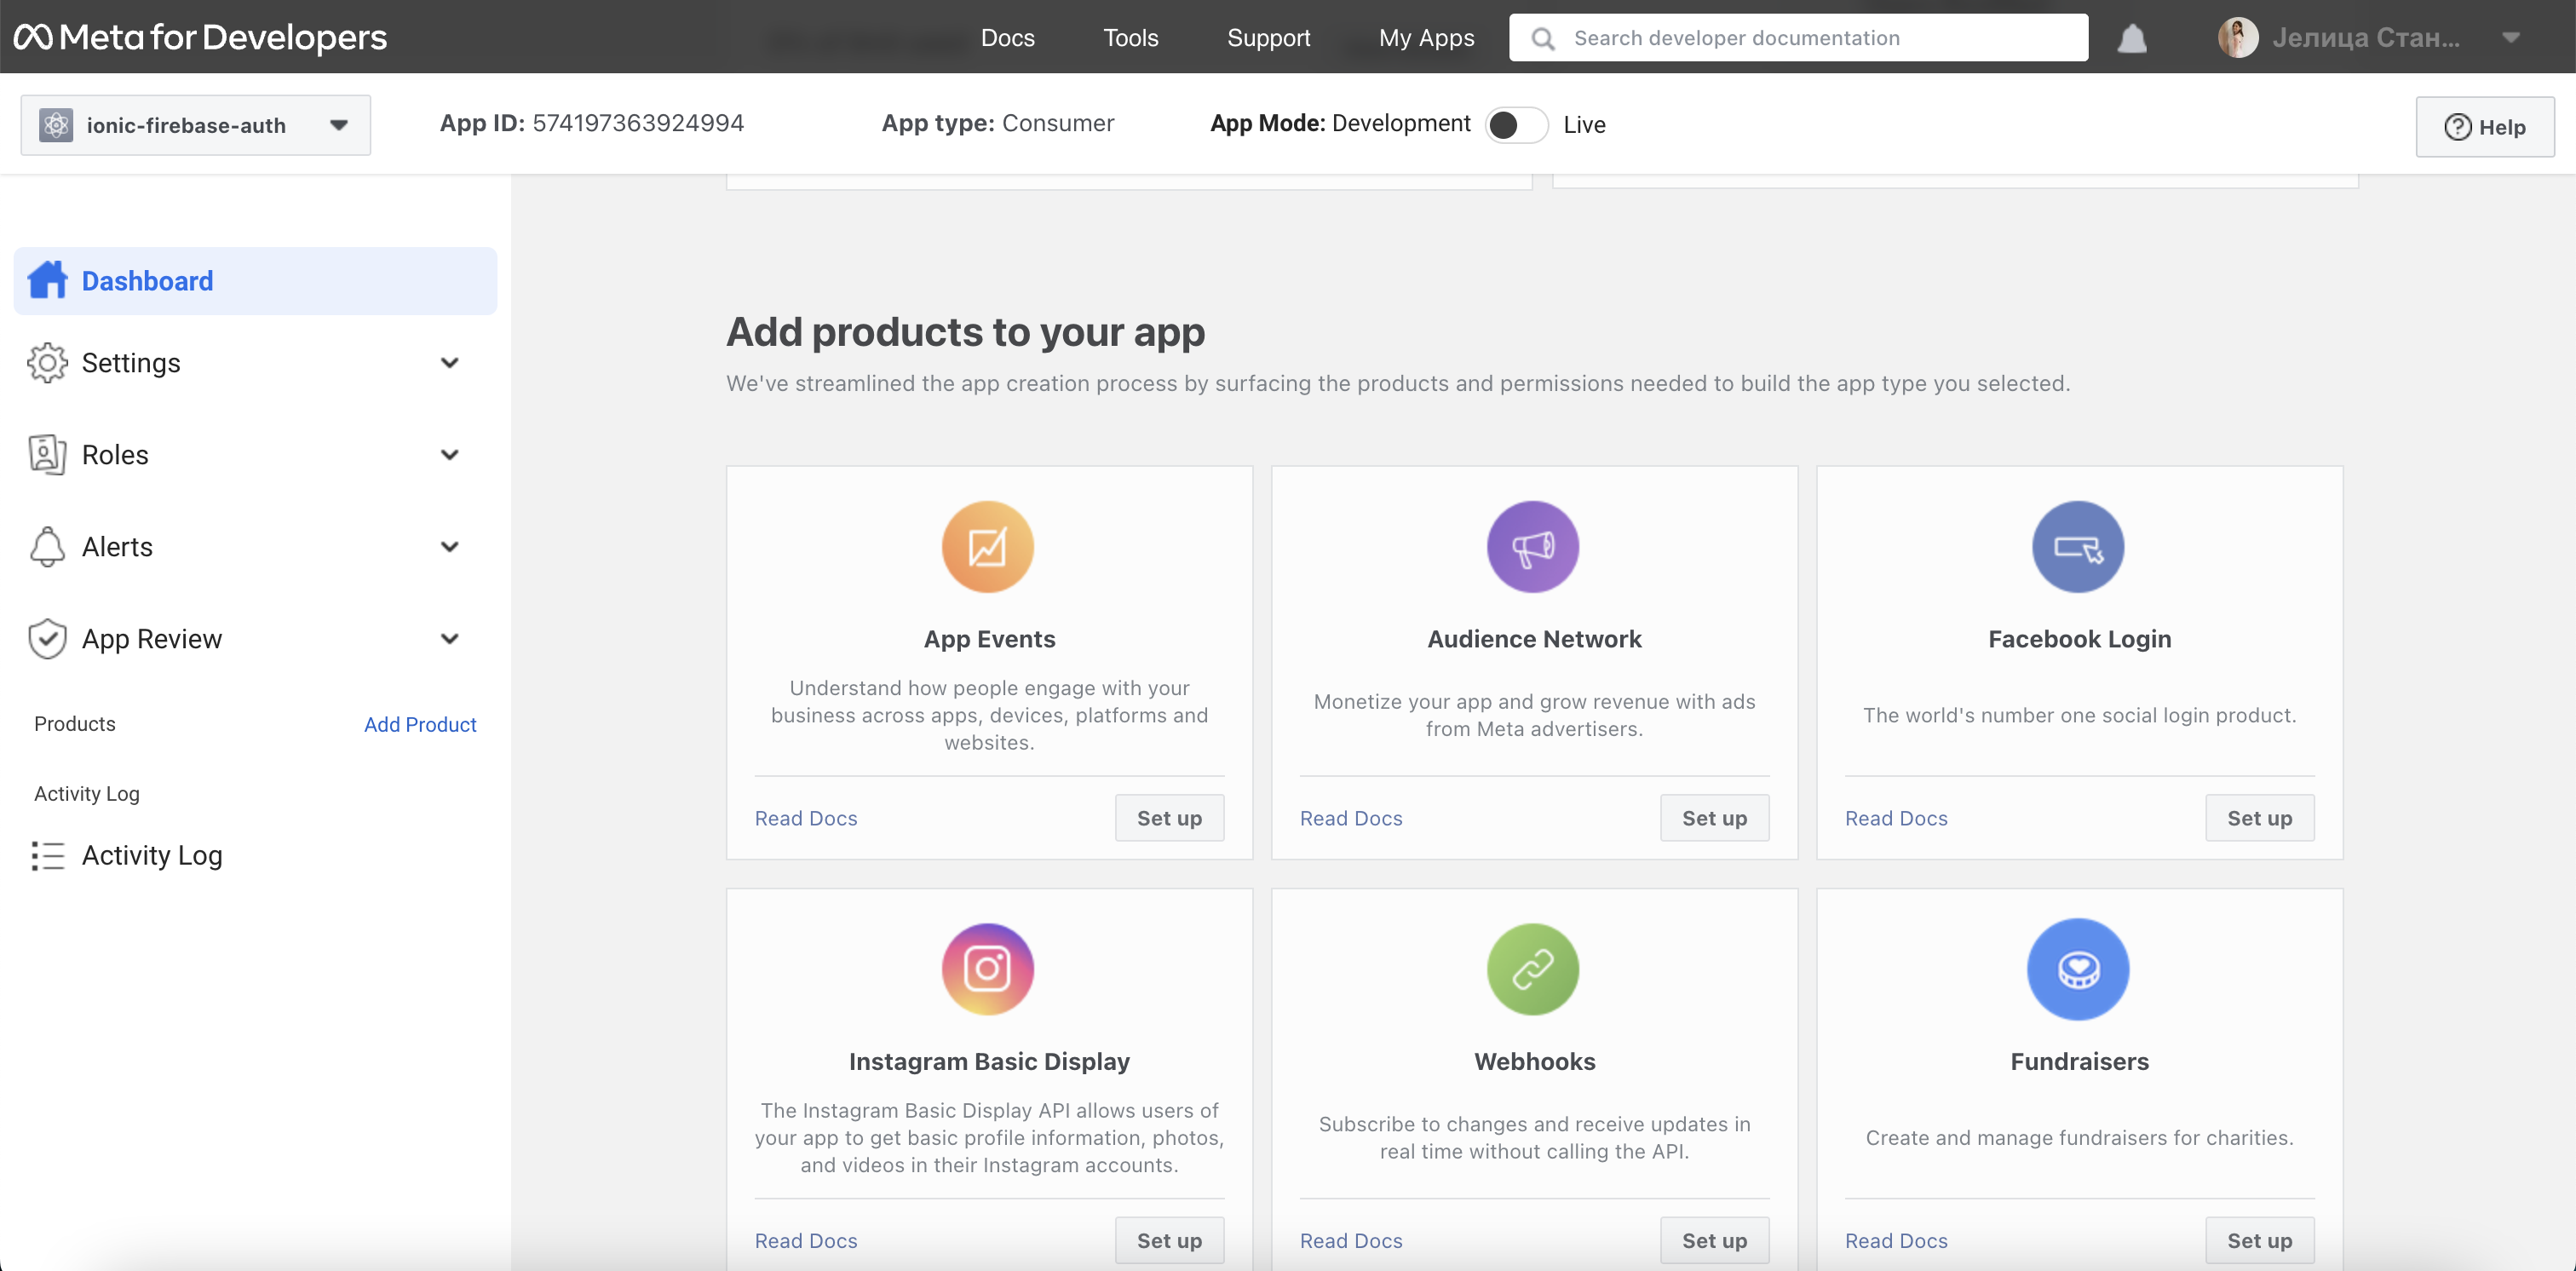
Select Facebook Settings from side menu on the left and copy OAuth Redirect URI and then save changes.
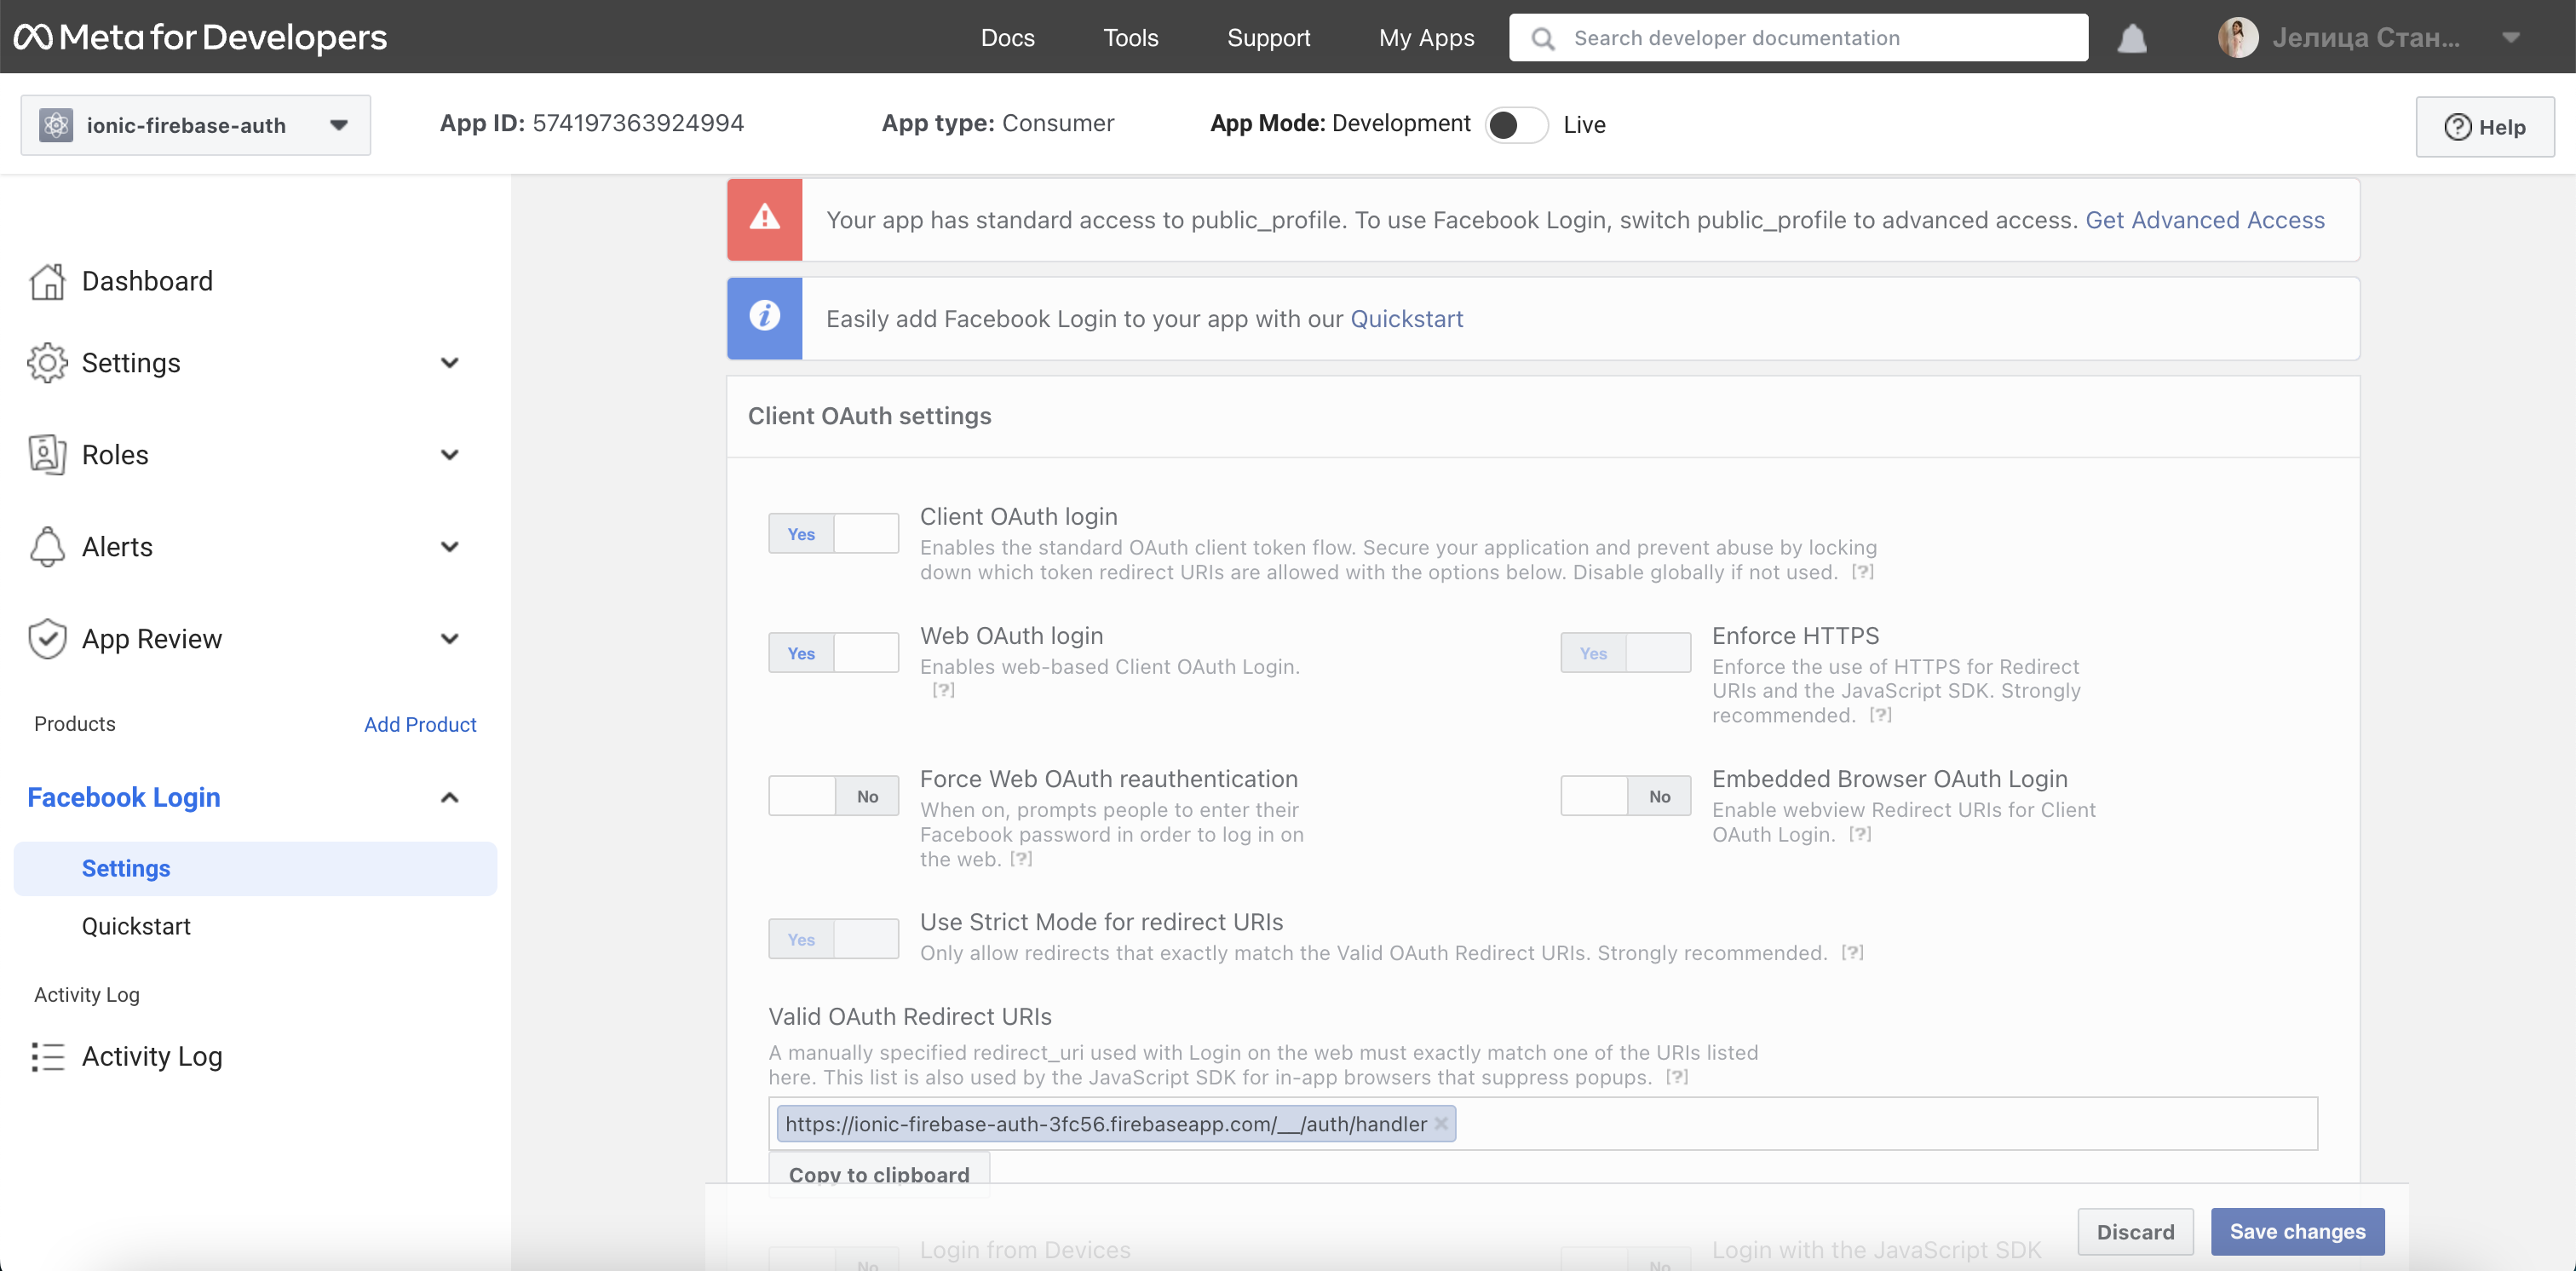
Get back to Firebase and click the save button.
Web App Setup
Ionic App setup
Add method signInWithFacebook()
src/app/sign-in/sign-in.page.ts
import { Component, OnInit } from '@angular/core';
import { cfaSignInGoogle, cfaSignInFacebook } from 'capacitor-firebase-auth';
import firebase from 'firebase/app';

@Component({
 selector: 'app-sign-in',
 templateUrl: './sign-in.page.html',
 styleUrls: ['./sign-in.page.scss'],
})
export class SignInPage implements OnInit {

 constructor() { }

 ngOnInit() {
 }

 signInWithGoogle() {
   cfaSignInGoogle().subscribe(
     (user: firebase.User) => console.log(user)
   )
 }
 signInWithFacebook() {
   cfaSignInFacebook().subscribe(
     (user: firebase.User) => console.log(user)
   )
 }
}
Call signInWithFacebook method when button is clicked.
app/src/sign-in/sign-in.page.html
<ion-button color="danger" fill="solid" (click)="signInWithFacebook()">
     Facebook sign in
</ion-button>
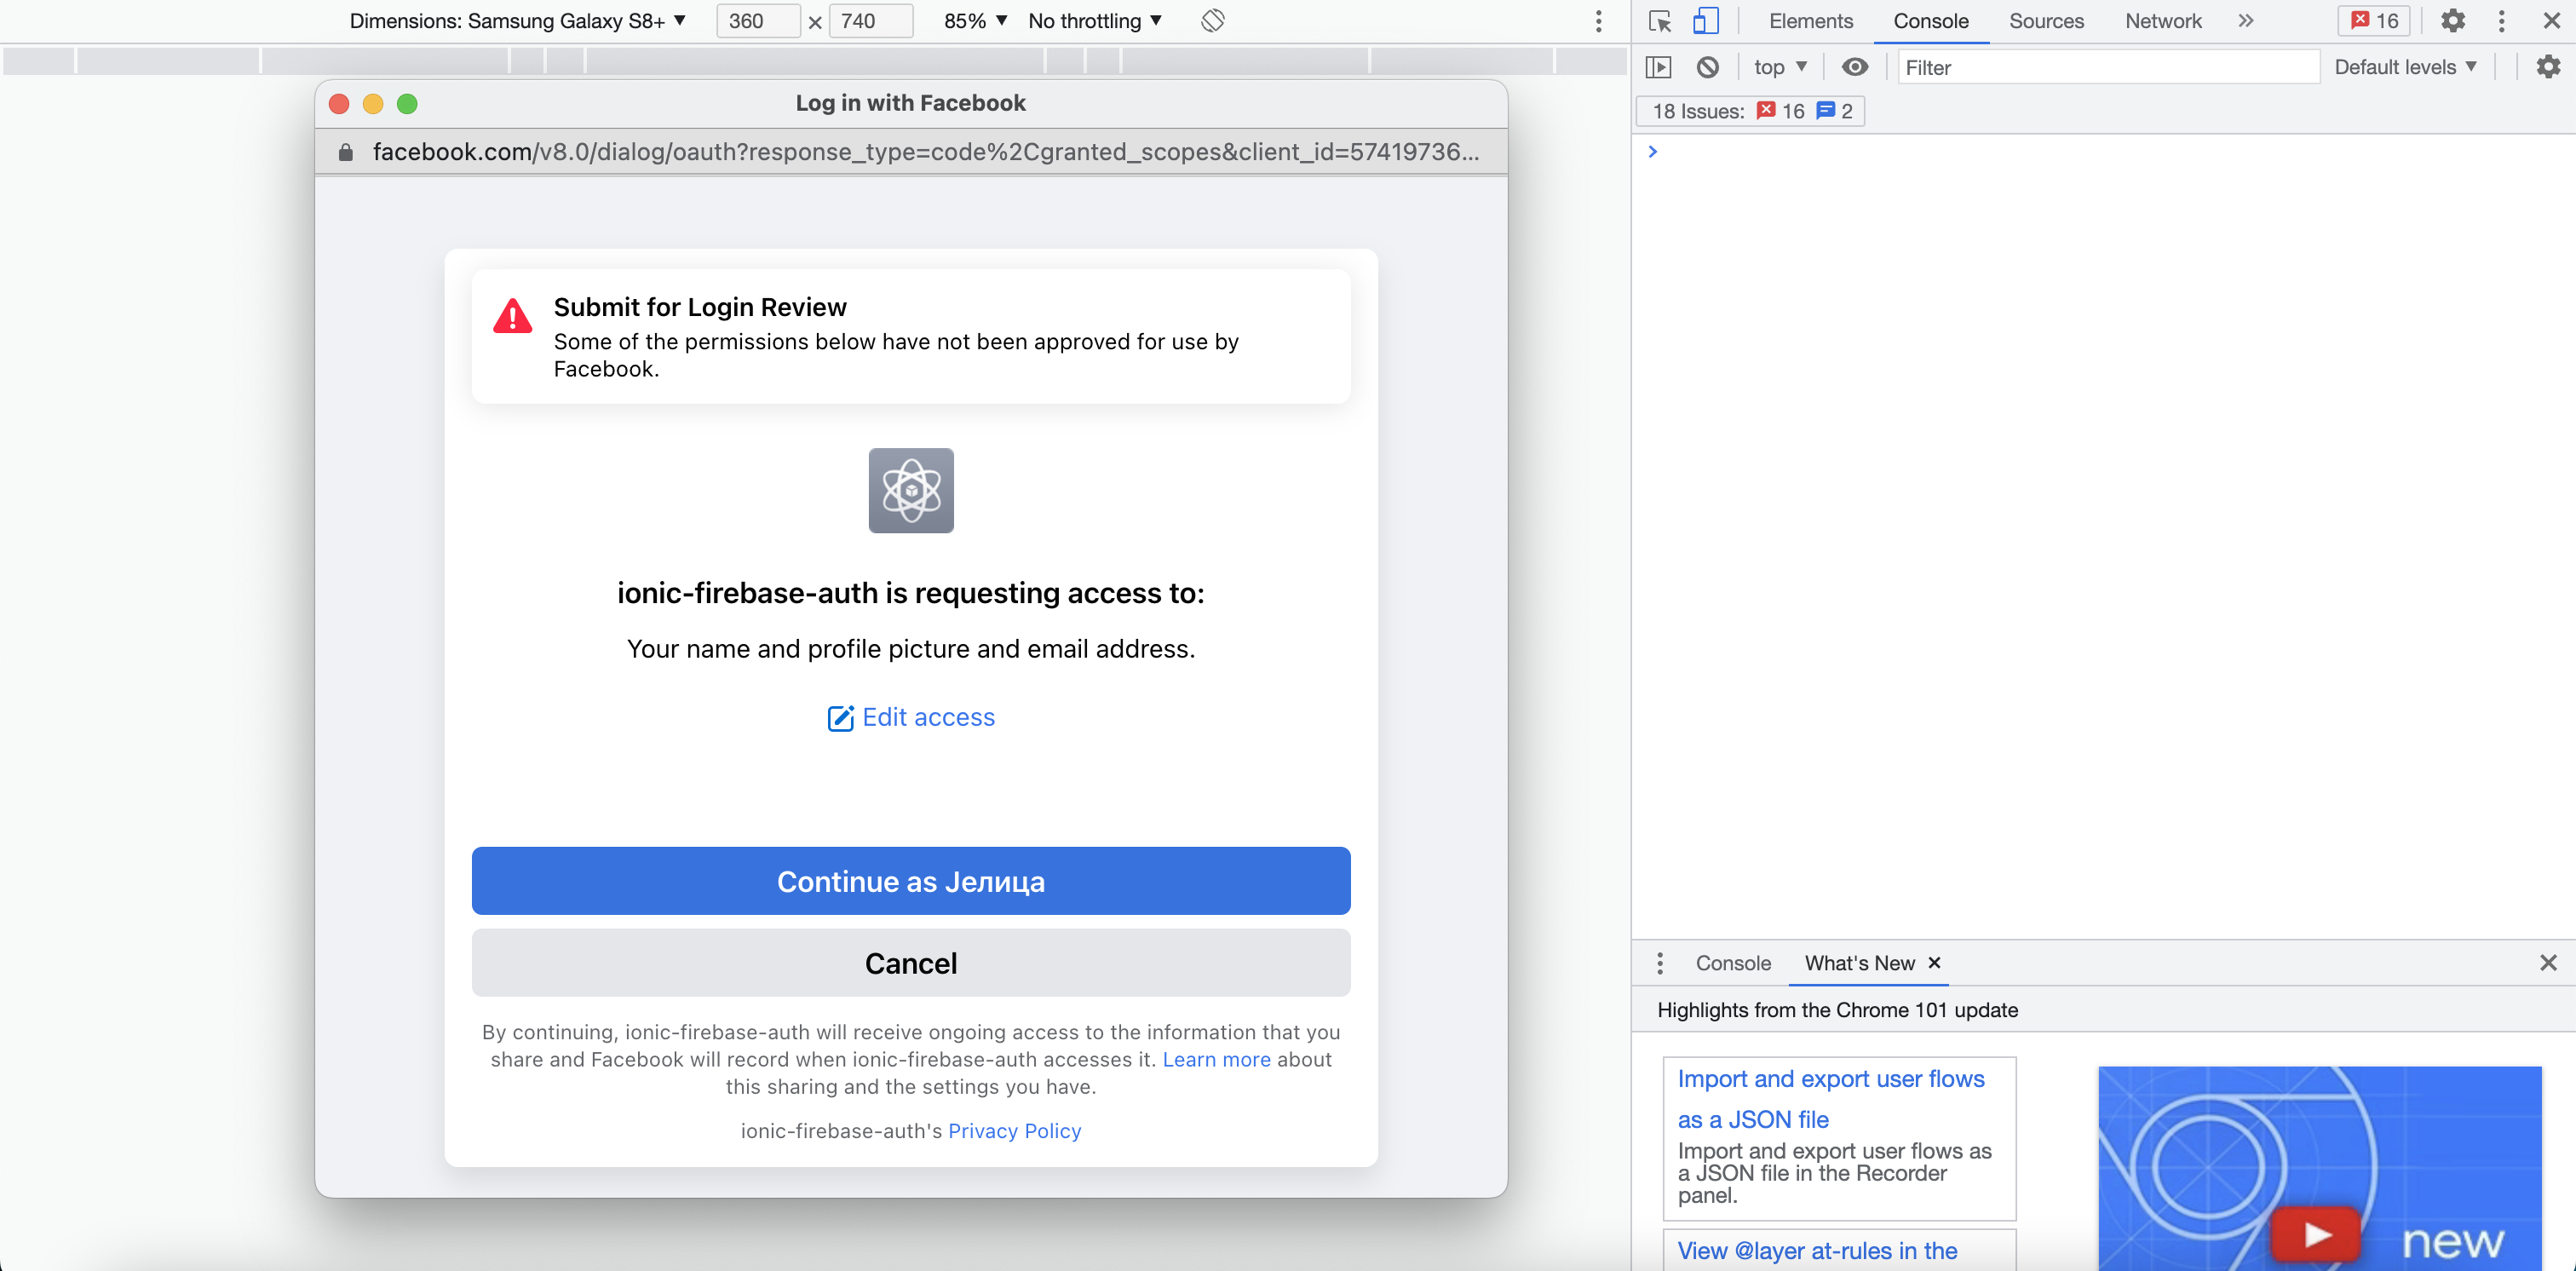
Now, when a user clicks on facebook sign in button, a popup will be shown for signing in with facebook.
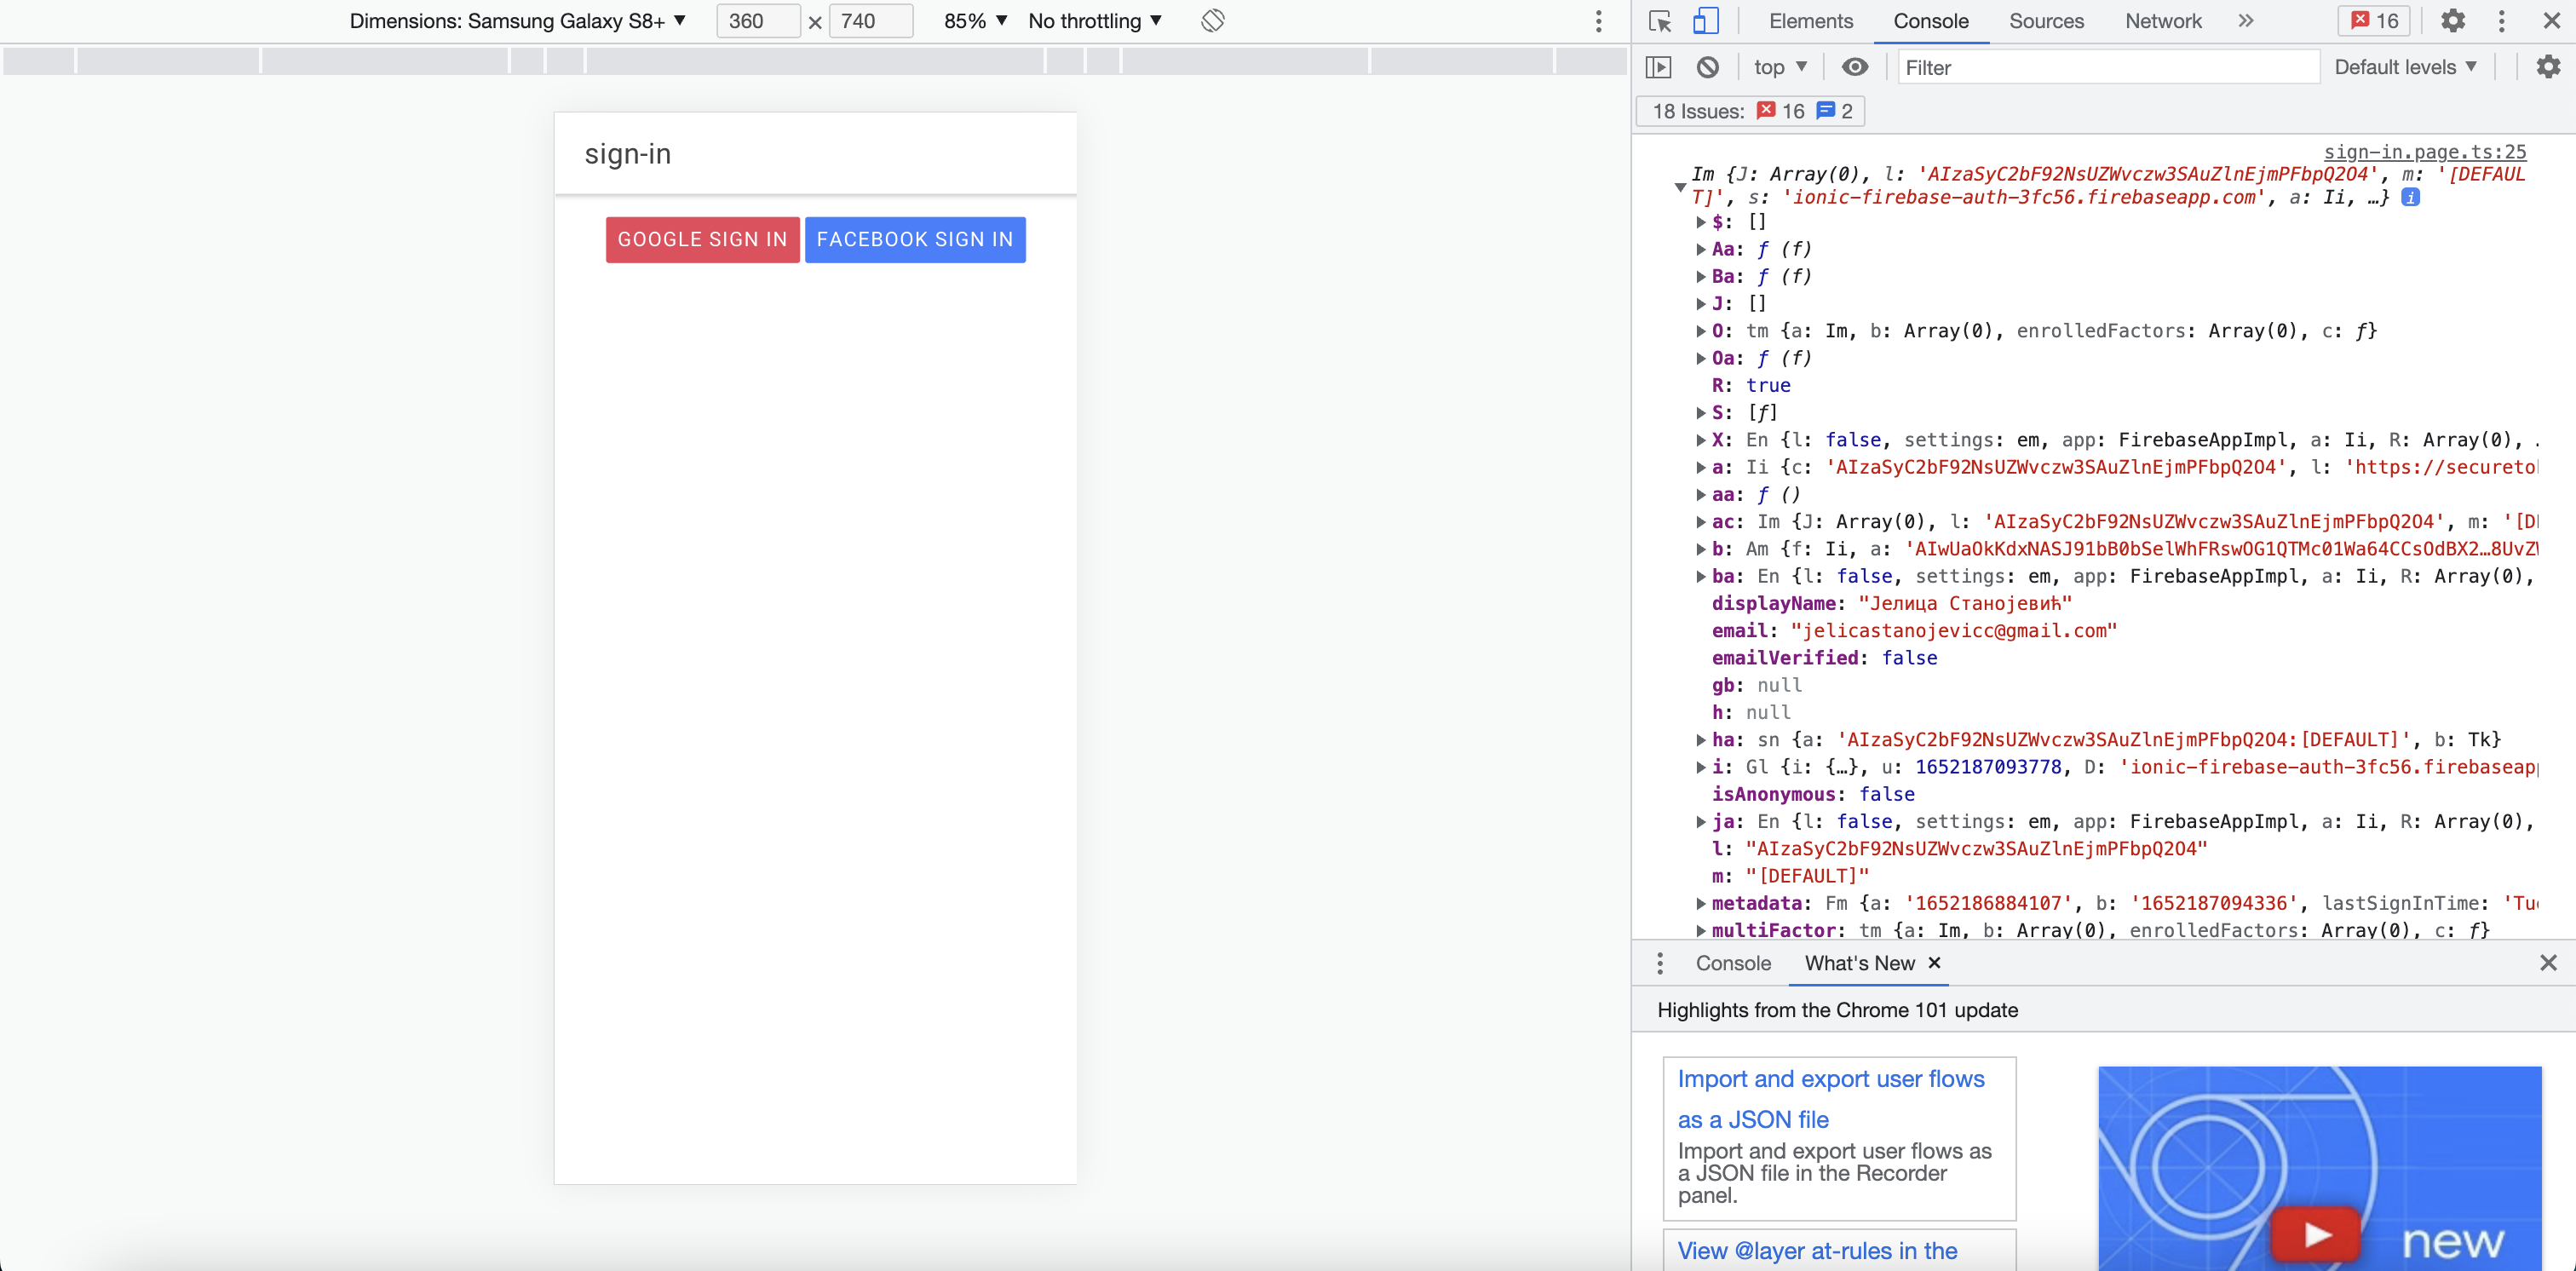
If signing in is successful in devtools for Chrome in console logs you should see user data for registered user.
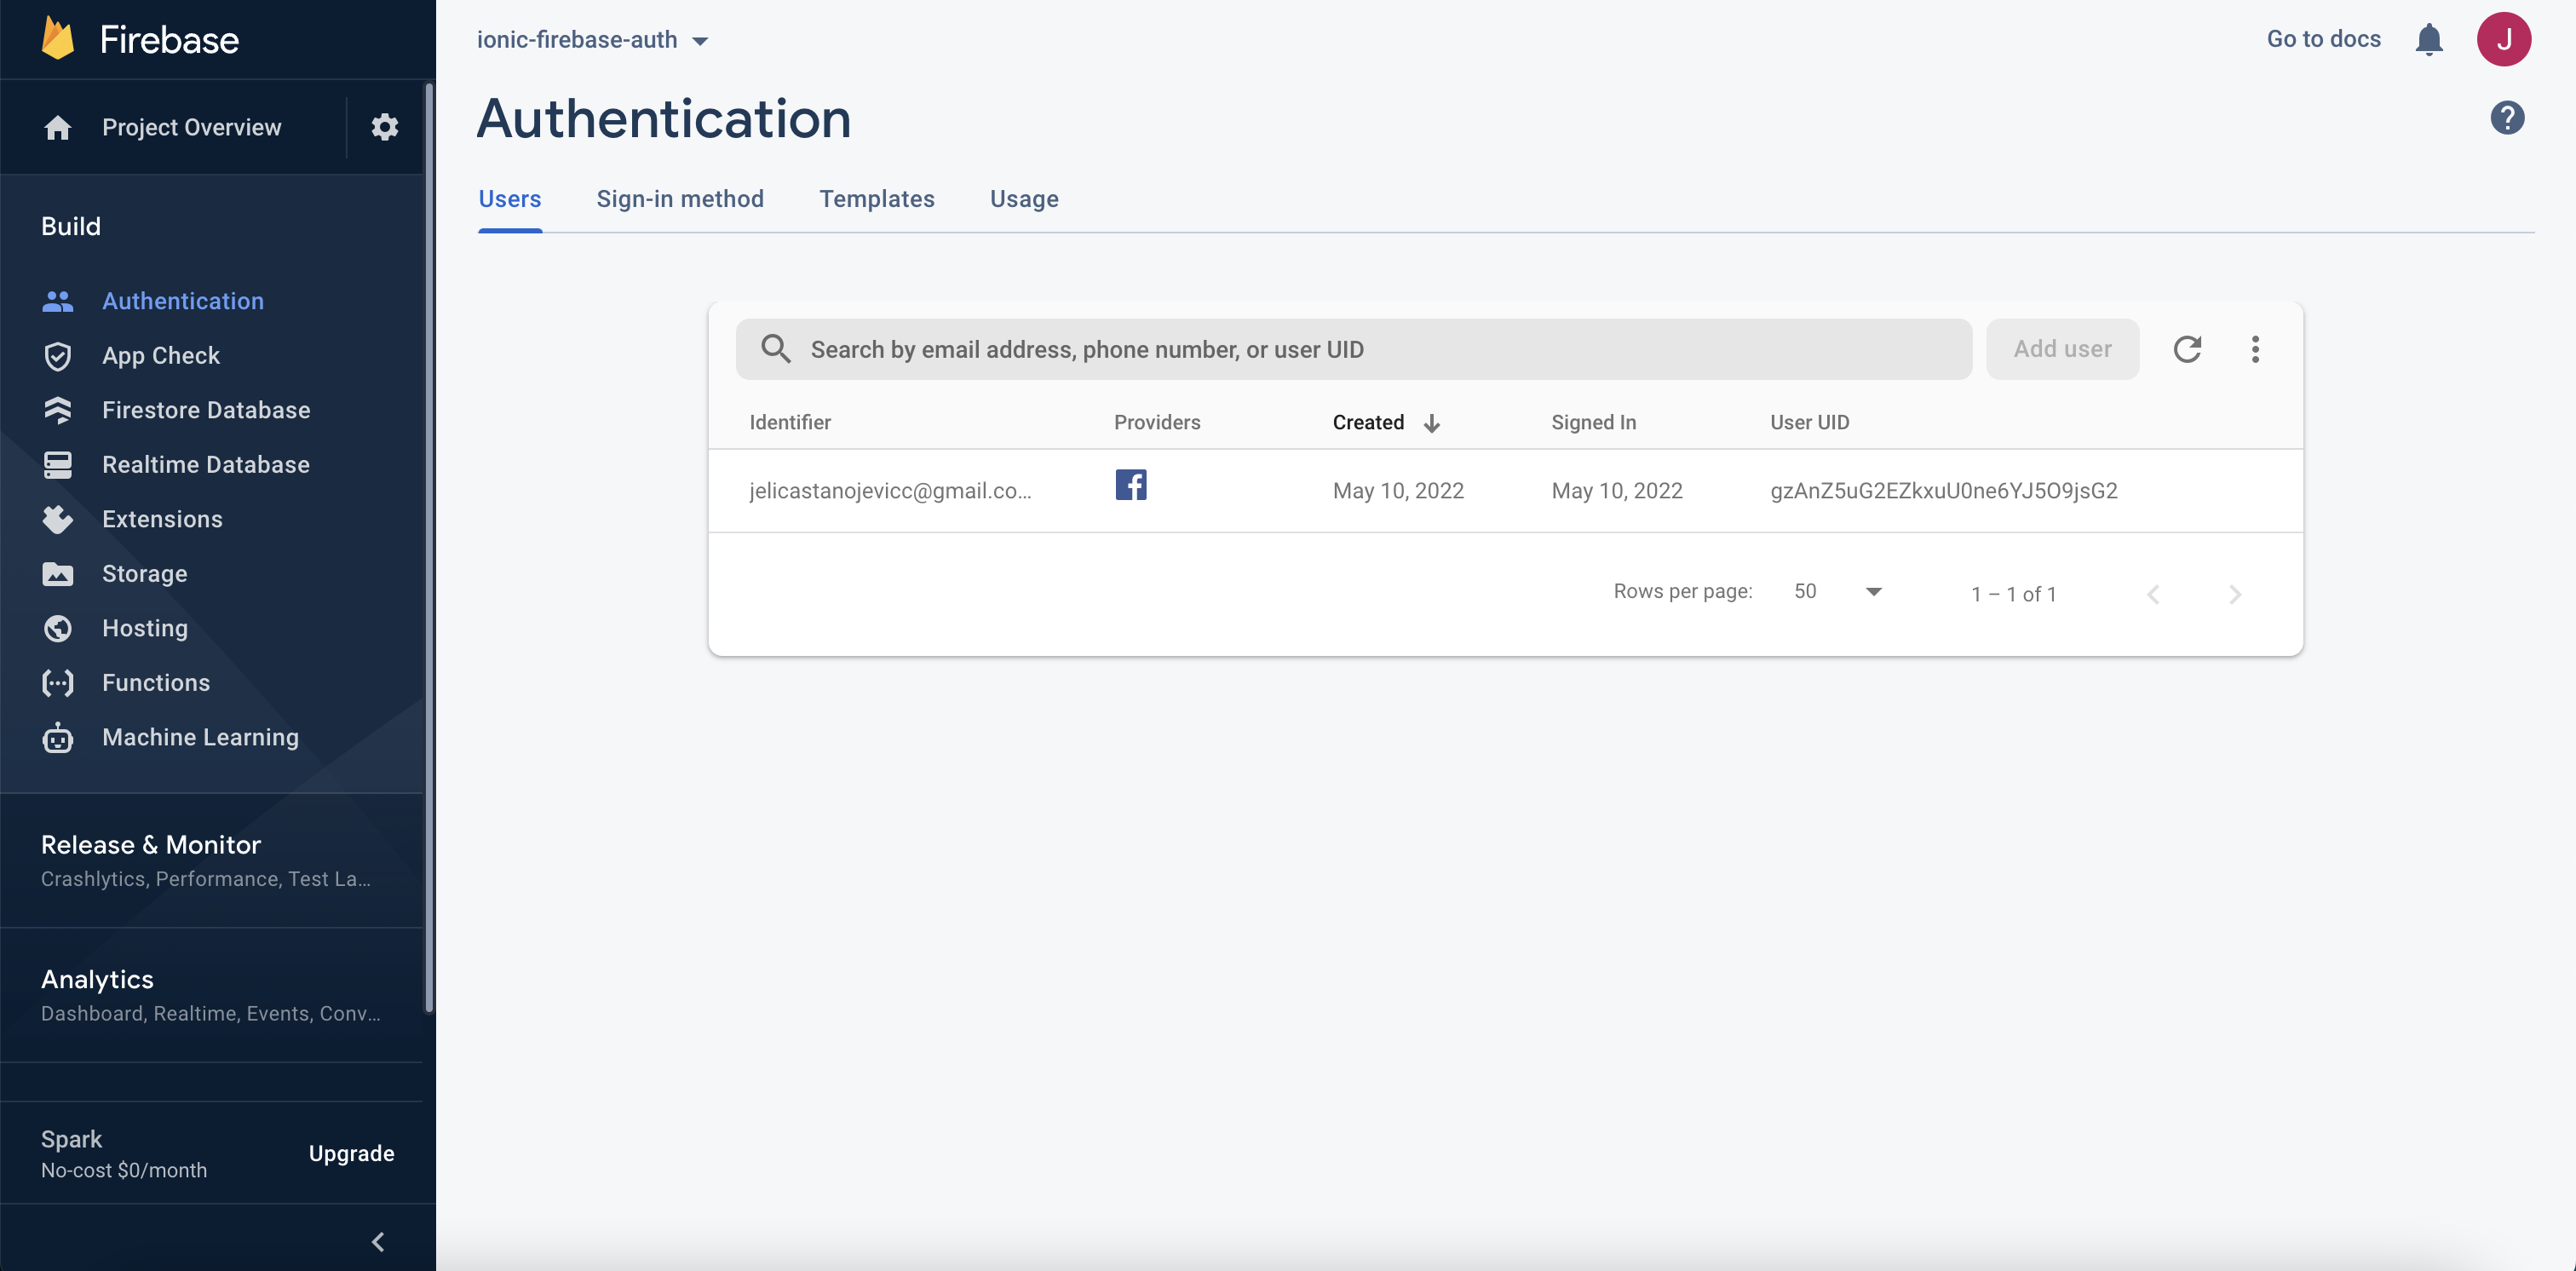
Checking Authentication in firebase project you should see the user registered.
Now, when everything works fine in web app, we are going to setup android app.
Android setup
Configure Ionic App
Update capacitor.config.ts file as follows.
import { CapacitorConfig } from '@capacitor/cli';

const config: CapacitorConfig = {
 appId: 'com.ionicfirebaseauth.mobile',
 appName: 'ionic-firebase-auth',
 webDir: 'www',
 bundledWebRuntime: false,
 plugins: {
   CapacitorFirebaseAuth: {
     providers: ['google.com', 'facebook.com'],
     languageCode: 'en',
     nativeAuth: true,
   },
   permissions: {
     google: ['profile'],
     facebook: ['public_profile', 'email', 'user_friends'],
   },
 },
};

export default config;
ionic capacitor sync android
Open generated android folder in android studio and change to project view
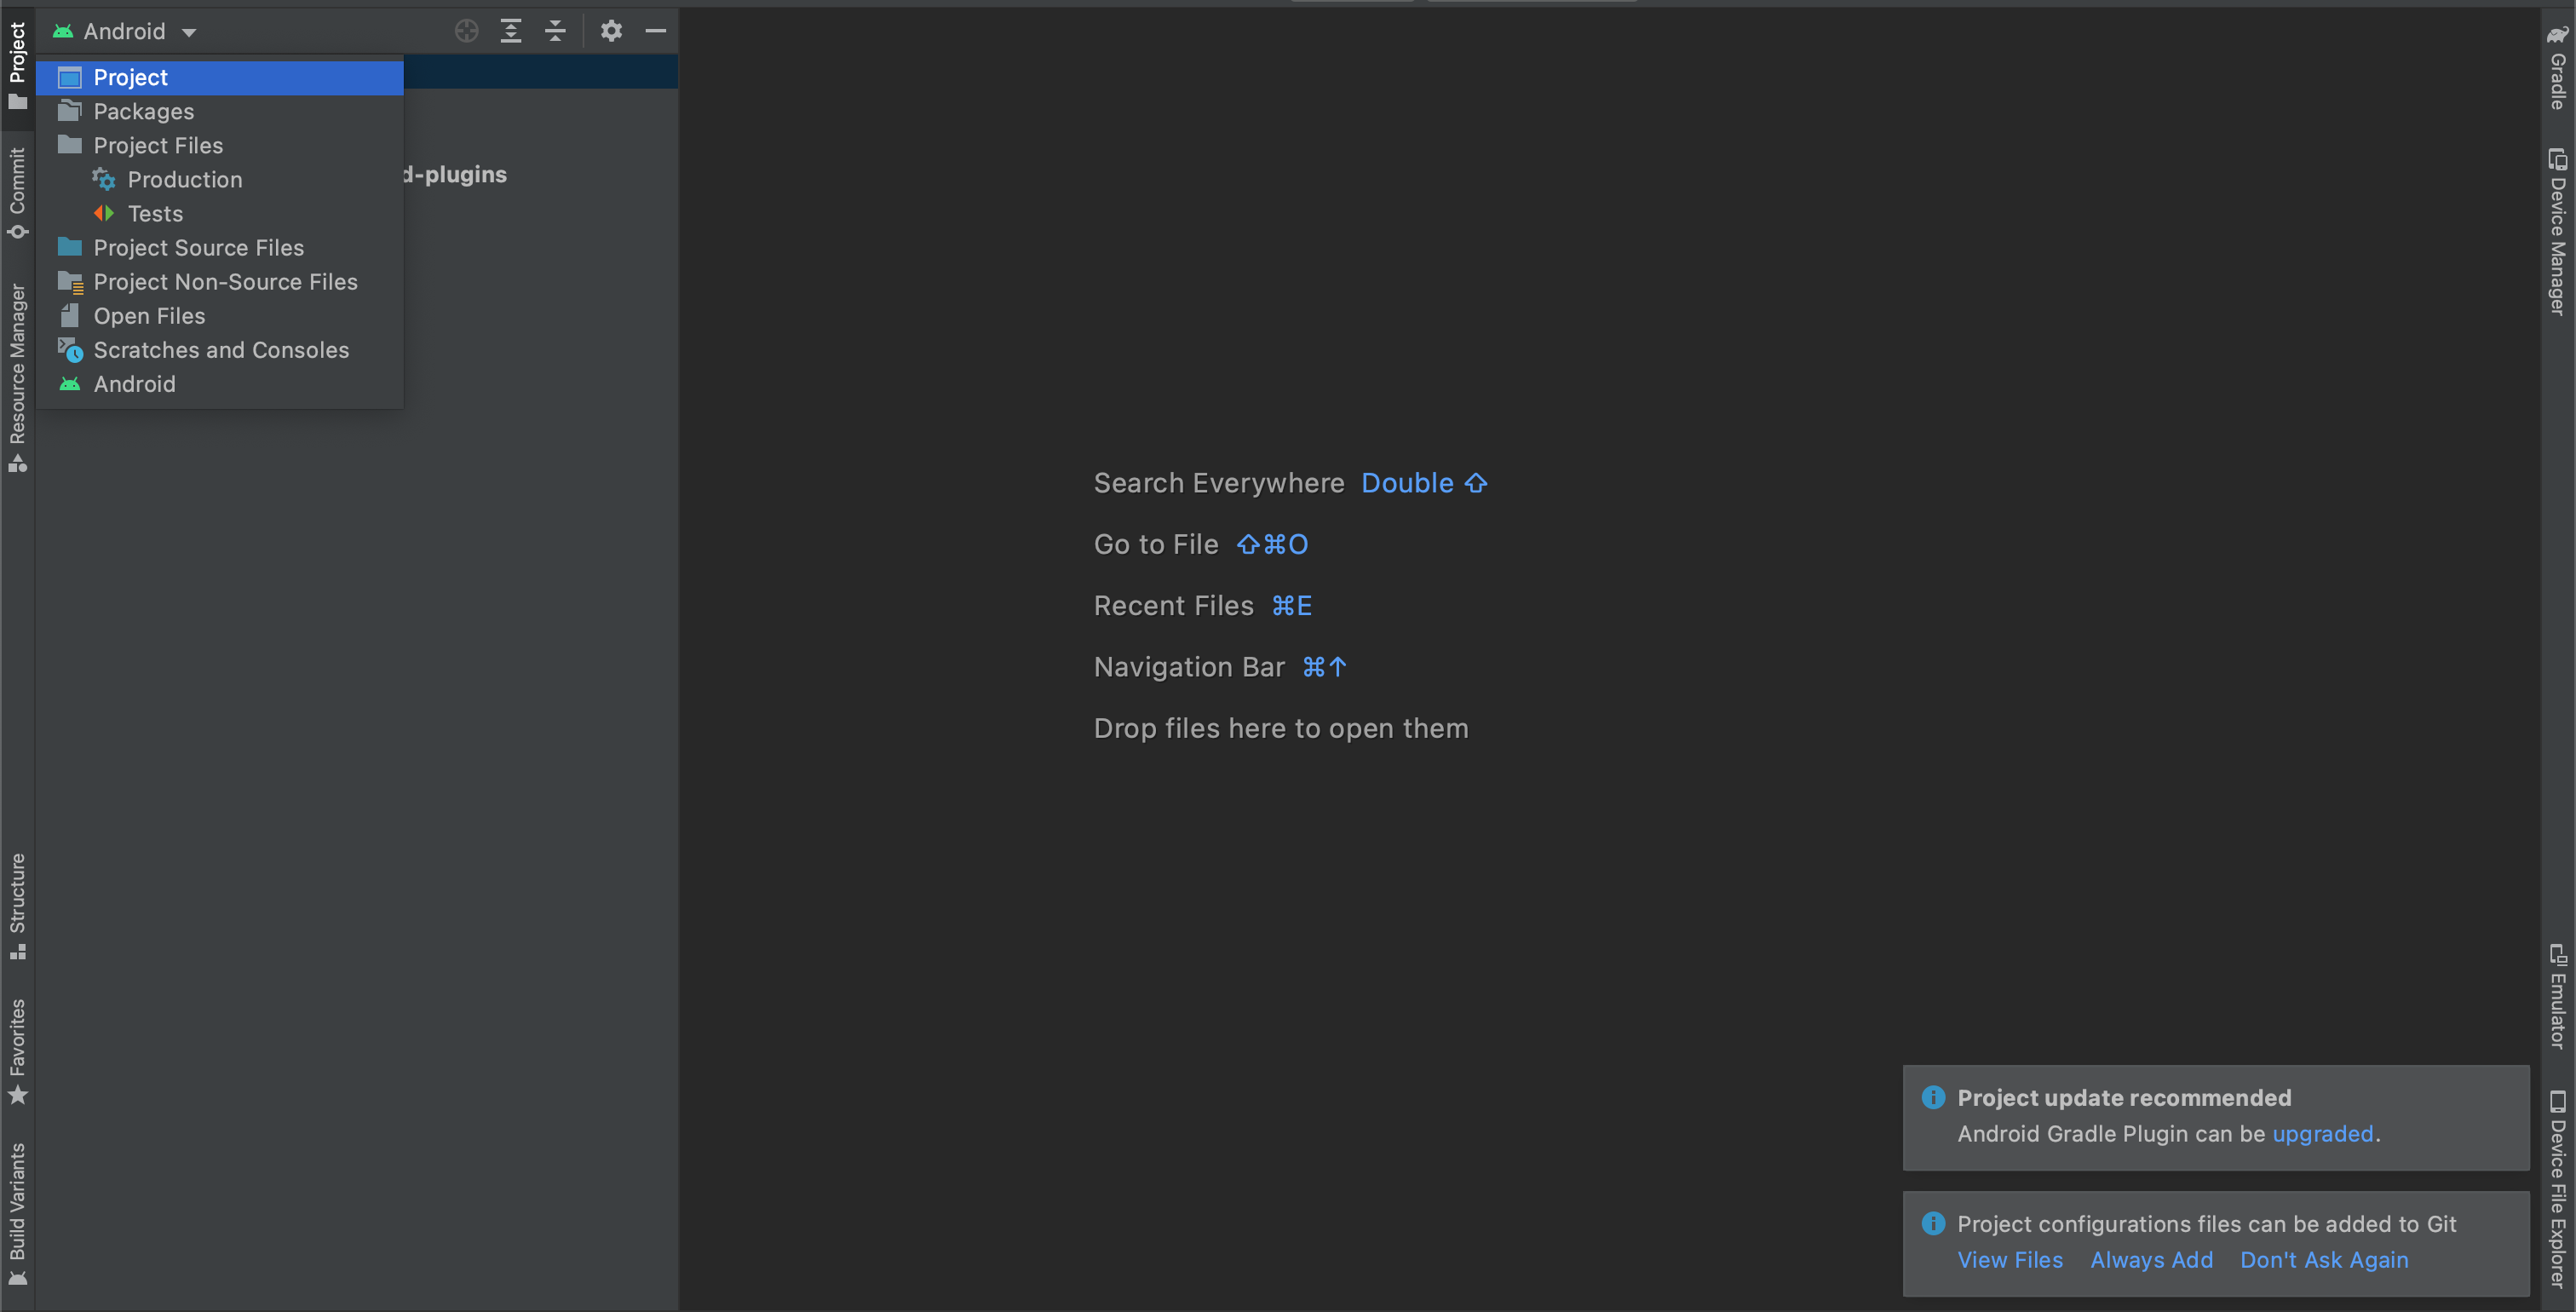
Facebook provider setup for Android App
Follow Android configuration that will be also shown in following paragraphs.
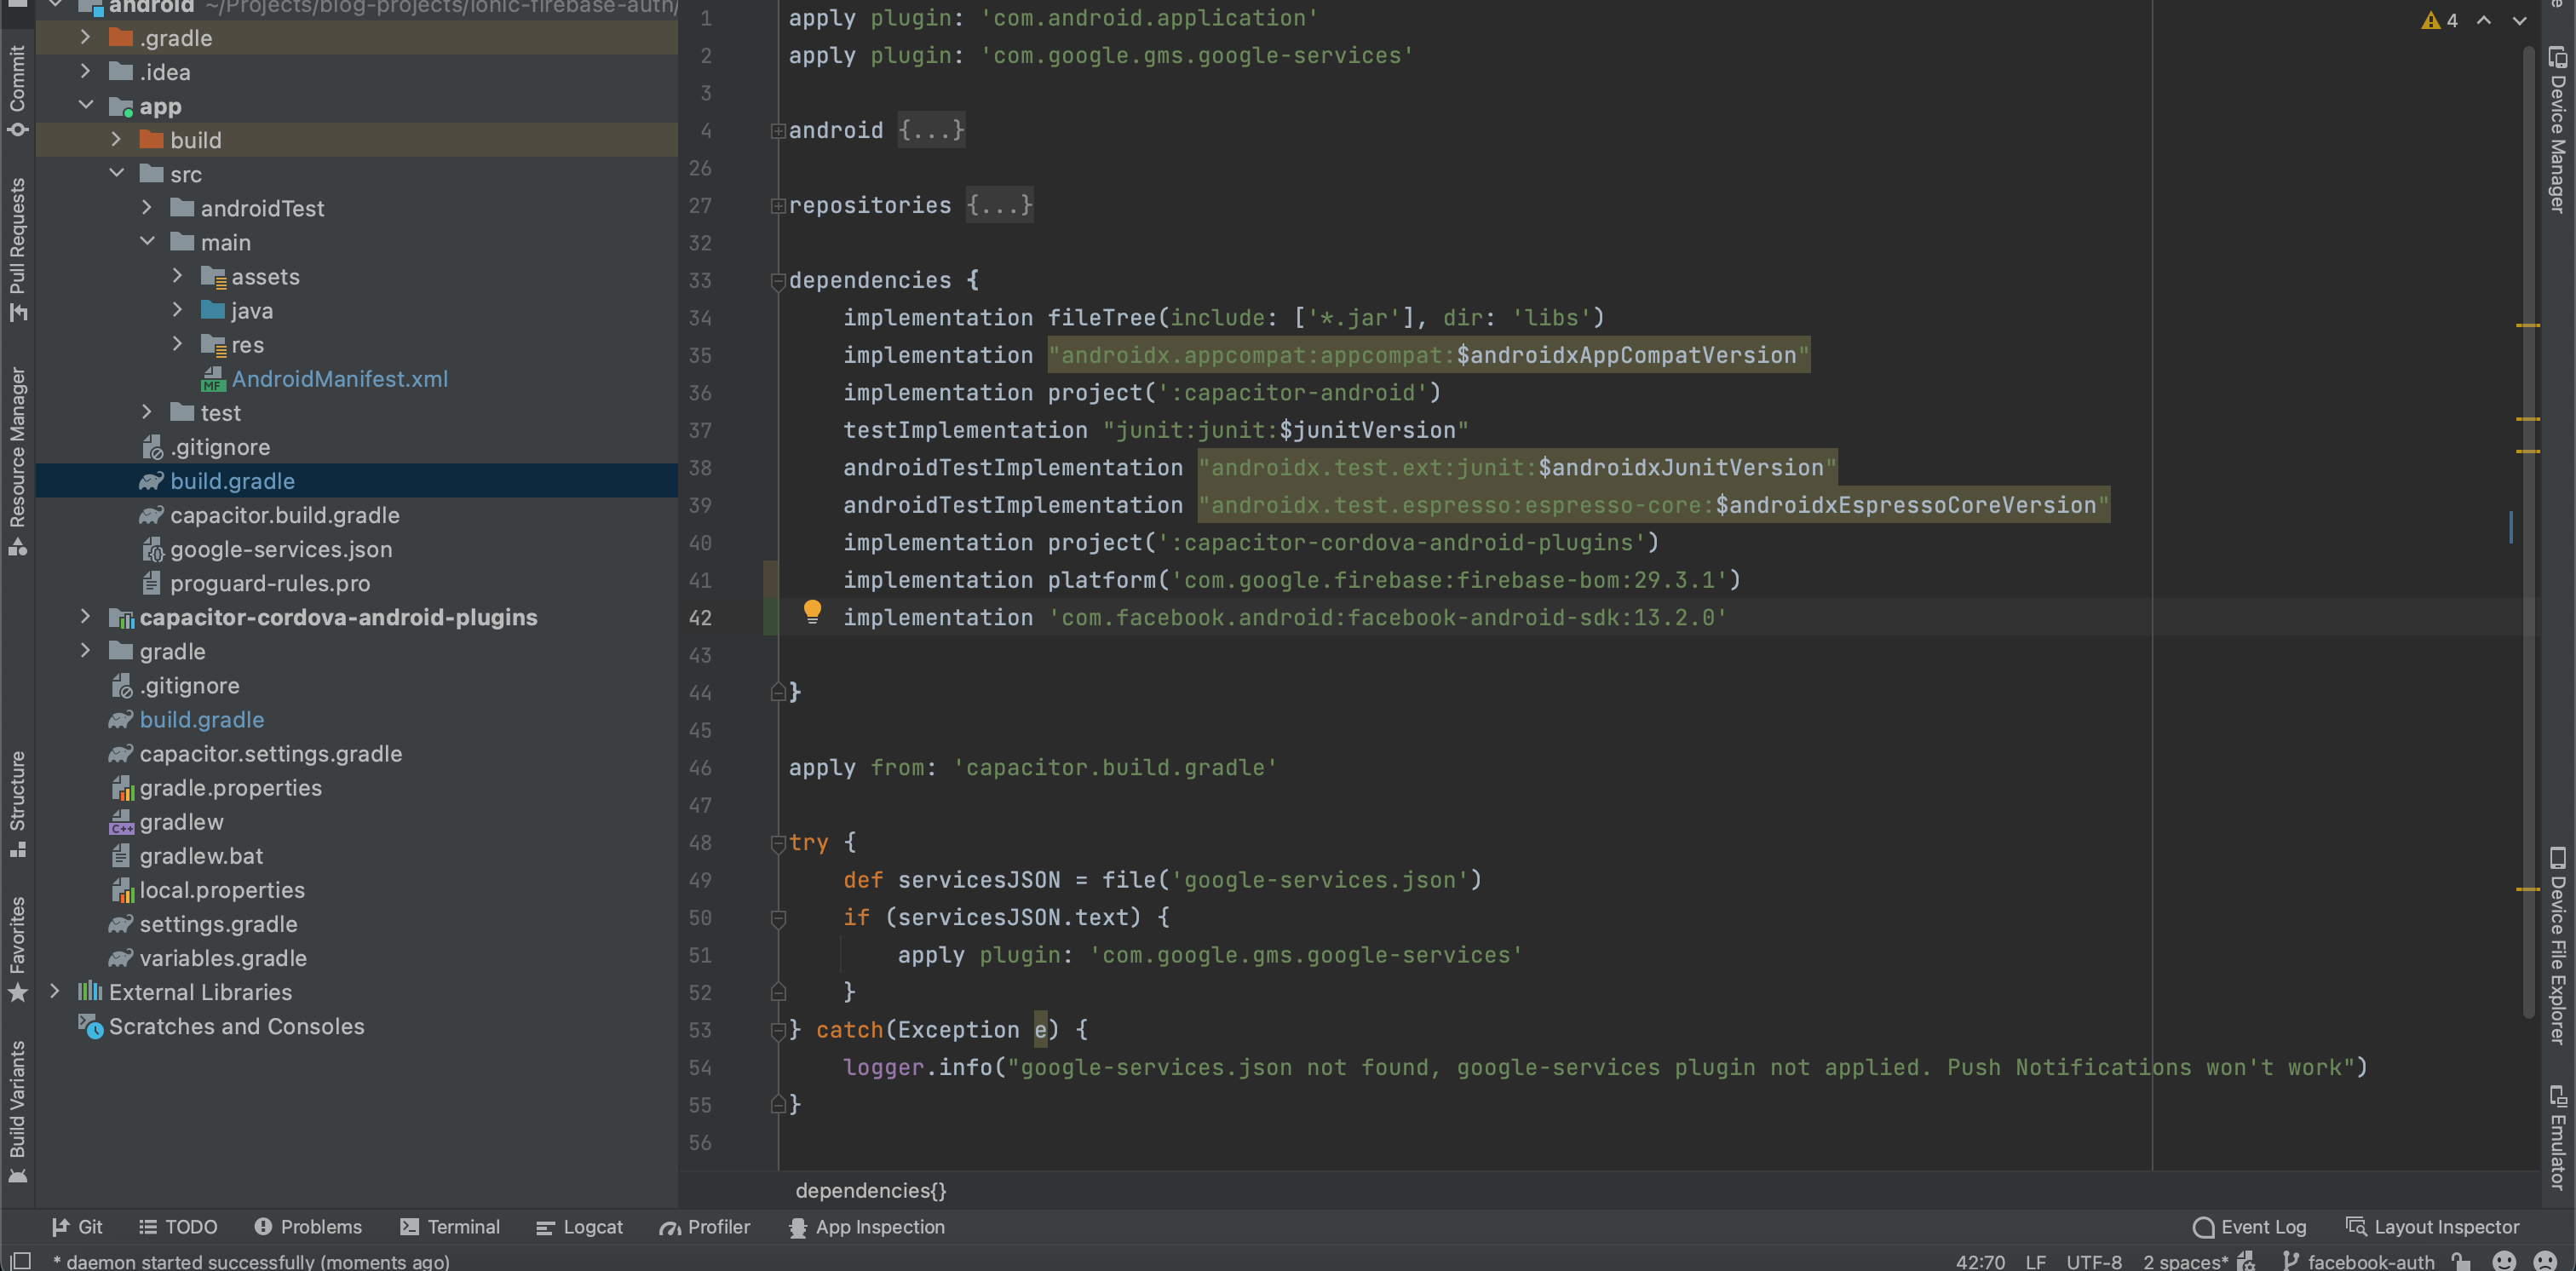
Add the dependency for Facebook SDK to your app-level build.gradle file.
android/app/build.gradle
dependencies {
    ...
    implementation 'com.facebook.android:facebook-android-sdk:13.2.0'
}
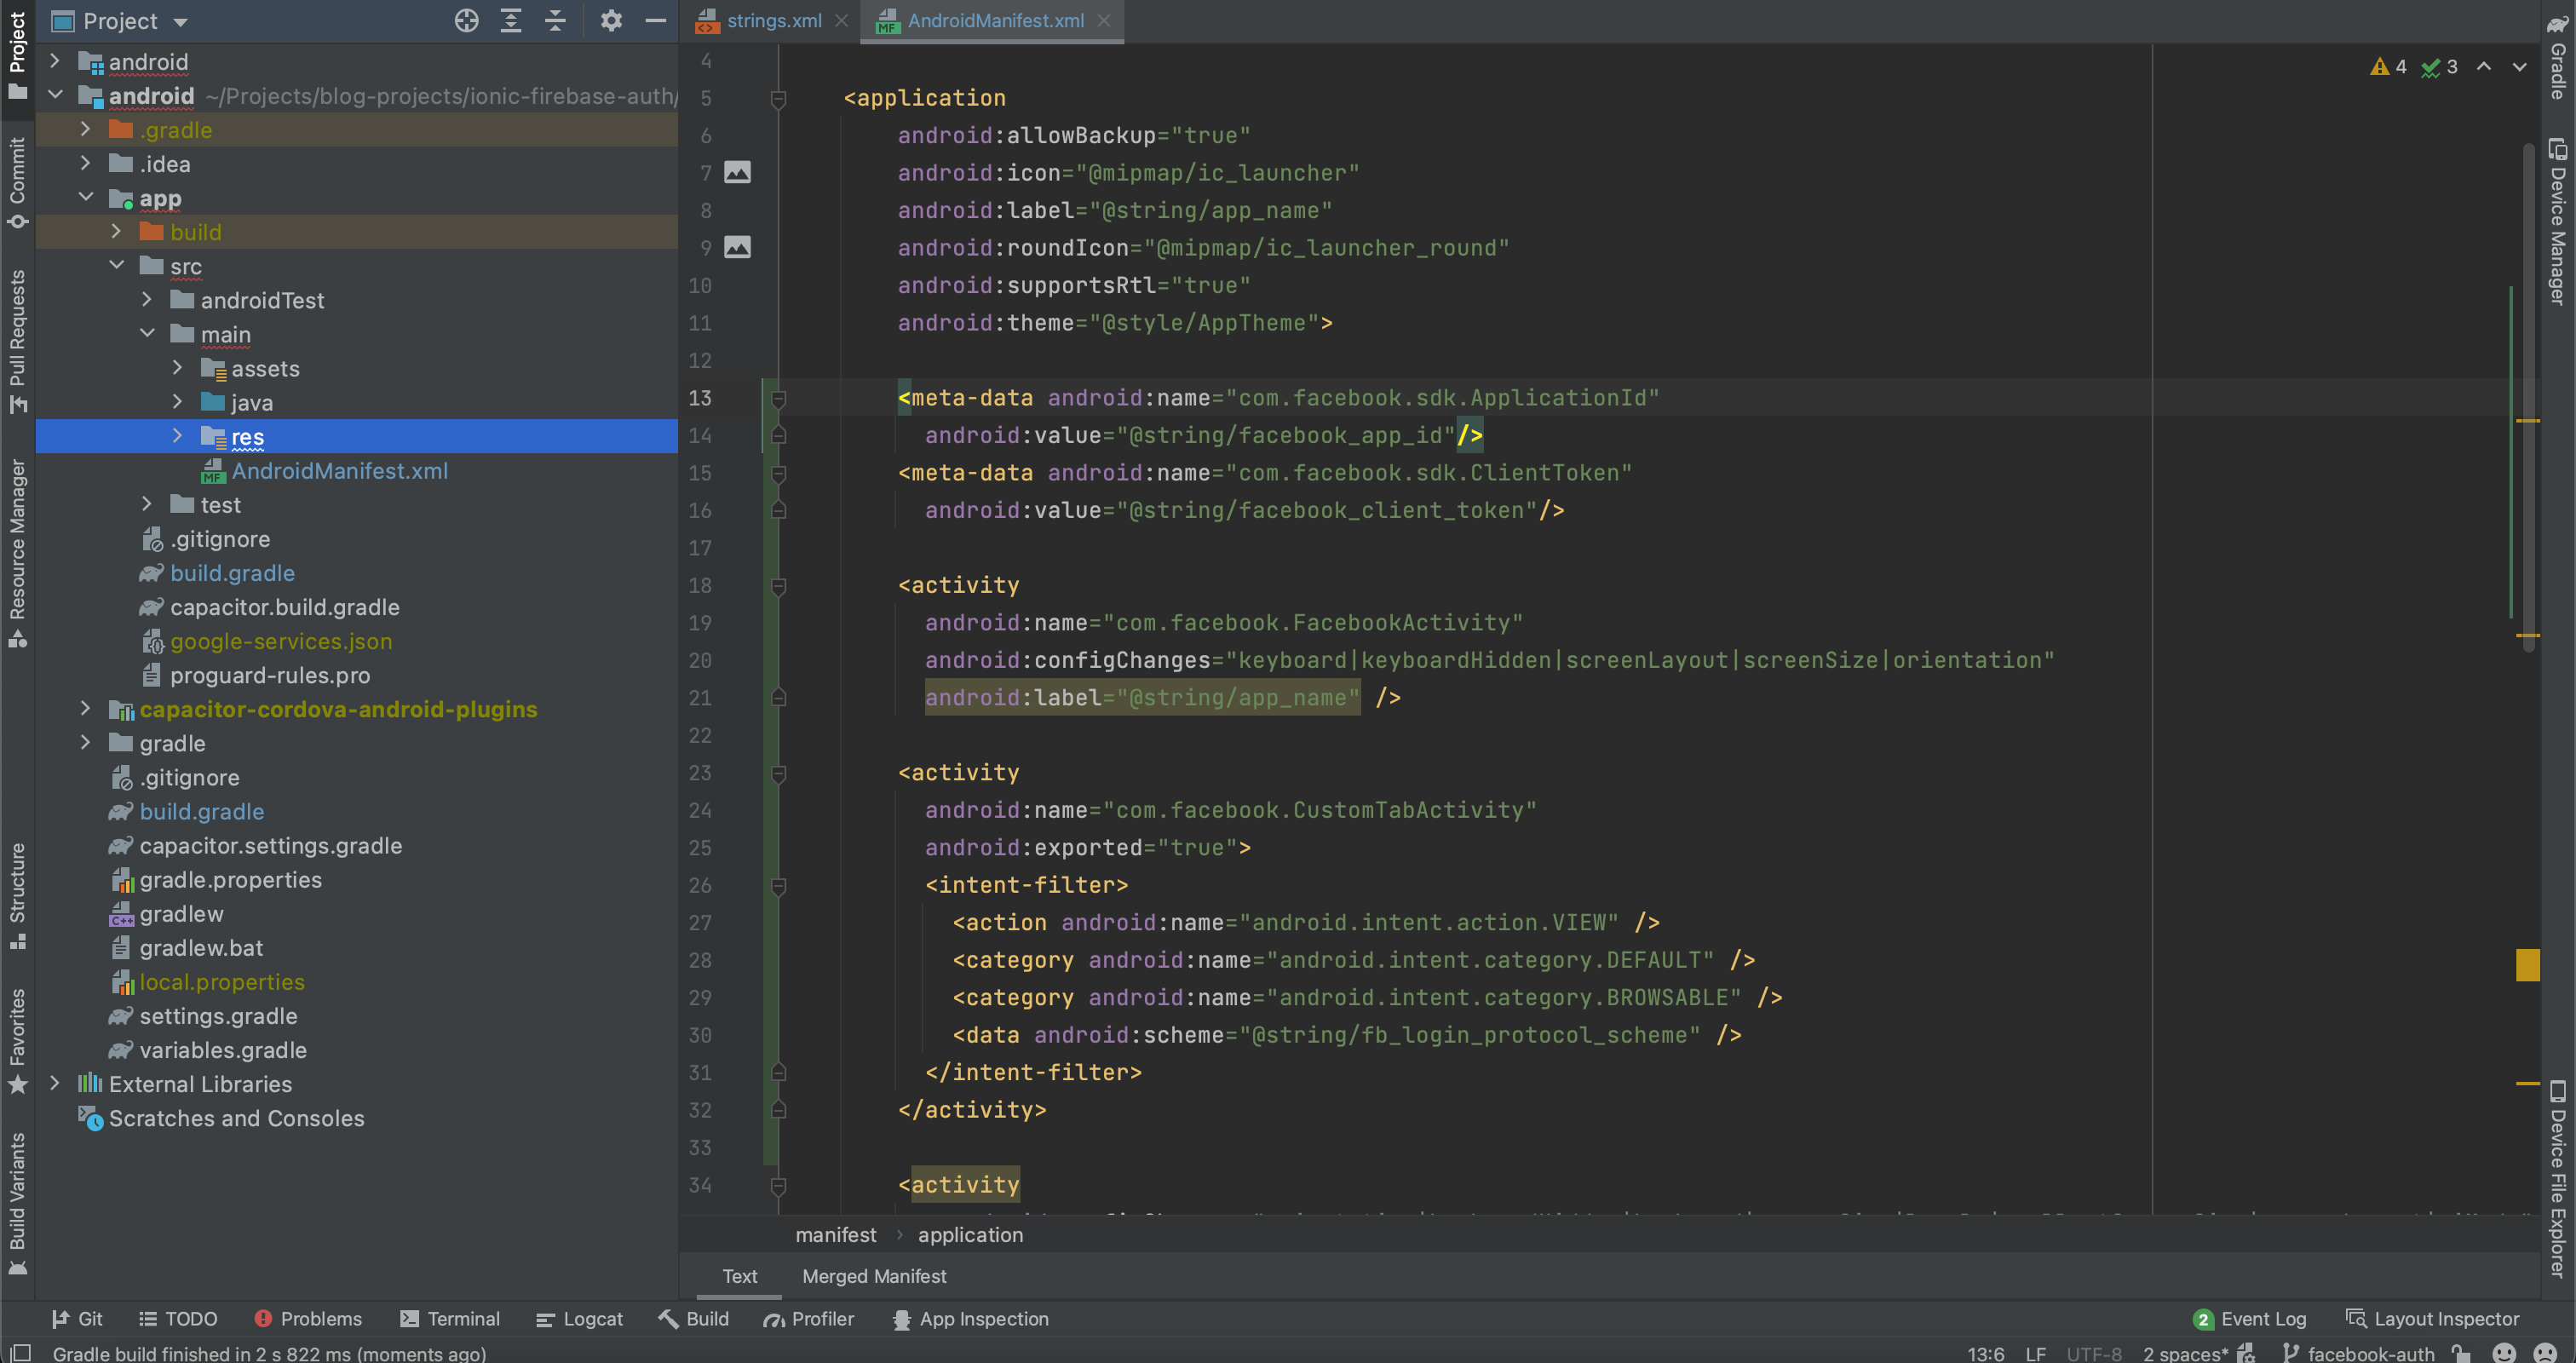
Update AndroidManifest.xml. Add following code inside application tag.
android/app/src/main/AndroidManifest.xml
<meta-data android:name="com.facebook.sdk.ApplicationId"
    android:value="@string/facebook_app_id"/>
<meta-data android:name="com.facebook.sdk.ClientToken"
          android:value="@string/facebook_client_token"/>

<activity
    android:name="com.facebook.FacebookActivity"
    android:configChanges="keyboard|keyboardHidden|screenLayout|screenSize|orientation"
    android:label="@string/app_name" />

<activity
    android:name="com.facebook.CustomTabActivity"
    android:exported="true">
    <intent-filter>
        <action android:name="android.intent.action.VIEW" />
        <category android:name="android.intent.category.DEFAULT" />
        <category android:name="android.intent.category.BROWSABLE" />
        <data android:scheme="@string/fb_login_protocol_scheme" />
    </intent-filter>
</activity>
Add following values in strings.xml file. Replace [APP_ID] with a value found in Meta Developer Dashboard for app -> Settings -> Basic. Replace [CLIENT_TOKEN] with a value found in Meta Developer Dashboard for app -> Settings -> Advanced > Security > Client token.
android/app/src/main/res/values/strings.xml
<string name="facebook_app_id">[APP_ID]</string>
<string name="facebook_client_token">[CLIENT_TOKEN]</string>
<string name="fb_login_protocol_scheme">fb[APP_ID]://authorize</string>
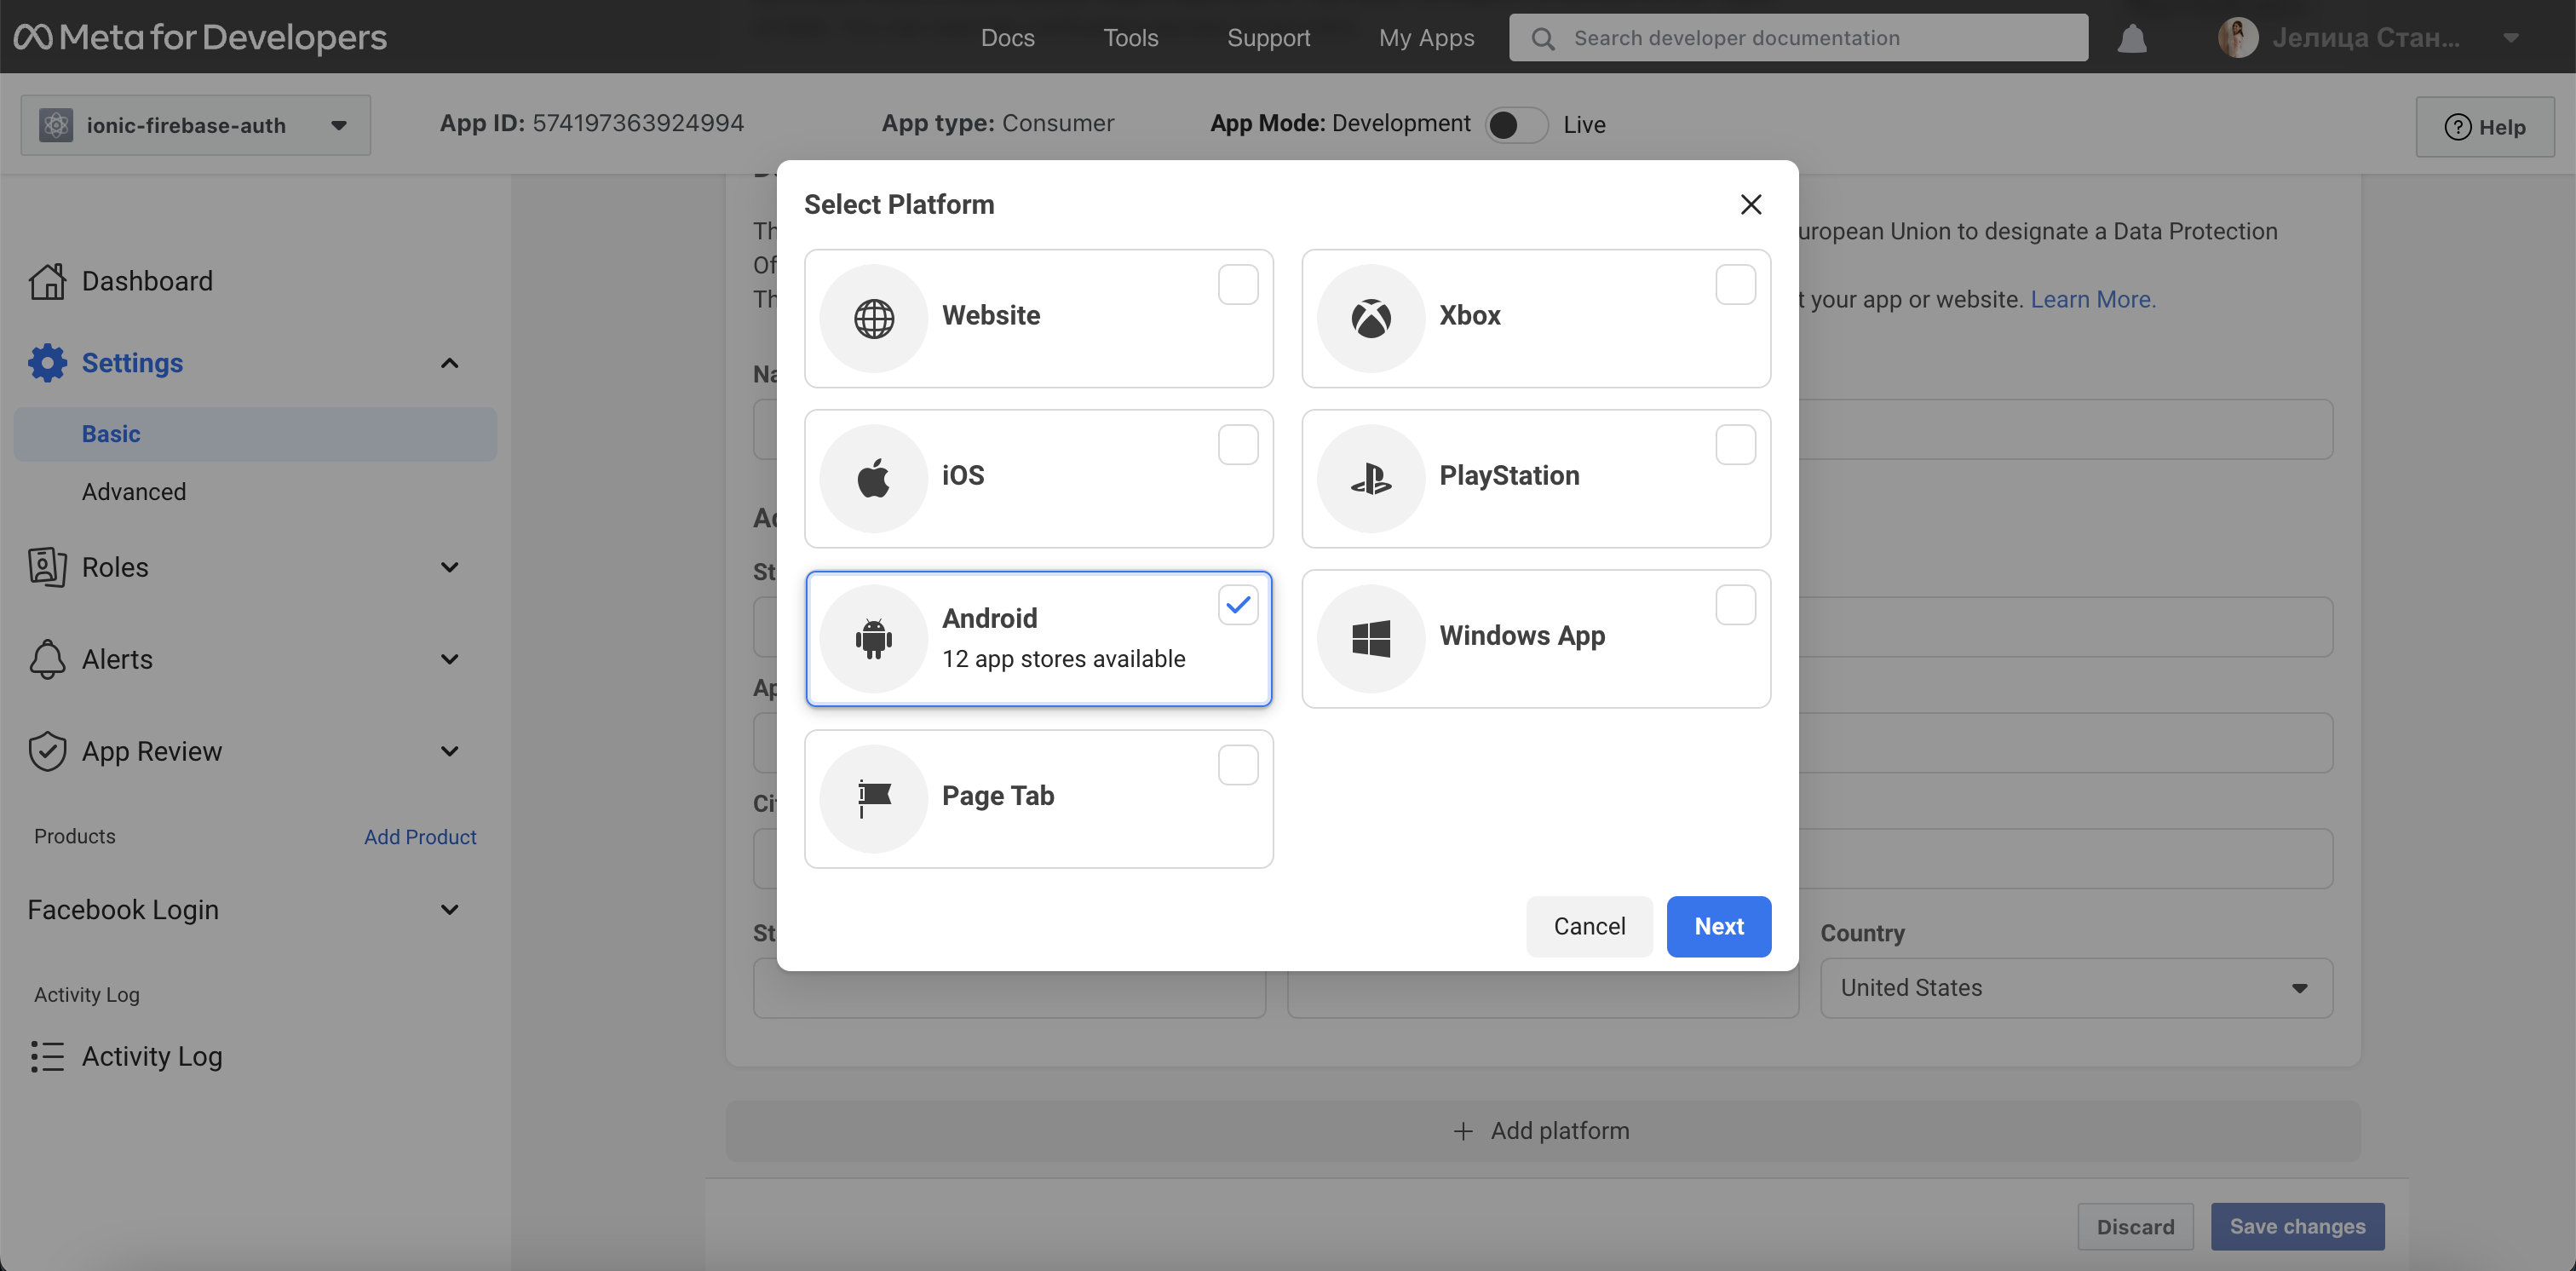
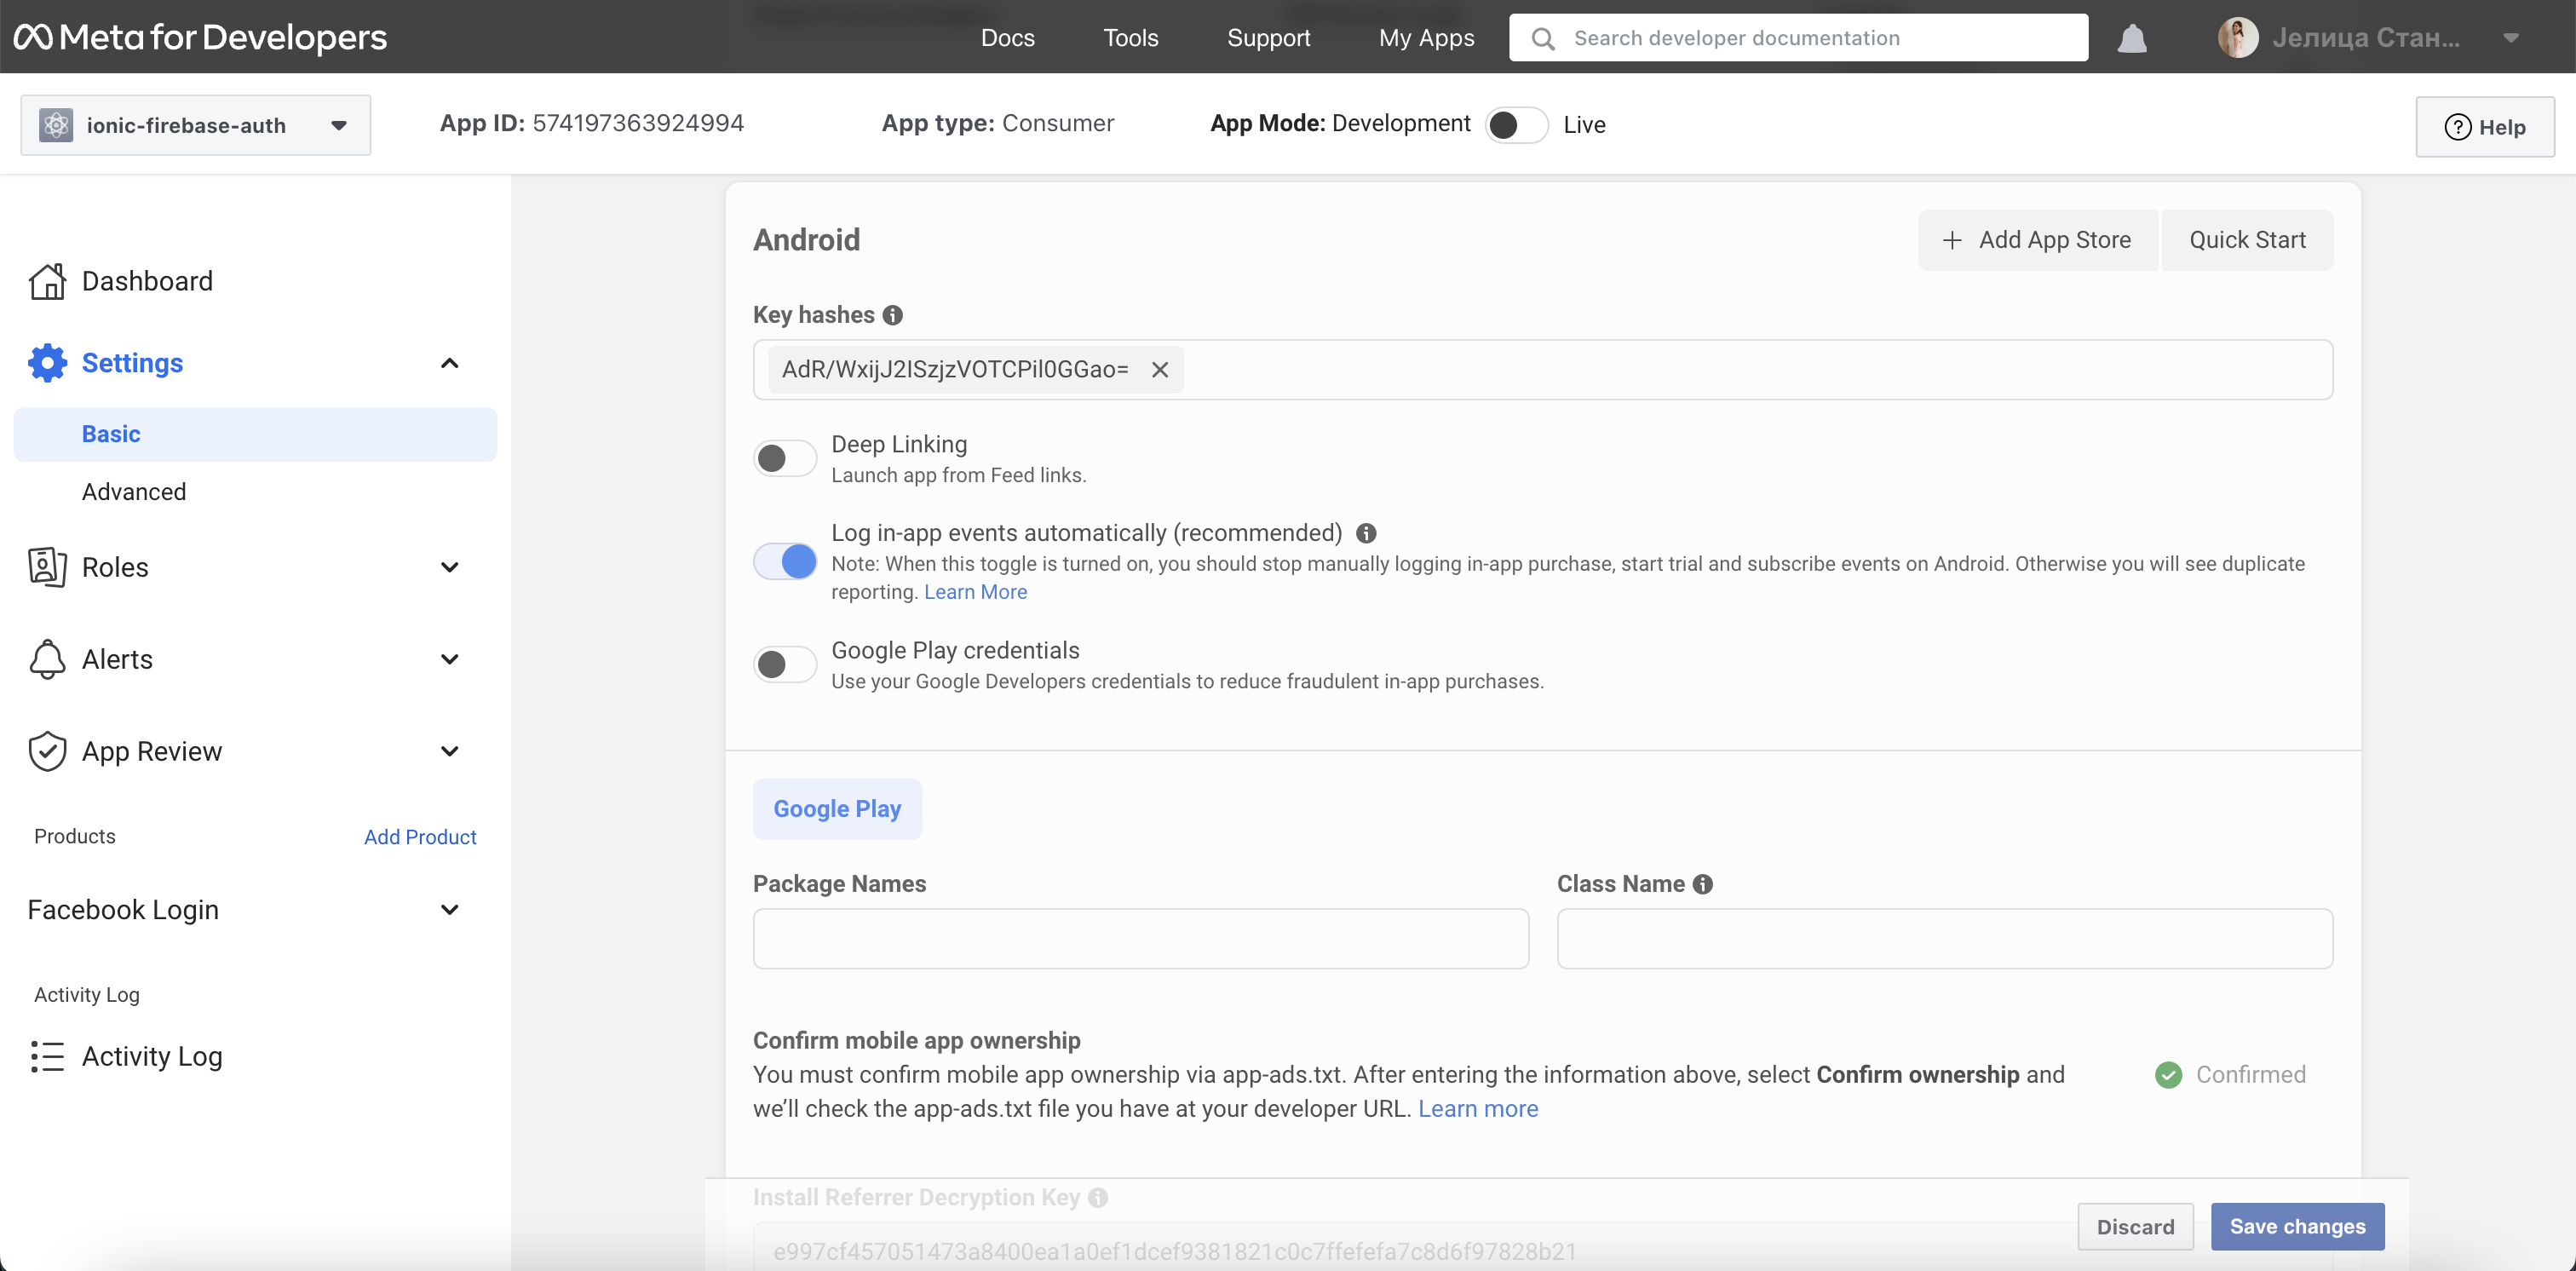
On Meta Developer Dashboard, go to Settings -> Basic and scroll to bottom to add platform Android. Select Google Play in following popup.
From terminal, generate hash key following this command (password is android):
keytool -exportcert -alias androiddebugkey -keystore ~/.android/debug.keystore | openssl sha1 -binary | openssl base64
Copy generated hash into a field with label Key Hashes and hit enter.
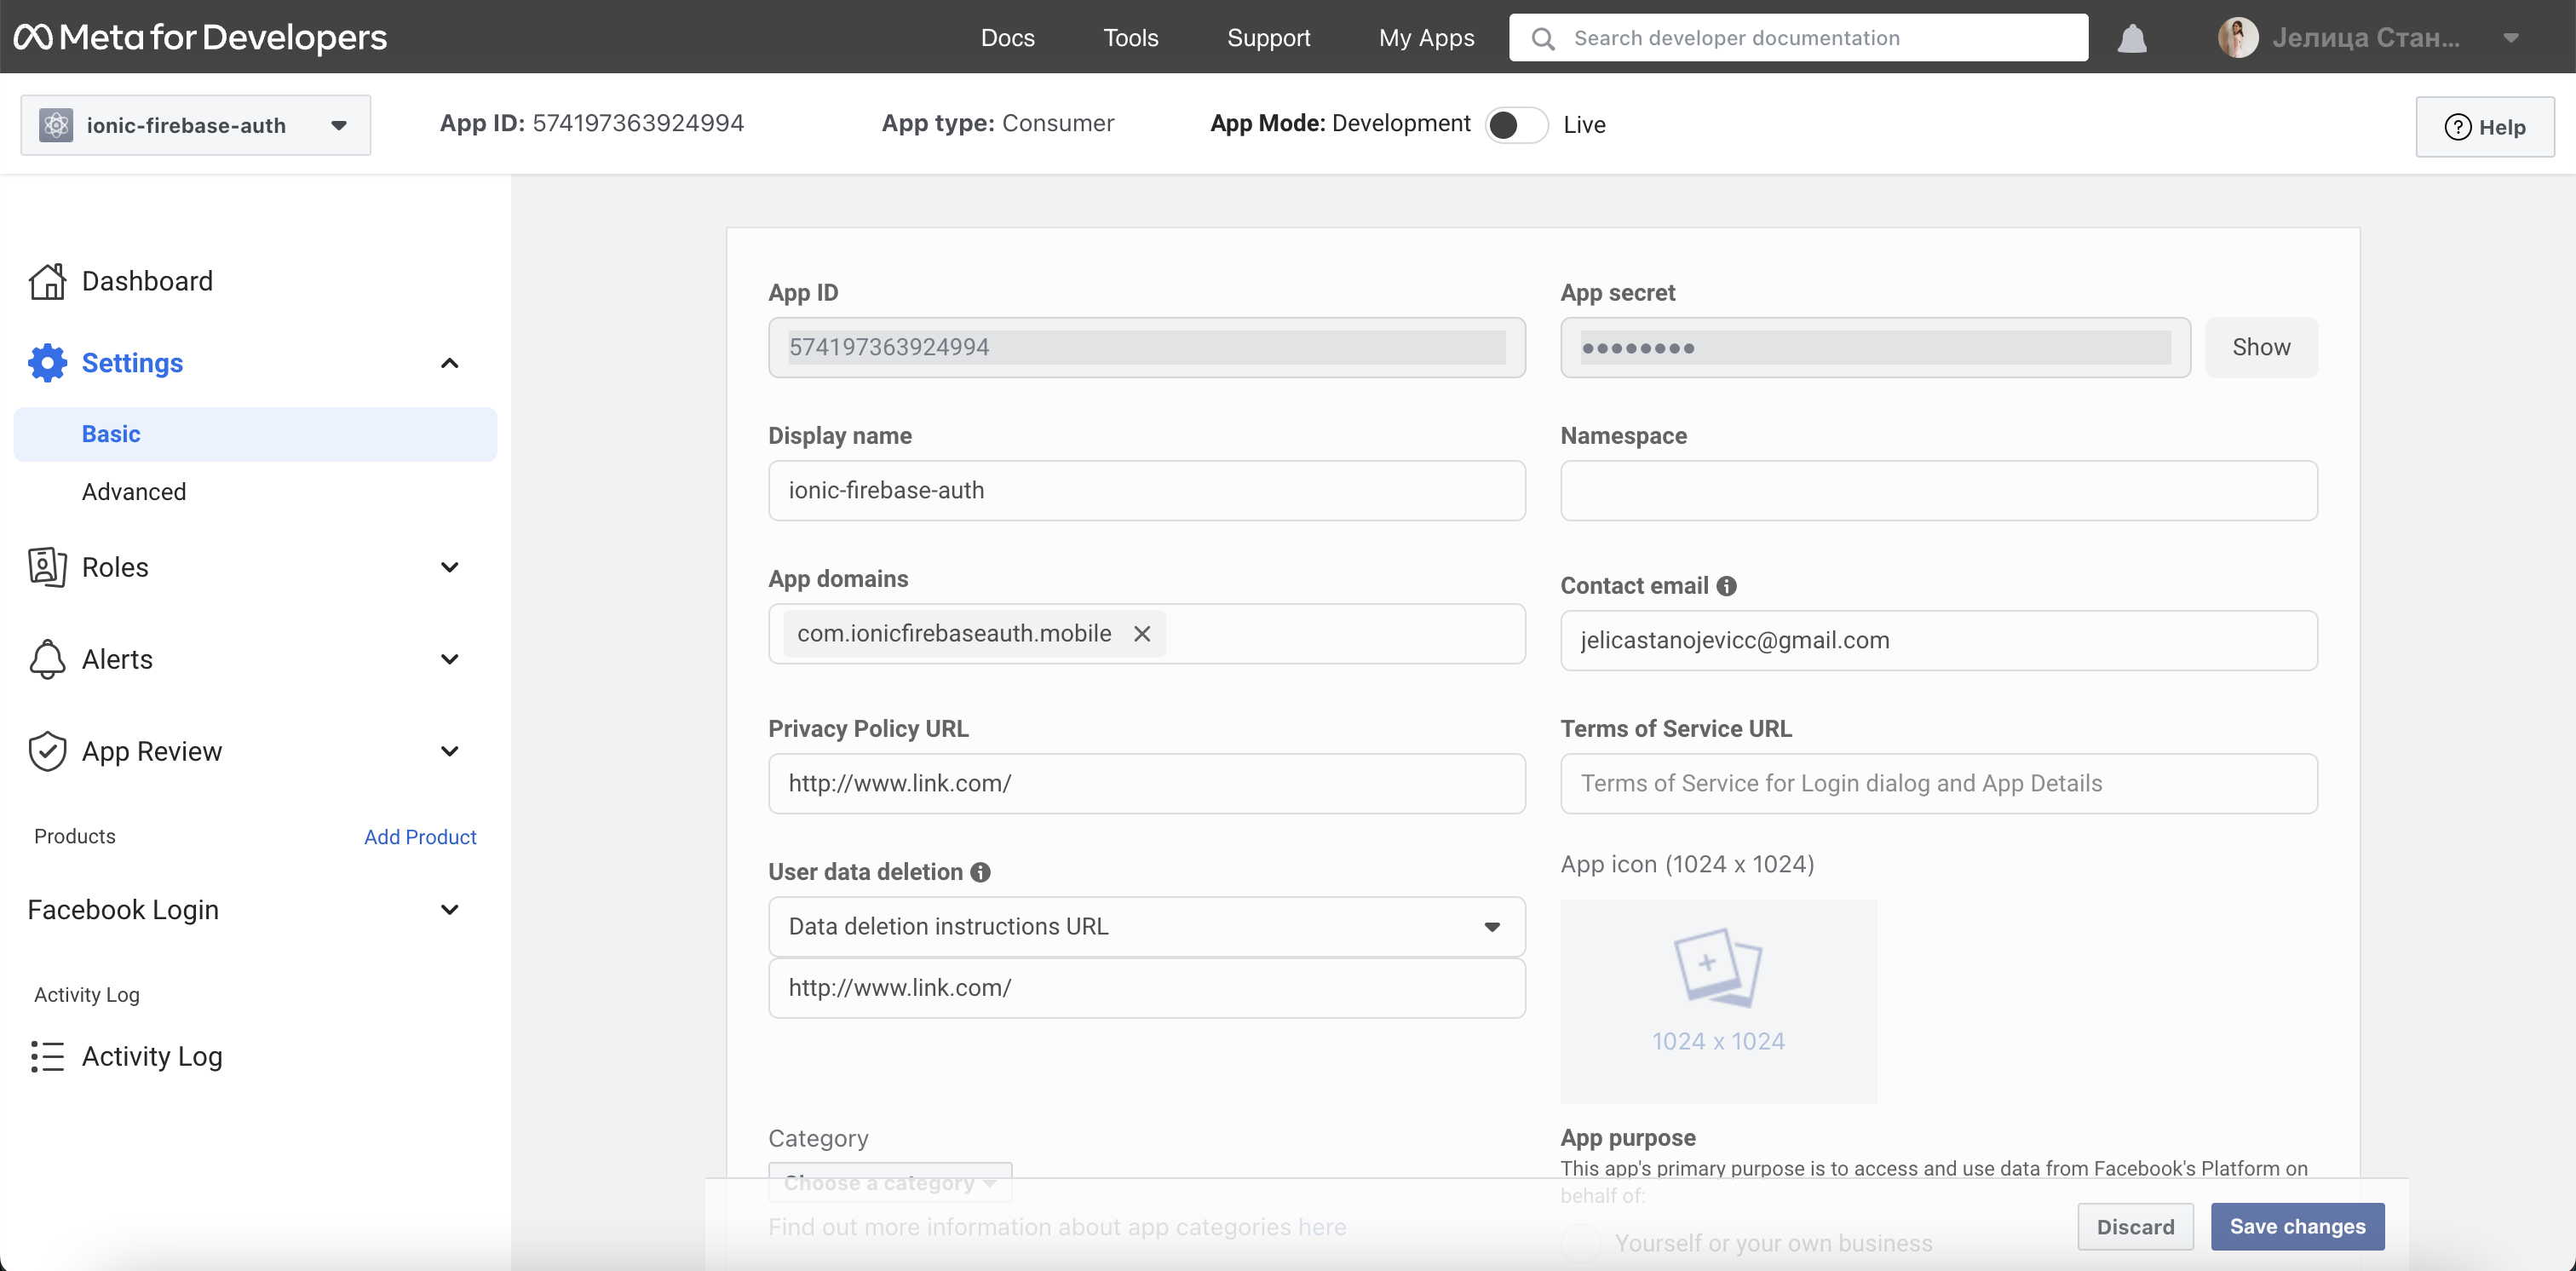
For testing purposes provide Privacy Policy URL and User data deletion with any links.
Go back to Android Studio and sync project with gradle files. (option found in File/Sync Project with Gradle Files)
Make a project and run it on an avd emulator (Pixel 2 API 28). Install Facebook App on emulator and then test the functionality.
